
Chilled wort exiting the two stage system gets down to “really cold”!
I pieced together a two stage wort plate chiller recently and tested it out on some real time brews. It performs very well in the hot temperatures of South Carolina in July. I started with a Blichmann Engineering Therminator that I have used for years. After seeing a post on the Homebrewtalk.com forums about a two stage counterflow chiller, I decided that I need to build a two stage chiller. The thought had occurred before to perhaps have two plate chillers in series, but I surmised that once the coolant (hose water) got hot, it would do no good in the second plate chiller. After reading the forum post, the light bulb lit up in my head – two different plate chillers, two different coolants! Since I do not have glycol cooling capabilities, I decided that the first stage coolant will be hose water at whatever temp I am stuck with. Lately, here in South Carolina in July, the temperature of the hose water has been 80-84 °F.
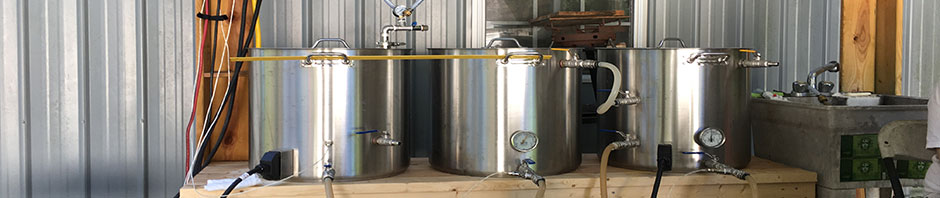
It is impossible to chill wort to the desired temperatures for ales and lagers. So I added the second stage, another plate chiller sourced from Duda Diesel, their B3-36A 20-plate chiller. They deem it the most bang for the buck. It is 0.68 square meters of cooling surface, compare to the Therminator’s approximately 0.48 square meters. Duda Diesel’s comparable unit is their B3-12A 4o plate chiller. With this second plate chiller in series with the first for wort flow, the coolant is water from an ice bath in an Igloo 60 quart Ice Cube cooler. It was filled with approximately 40 pounds of crushed ice on brew day. When I am about ready for flame out of the wort boil, I add hose water to the cooler of ice just until the very top is expose – a water slush bath. The temperature of the water is now right at 32 °F – freezing! I use a submersible pond pump to push the icy cold water through the second stage plate chiller and back into the cooler. The temperature delta at this stage is minor and improves during the chilling process. The last piece of equipment in line is a temperature gauge so I can monitor the temperature of the wort as it exits the chiller system.
My first use of this two stage plate chiller was last weekend on a five gallon brew day. I was in an unprepared rush to get all of the required fittings ready to get the boiling wort flowing to sterilize the system with 15 minutes left in the boil as is standard practice. The March pump that drives the system has to be purge prior to pumping by allowing wort from the kettle valve to flow into the pump, which is mounted on the bottom of the chiller rig and kept at a level below the bottom of the kettle. The wort is recirculated through the two stage chiller system and back into the kettle. Care has to be taken to make sure all the air is out of the chilling system by holding the return hose above the wort surface until the wort is flowing and solidly exiting the return hose. Then the end of the hose is submerged into the wort to prevent hot side aeration (HSA). If the end of the return hose were to be submerged during purging of air from the system, a whole bunch of air will be bubbled into the boiling wort thereby risking HSA.
My second test of this chiller system was yesterday. I had corrected problems from the first try and had my system figured out. Once the boiling wort is flowing nicely, I let it flow for 15 minutes prior to flame out. It gets busy at flame out but the joy of the system is quickly realized! While the wort is flowing during the system sterilization 15 minute period, the kettle valve and the March pump valve are both fully opened to allow maximum flow. The kettle valve must remain fully opened during the entire chilling process and the rate of wort flow controlled by the valve at the outlet of the March pump.
At flame out, the hose water is turned on full blast. I get about five gallons a minute (GPM), so this is good. The valve at the outlet of the March pump is turned to about half flow to try to achieve about a two GPM of wort flow. I checked the temperature of the wort exiting the system and saw the gauge needle fall rapidly to around 100 °F. This is without the second stage coolant flowing! The ice bath water pump is now turned on. More magic happens as the temperature gauge needle falls quickly to around 62 °F. Now I am pumping this cold wort back into the kettle to cool the wort. It quickly drops to 60 °F. I adjust the pump to try and find out if the temp will do lower, but do not want to slow the flow too much because this could slow the chilling process. The 60 °F flow is fine and now I keep my eye on the kettle temperature gauge. It drops rather rapidly. When the temperature of the wort in the kettle reaches the hose water temperature I noted earlier, the hose water flow is stopped. There is no reason to run hose water through the first stage chiller that is now hotter than the chilled wort flowing thought it. The temperature of the wort exiting the chiller system continues to drop even further. At some point the exiting wort temperature drops down into the 50’s and the wort in the kettle drops to below 60 °F. That is as low as my kettle gauge will read and the needle is in a position below 60 °F that I would guess is at 54 °F! This took about 12 minutes to achieve!
So my Standard Operating Proceedure (SOP) is:
- Install chiller system and begin sterilization with boiling wort 15 minutes prior to flame out with kettle and chiller pump valves in full open position.
- Note hose water temperature. Make sure hose water flows long enough before taking a temperature reading to assure that the sun heated water is out of the hose and the water temperature is steady.
- At flame out, run hose water through first stage chiller at full blast (5 GPM). Reduce wort flow at chiller March pump valve to about half flow or around 2 GPM. Begin second stage chilled water flow at full blast. (My pond pump does around 2.5 GPM. Higher would be better.)
- Note temperature drop of wort exiting the system dropping rapidly to low 60’s. Note steady temperature drop on the kettle gauge. Rate of flow of hose water through the first stage chiller should be reduced once it feels cool coming. This will reduce water usage. Once kettle temperature reaches the hose water temperature noted in step 2, stop hose water flow through stage one chiller.
- Continue to monitor temperatures. As the kettle temperature comes on down, the wort temperature exiting the chiller will continue to drop, chilling the wort even more quickly. Enjoy!
I collected the hot water from the first stage chiller into two five gallon buckets during the chilling process. I use this water to flush the chiller system out afterwards. I give the chillers a thorough cleaning by pumping an oxyclean solution through the chillers for about an hour, rinsing thoroughly by pumping several gallons of water throught the system to rinse well. And finally, I run a Star San solution through the chillers, and drain them to dry out. I rinse the Star San solution out of the hoses and let them air dry as well.
Admittedly, the 2×4 wooden frame to hold all of the components of the two stage wort chiller is rather simple, it was built with a “let’s get this thing operating fast” mentality. I may go back and build a lighter frame with perhaps some aluminum angle but this was very quick and cheap.
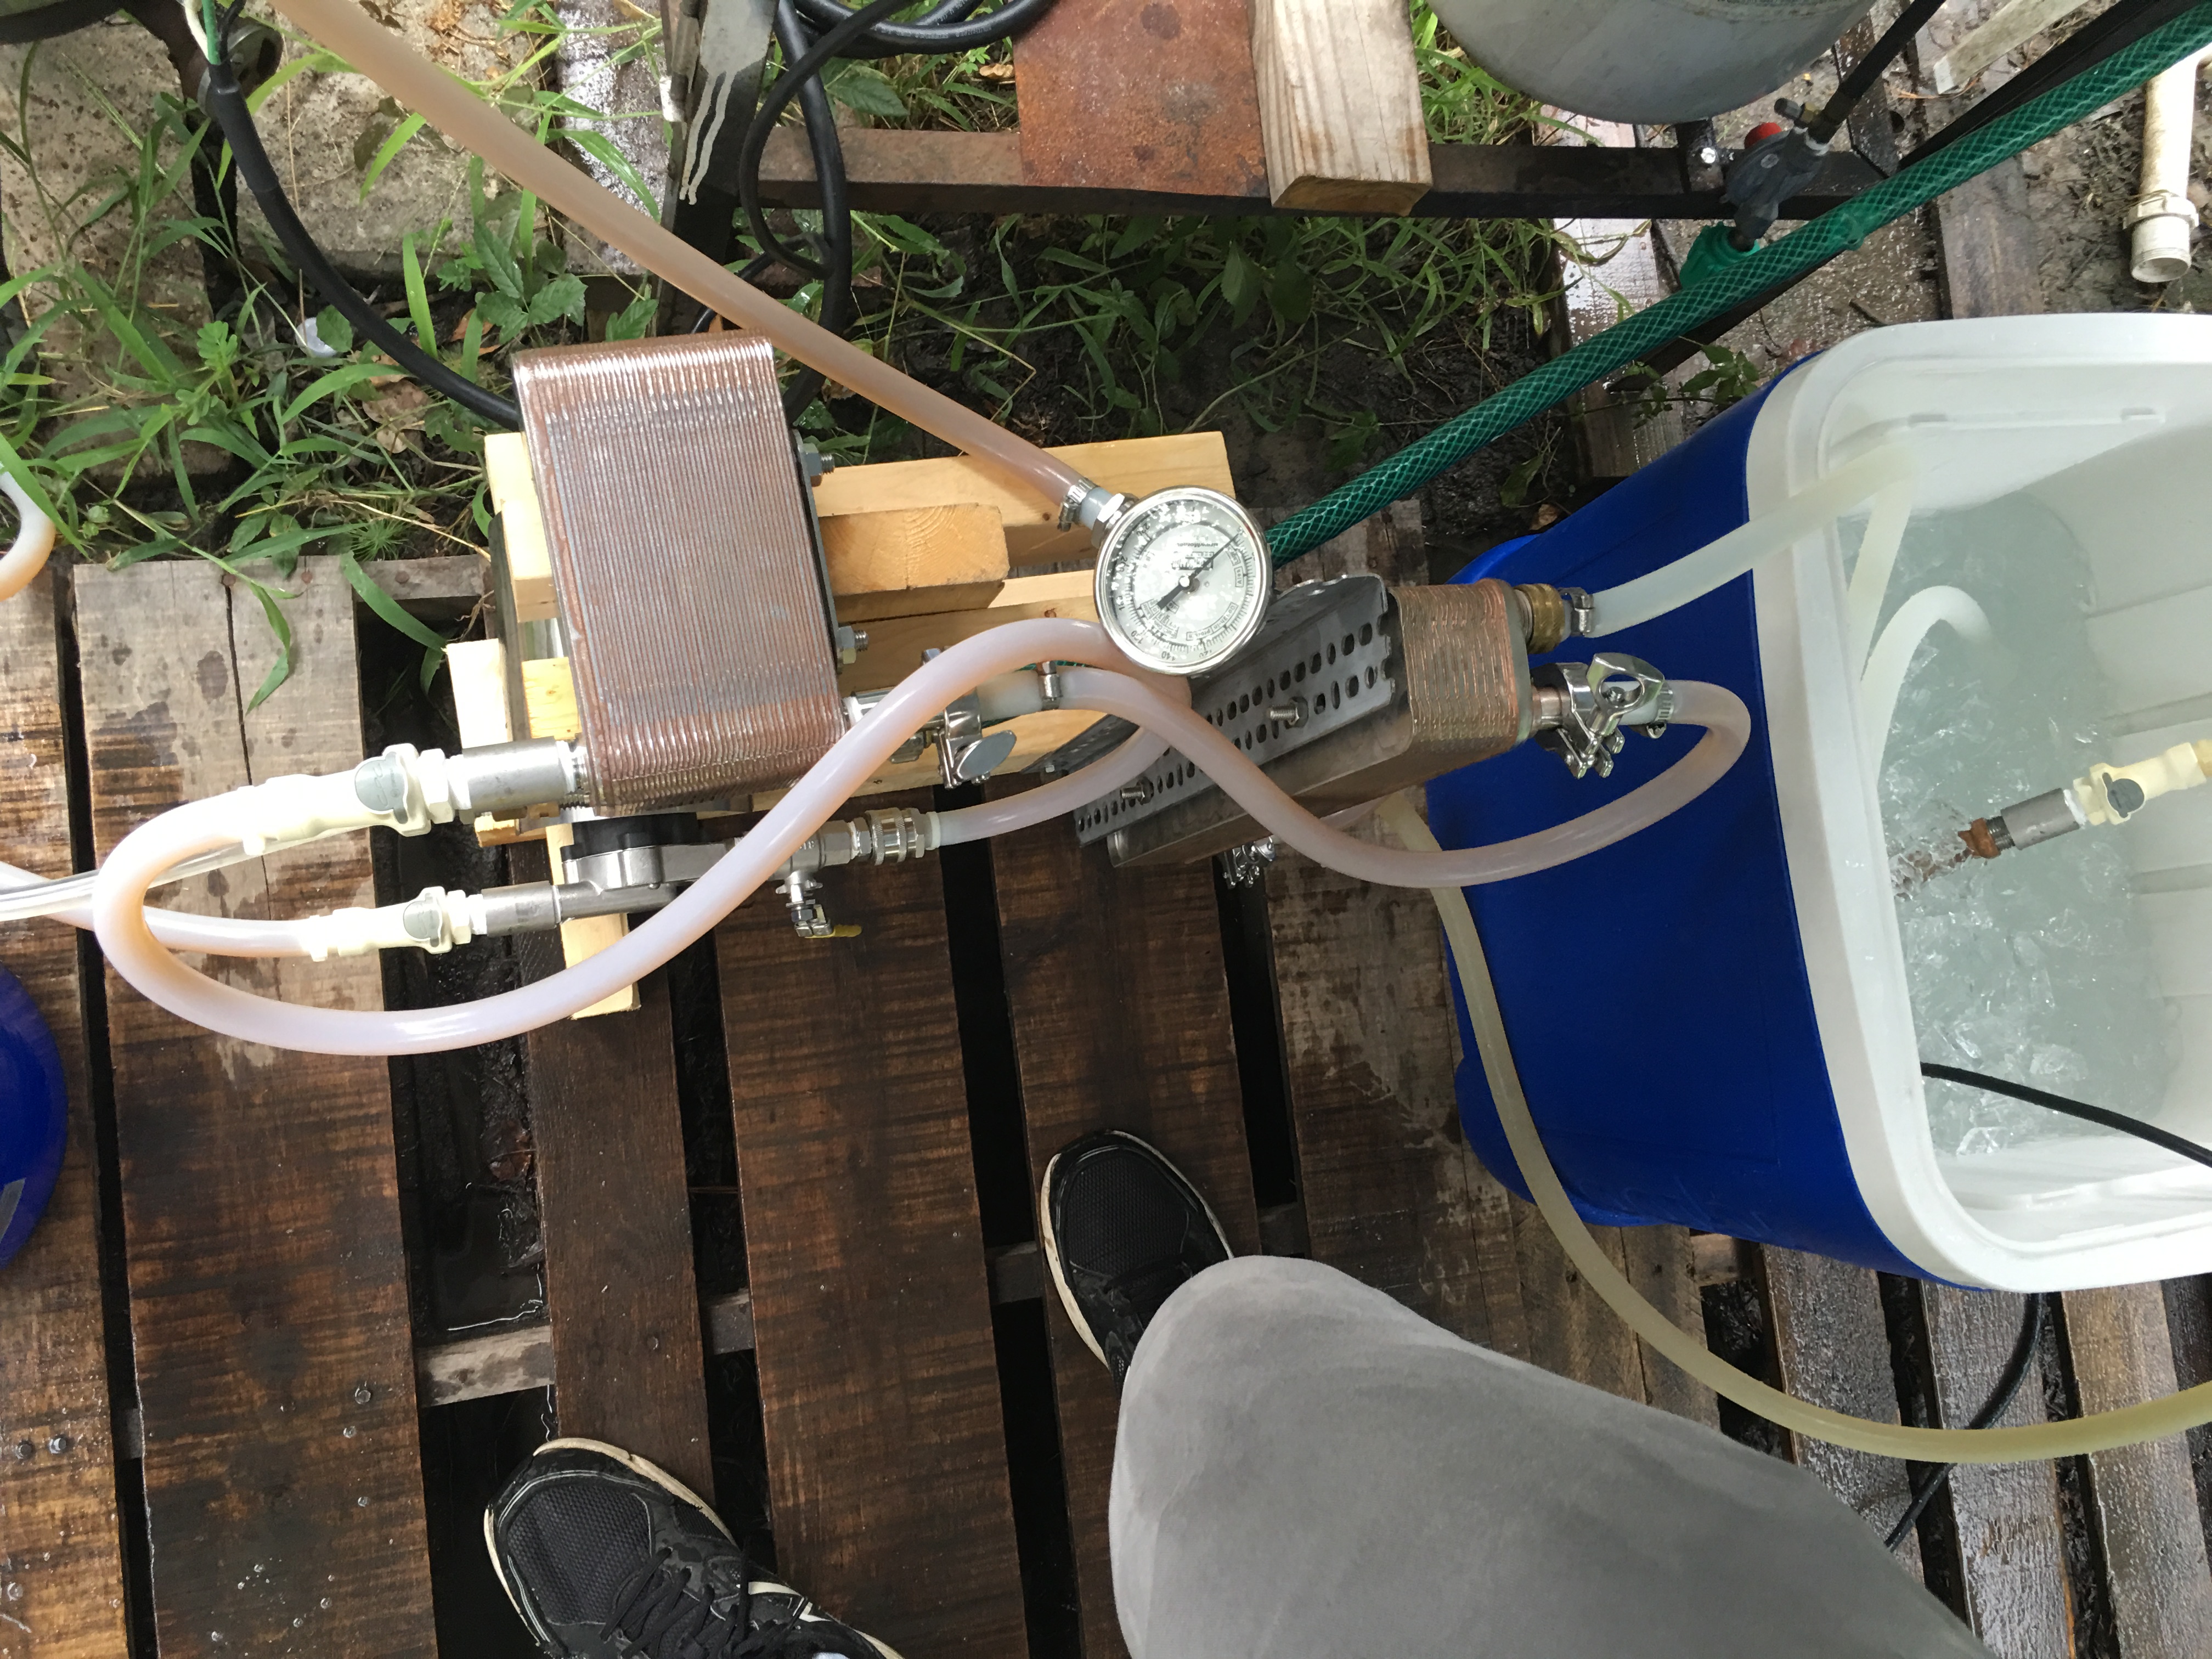
Two stage wort plate chiller in action.
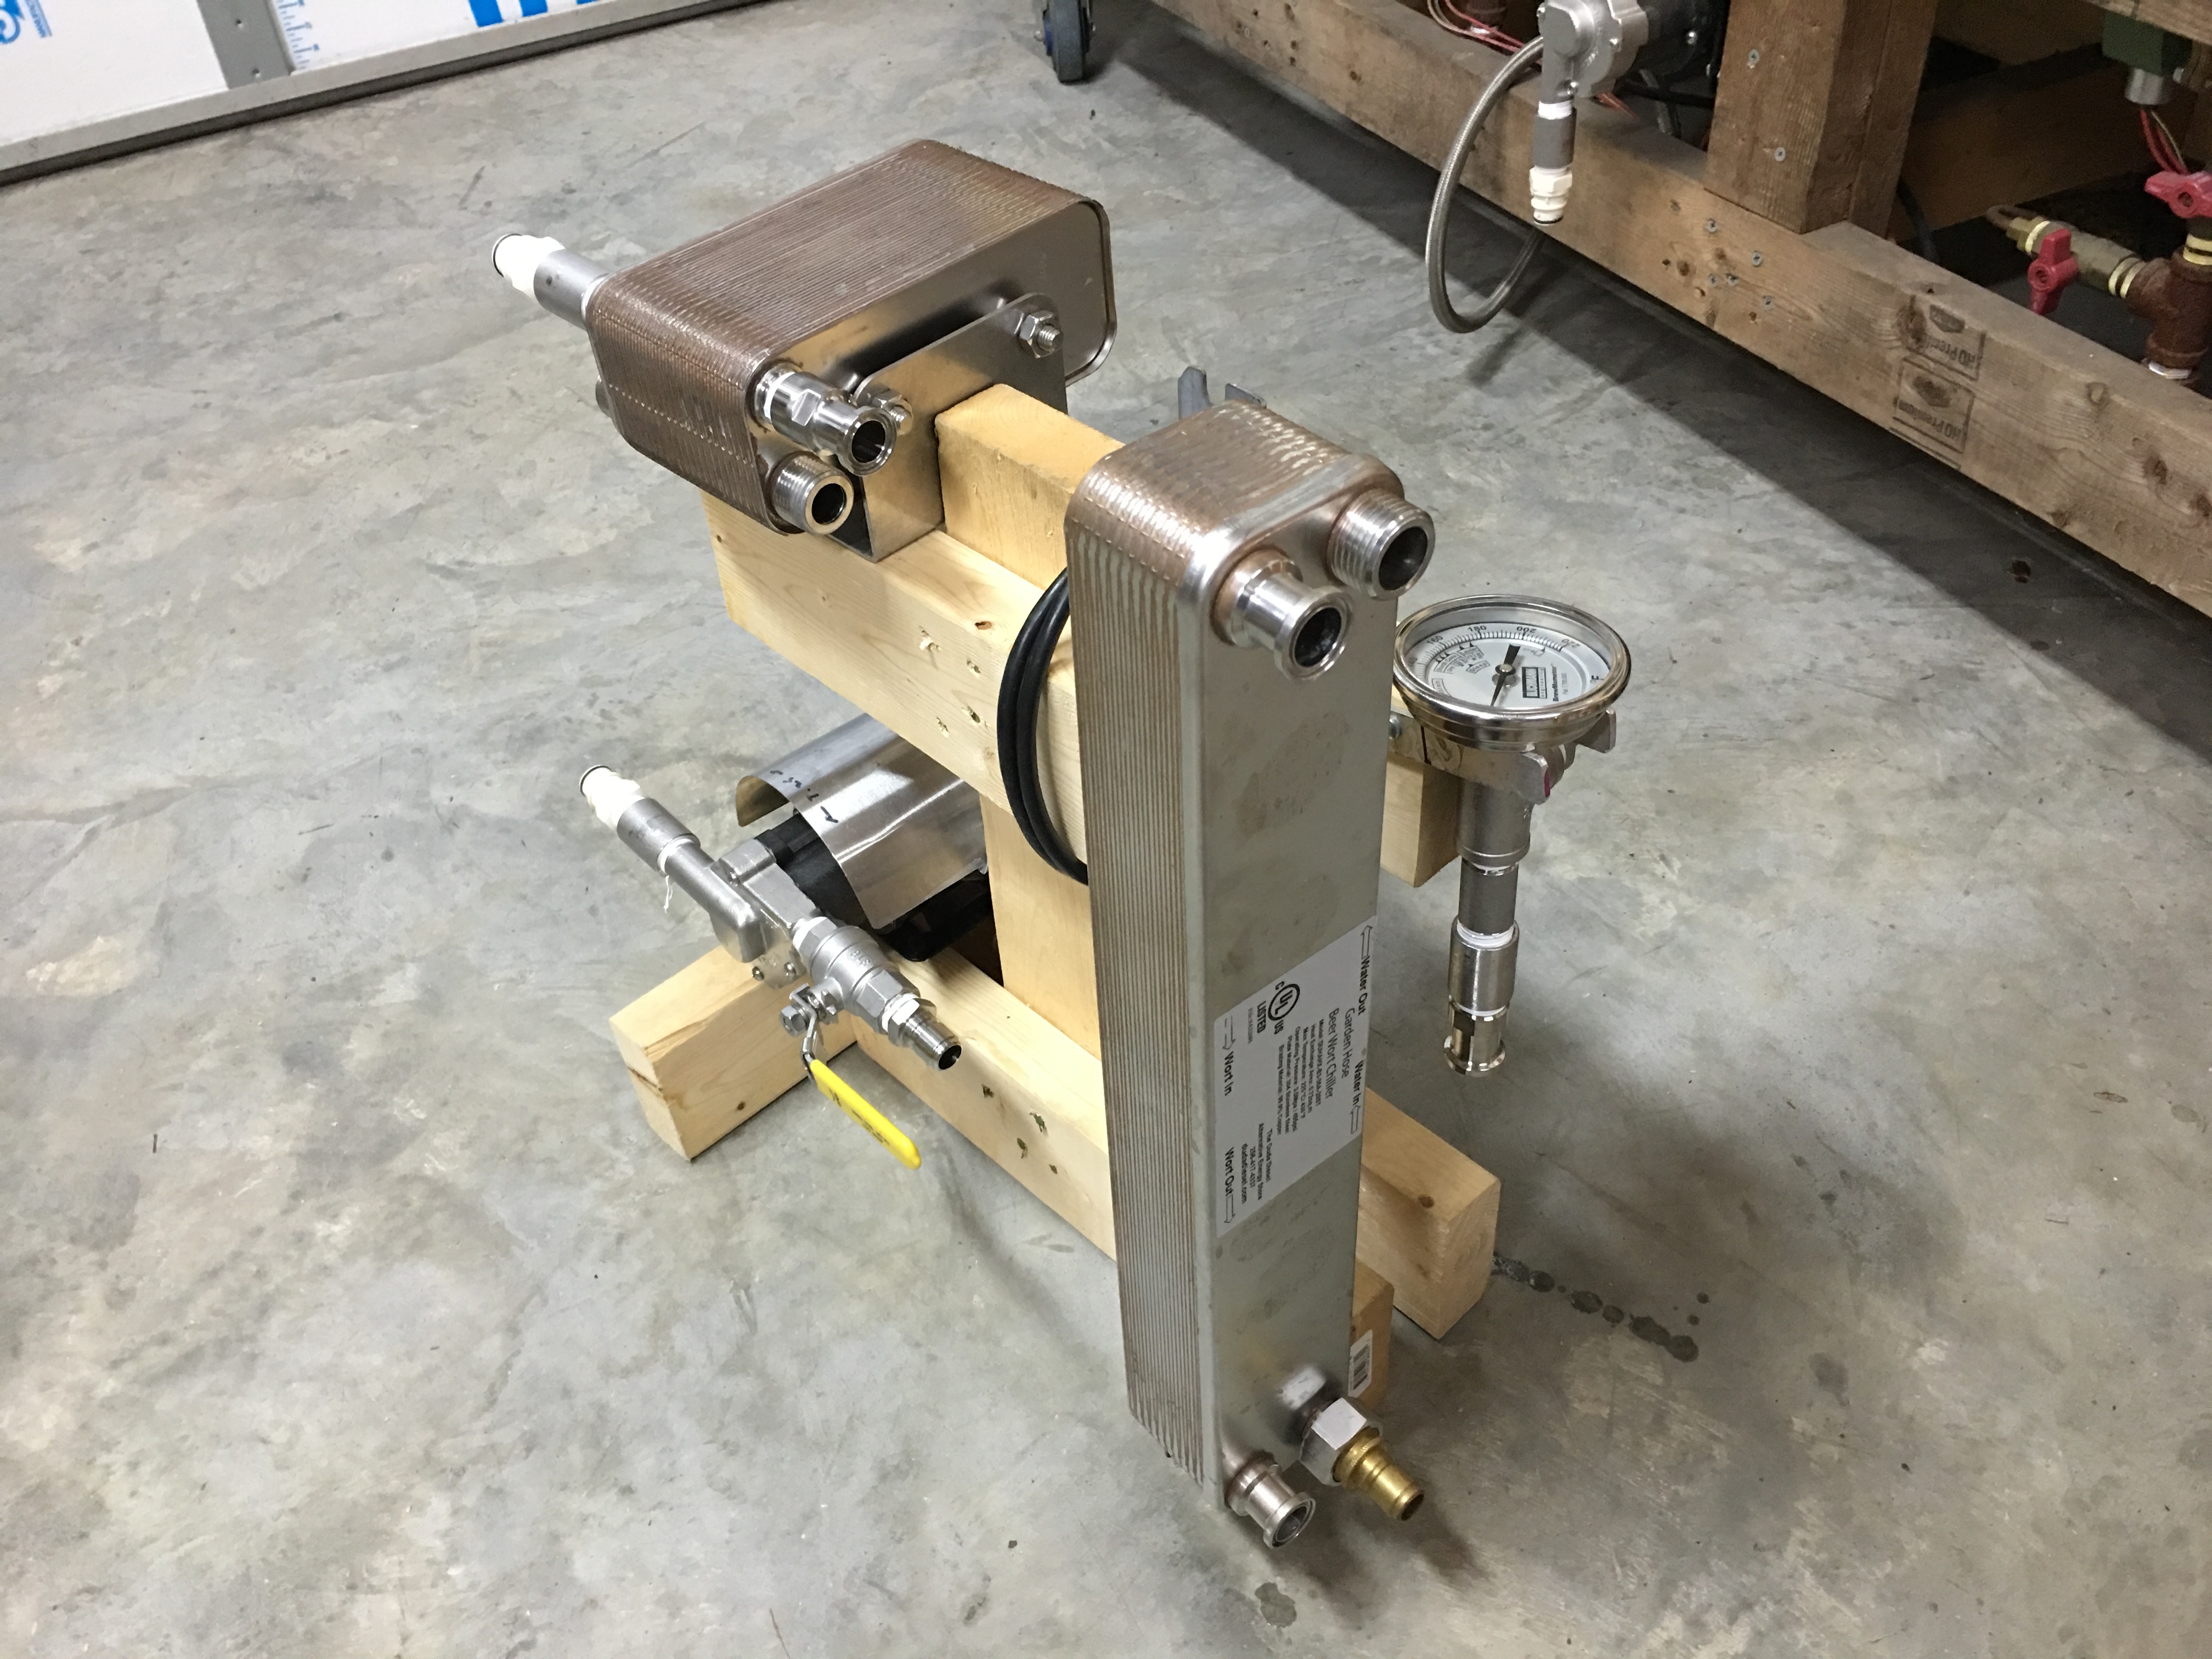
The chiller rig after cleaning and putting away.