 I am low on canned starter wort so I decided to make up some jars this morning. I moved all the implements to the kitchen, including seven quart jars, lids and rings, my 23-quart Presto pressure cooker and some dry malt extract (DME).
I usually put about 28 ounces of wort in the quart Ball jars. So I calculate that I need 7 x 28 = 196 ounces of wort. Make it 200 to make sure I have plenty. I use the common ratio of 10 mL of water to 1 gram of DME. I weight out what DME I have and it came to 578 grams. Instead of guessing at 5.78 L of water (1:10 ratio), I just went with 6 L. This yielded right at 215 ounces of wort. The 1 gr DME per 10 mL water should yield around SG=1.038. I used a bit less DME and a bit more water. If my gravity is a bit lower, this is not problem. Multiplying the yeast is the mission here, not making alcohol.
I heated the water in an adequately sized pot and poured the DME in, stirring to keep it from scorching. There is no need to boil. That will happen in the pressure cooker. I just heated it up enough to make sure all the DME went into solution with no lumps.

Filling the jars with wort. The canning funnel helps me keep from making a mess.
I set out my seven cleaned Ball jars and poured the wort into them up to the 28 ounce line. I used a canning funnel which is not needed but I am sloppy so it helps. After all the jars were full, I place cleaned lids on them and put the rings on. I tightened the rings gently just until they stop turning and then back off about 1/8 a turn. The lids should not be tight.
I put the jars in the pressure cooker with enough water to cover the bottom inch of the jars. I put the heat on high and placed the lid on the pressure cooker. With the lid locked in place, I just let the pressure cooker heat up until there is steam jetting out of the vent pipe. This takes about 15-20 minutes. Once it starts, I put my timer on for 15 minutes and just let this thing heat up. You can hear the water boiling, but the wort in the jars has to heat up too.
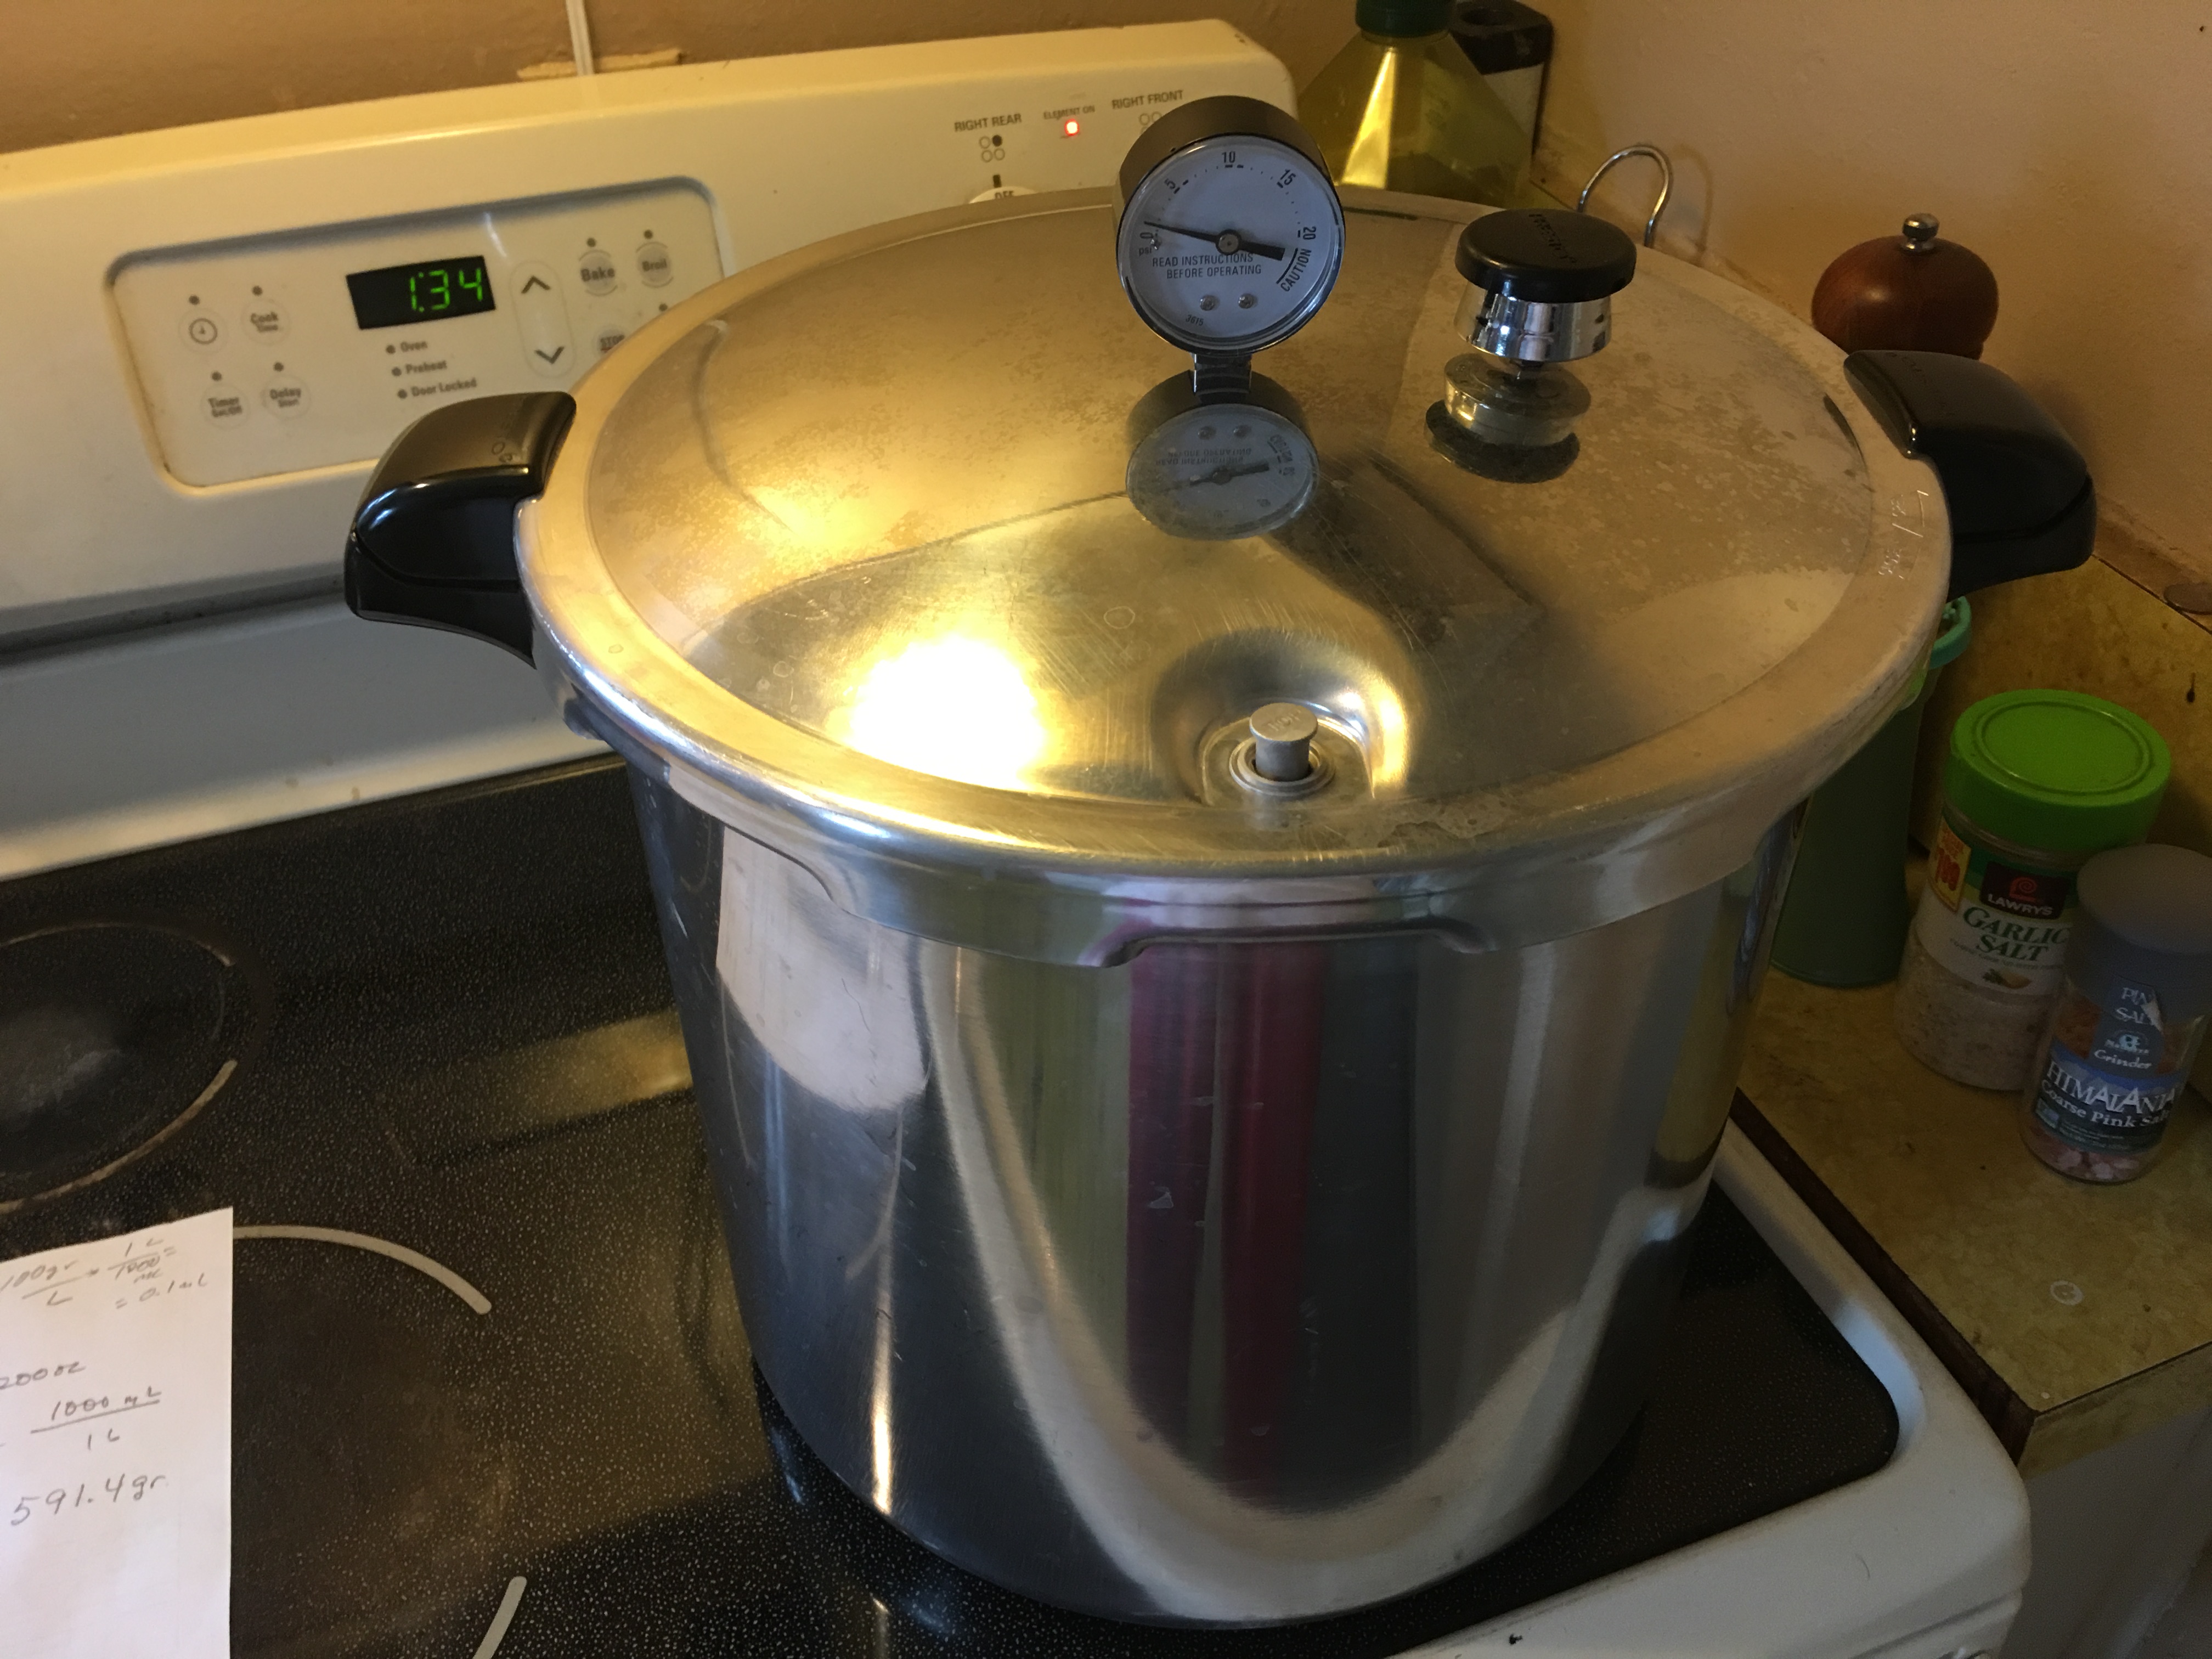
After 15 minutes, I place the pressure plug onto the vent pipe. It takes about 10 minutes to get to the required 15 PSI. Once the PSI=15 I start the timer for another 15 minutes. This is the required time to garuantee the wort is sterilized. My stove is persnickety, so I have to keep an eye on the pressure gauge. The HI setting is too high and will push the pressure cooker over 16 PSI, so I adjust it down to 7.8ish on the stove dial and keep an eye on the pressure gauge, making sure it does not fall below 15 PSI.
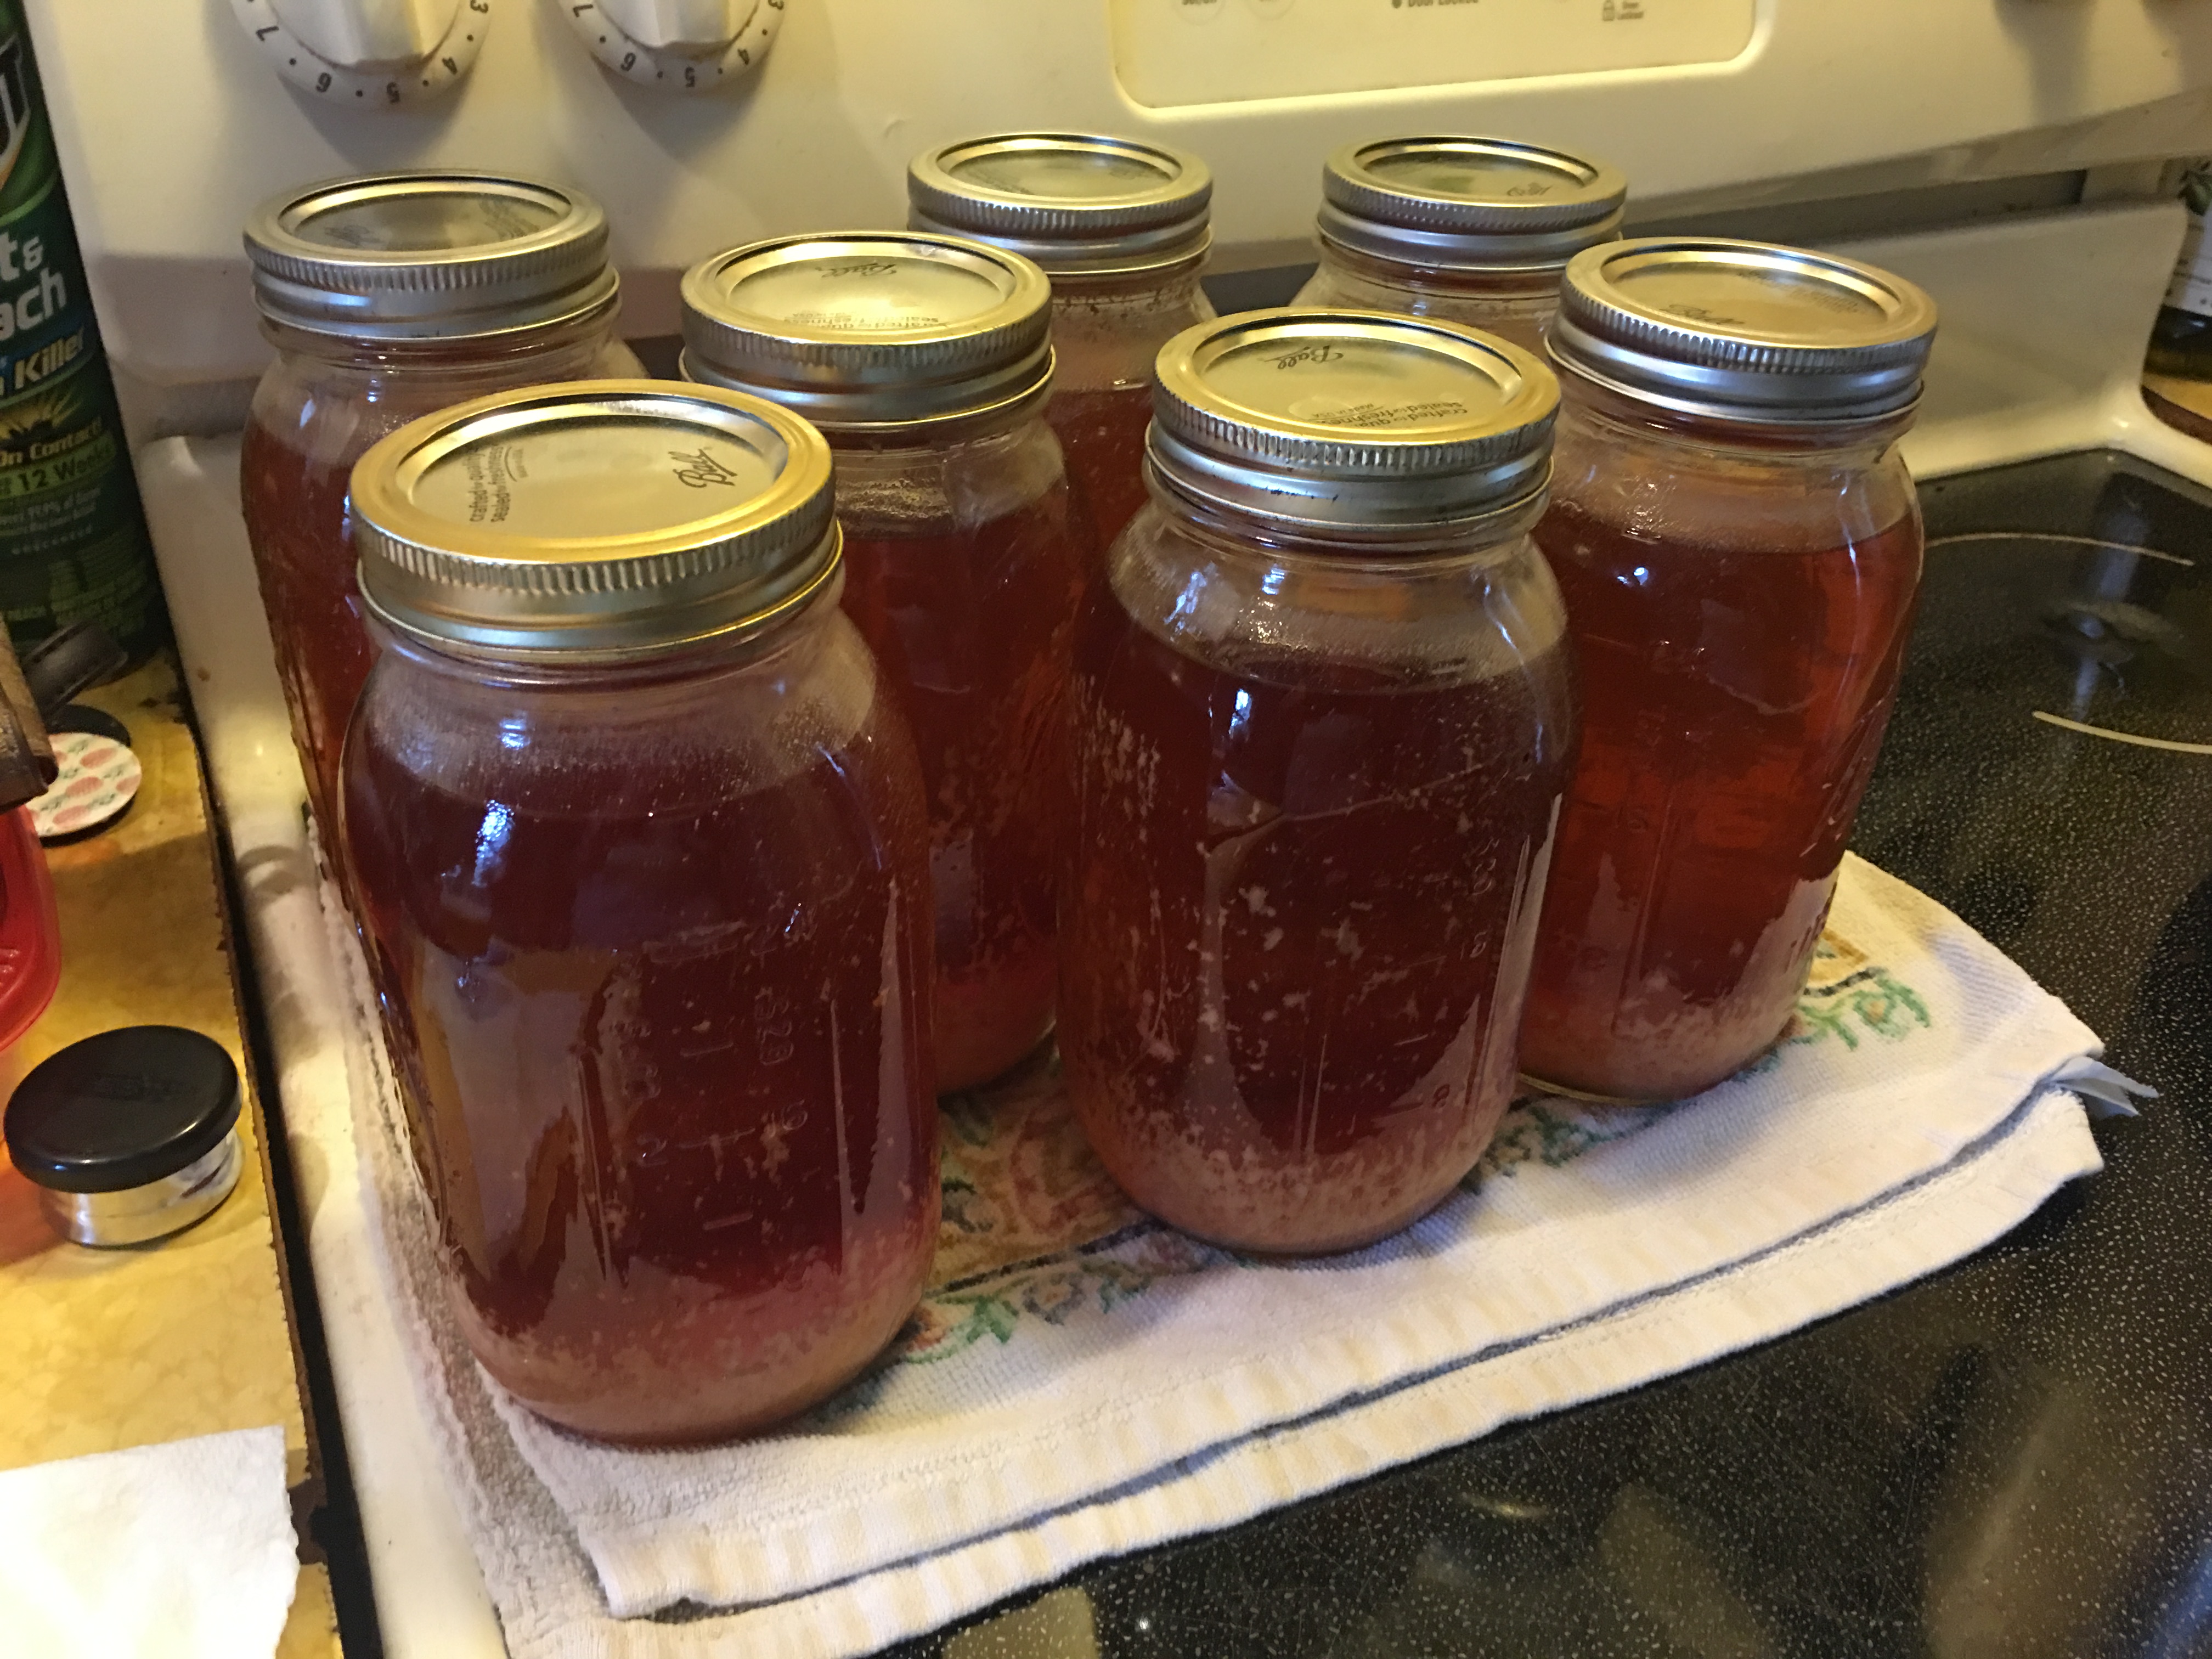
After 15 minutes I turned the stove off and left the pressure cooker alone. The pressure needs to bleed off naturally. Once the pressure gauge reads 0 PSI, I let it sit another 15 minutes or so, then remove the pressure plug and lid. The jars are still very hot! This thing got to 250+ degrees so it takes some time to cool off. I placed the jars on a towel and tightened the rings. Not too tight, but just enough to make sure the lid is secured well. Then I placed a towel over the jars to keep them from cooling too fast.
At some point you can hear the jar lids pop. This happens because the contents are cooling down and this creates negative pressure in the jar. The lids tighten and little button on the lids pop to the down position. If the button is in the up position after the jars have cooled completely, then the seal is compromised. The wort in that jar either needs to be used quickly or discarded. After a few hours, I check for proper lid sealing, remove the rings and the jars are ready to move to the storage cabinet.