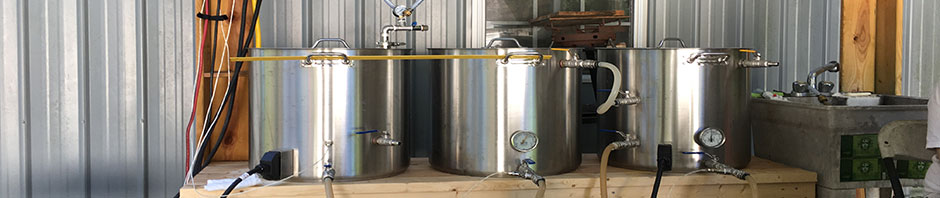
 I purchased a Ss Brewtech 7 gallon BrewBucket this past week after a long time pondering stainless steel fermenters. There are so many choices out there for fermenters. After considering a conical fermenter for years, I finally decided to give the Ss Brewtech BrewBucket a try. I drooled over the many conical choices but decided in the end that, on small scale, the conicals might be more trouble than they are worth. Not from a fermenting stand point, but the cleaning and upkeep afterwards. I watched a YouTube video that I thought would sealed the conical deal for me but afterwards, I was turned off. The BrewBucket seemed to be a good compromise to get rid of the plastic bucket and having to syphon from it.
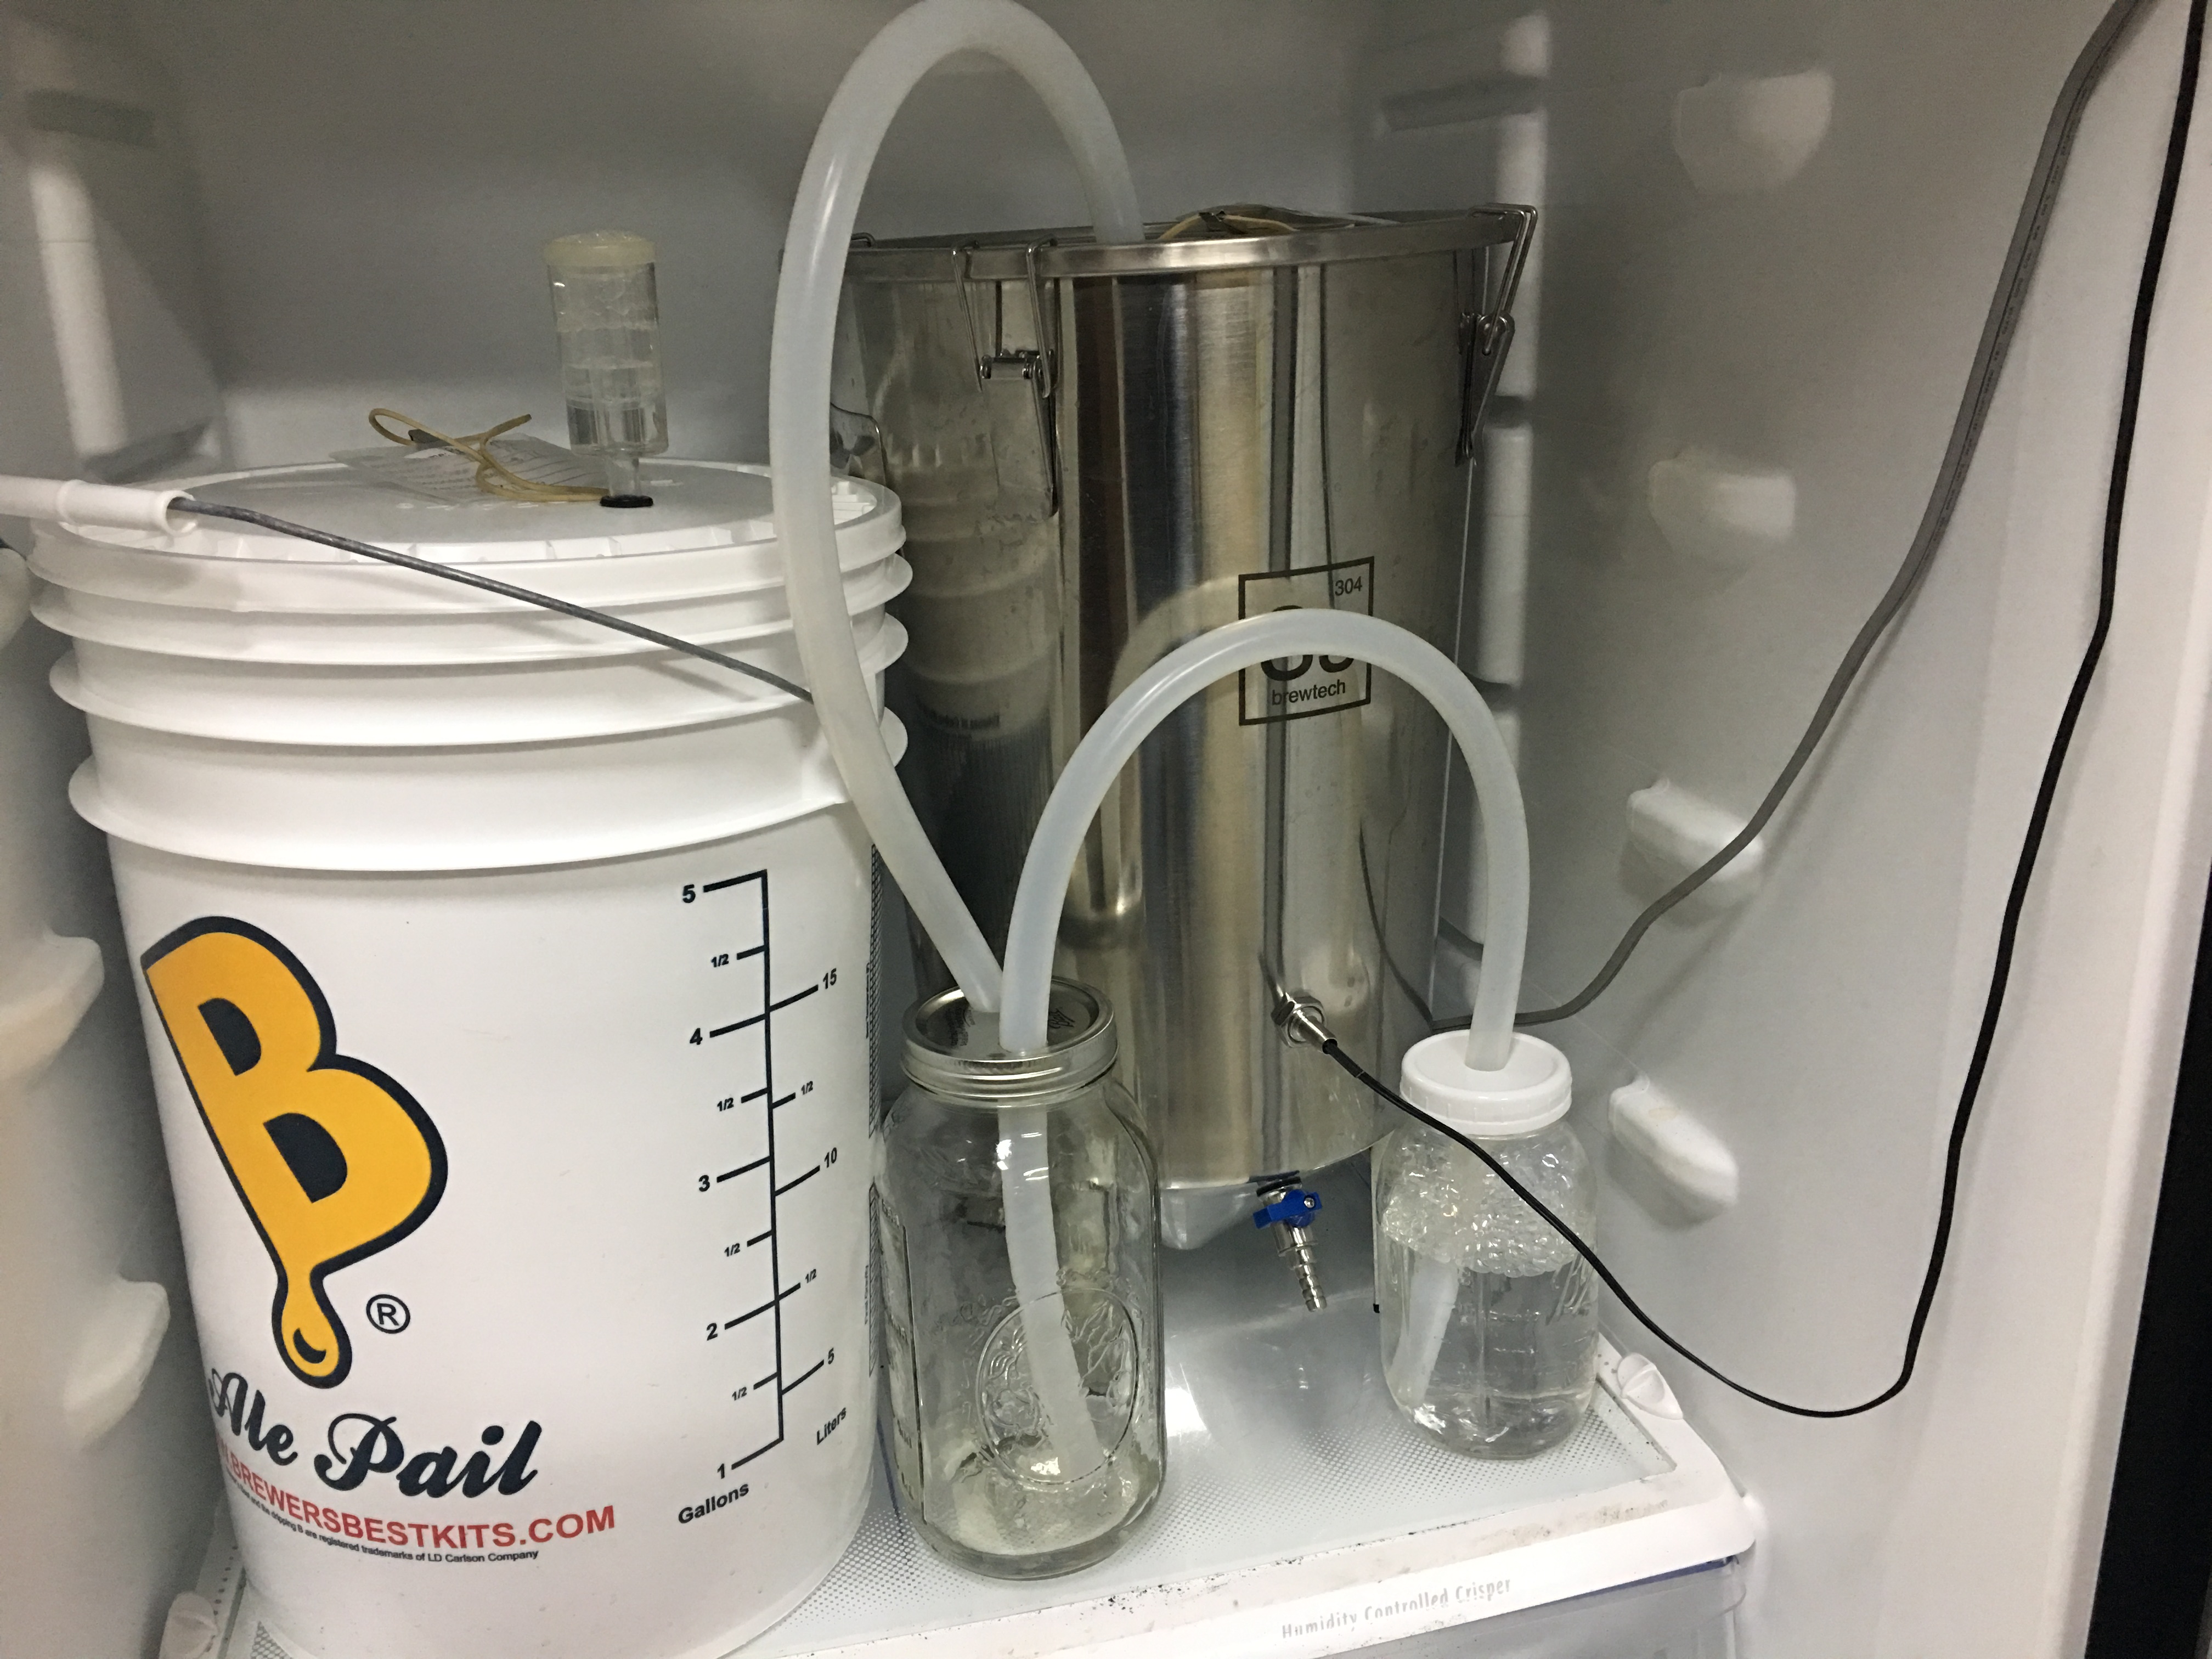
With the BrewBucket, I can take samples for checking SG. I never did that with buckets as the introduction of oxygen is too much of a threat. On my first attempt at taking a sample, I almost sucked the Star San from the air lock. I couldn’t simply remove the air lock as that would allow oxygen to be sucked into the fermenter. So, my new fermenter has created a new issue to deal with. I had to devise a way to prevent sucking Star San or oxygen back into the fermenter when drawing samples.
I measured the amount of liquid required to float the hydrometer by filling my cylinder with water and inserting the hydrometer. This would be the worst case scenario since water should come up as SG=1.000. All of my beers will float the hydrometer higher than that. My graduated cylinder holds a total of 130 ml of liquid without the hydrometer, so I used that volume as a guide for designing a CO2 exchange system.
I put the hydrometer in the graduated cylinder and filled to the brim with water. I removed the hydrometer and saw that it displaced approximately 30 ml of water, so I can draw 100 ml samples from the fermenter and have ample beer to measure specific gravity (SG).
The silicone tubing I am currently using has an inside diameter (ID) of 1/2″. Now to calculate what volume of carbon dioxide (CO2) will fill the space of 130 ml of liquid. The silicone tube is essentially a cylinder, so I used that formula to calculate how long a length of 1/2″ ID tubing needs to be to hold 130 ml.
Volume of a cylinder, V = πr^2h, where:
V = volume of cylinder
π = yummy
r = radius of tubing inside diameter
h = height of cylinder (length in this case)
Givens:
V = 130 ml
r = 1/4″ (half of the 1/2″ tubing ID)
Solving for h, or height (length in this case):
h = V / πr^2
We have some mixed units so I will convert the 130 ml to ultimately cubic inches (in^3):
Convert ml to cm^3, cubic centimeters: 130 ml * 1 cm^3 / 1 ml = 130 cm^3
Convert cm^3 to in^3: 130 cm^3 * 1 in^3 / 2.54^3 cm^3 = 7.93309 in^3
Find h from formula above: h = 7.93309 in^3 / π * (1/4″)^2 = 40.4 in.
So, if I drain out 130 ml of beer from the BrewBucket to check the specific gravity (SG), it will pull CO2 from the equivalent of 40.4″ of 1/2″ ID tubing.
I rigged up two Ball jars to accommodate the CO2 requirements: a quart Ball jar acting as the new “airlock” and a larger 1/2 gallon jar to act as a CO2 holding chamber. I filled the airlock jar 1/2 full with Star San to prevent bacteria, and to block oxygen back flowing up the tubing. The big jar doesn’t really need any liquid. It will suck liquid from the airlock jar if required while draining beer samples. The tube from the BrewBucket to the CO2 chamber is 29.5″ so when I draw samples, CO2 from the tubing as well as some in the CO2 chamber will be drawn back into the fermenter and NO OXYGEN! And to boot, it will be CO2 that was generated by the beer fermentation.
Before rigging this set up and connecting to the BrewBucket, I flushed the tubing and jars with CO2 to remove oxygen.
So, as the wort ferments, it gives off CO2 that goes through the tubing in the top of the BrewBucket, down to the large CO2 holding jar, through the holding jar exit tubing into the “airlock” jar and down into the Star San where it exits as bubbles. The lid is not air tight so the CO2 leaks out just fine. Another option would be to drill another hole in the top and place a standard airlock/stopper in there.
For the lid for the large jar, which is a large mouth lid and ring, I drilled two 11/16″ holes into it and smoothed the edges so they would not be so sharp or jagged. This size hole accommodates a tight fit for the silicone tubing as the outside diameter (OD) of the silicone tubing is 3/4″.
02-01-2018 9:00 am: I drew my second sample of beer from the fermenter. It was right at 100 ml. I poured it back and forth from the sample jar to a cup several times to de-gas the sample. Then I carefully poured the sample into the test cylinder, trying to avoid getting any foam from the cup. I put the hydrometer in the cylinder and measured the sample at SG=1.029. The original gravity (OG) was SG=1.047 and I expect it to ferment out to around SG=1.010, so the total drop will be 47 – 10 = 37 points. Now at SG=1.029, so that is a drop of 18 points from OG. So 37 / 18 * 100 = 48.6 % fermented, leaving an estimated 19 more points to go.
I observed that, while drawing the sample, the tube in the airlock jar drew Star San about 4″ up in the tube. Once I closed the sample valve, I could see the gas pushing the liquid back out of the tube slowly. I sprayed Star San up into the barb fitting on the sample valve several times to clean it out good.