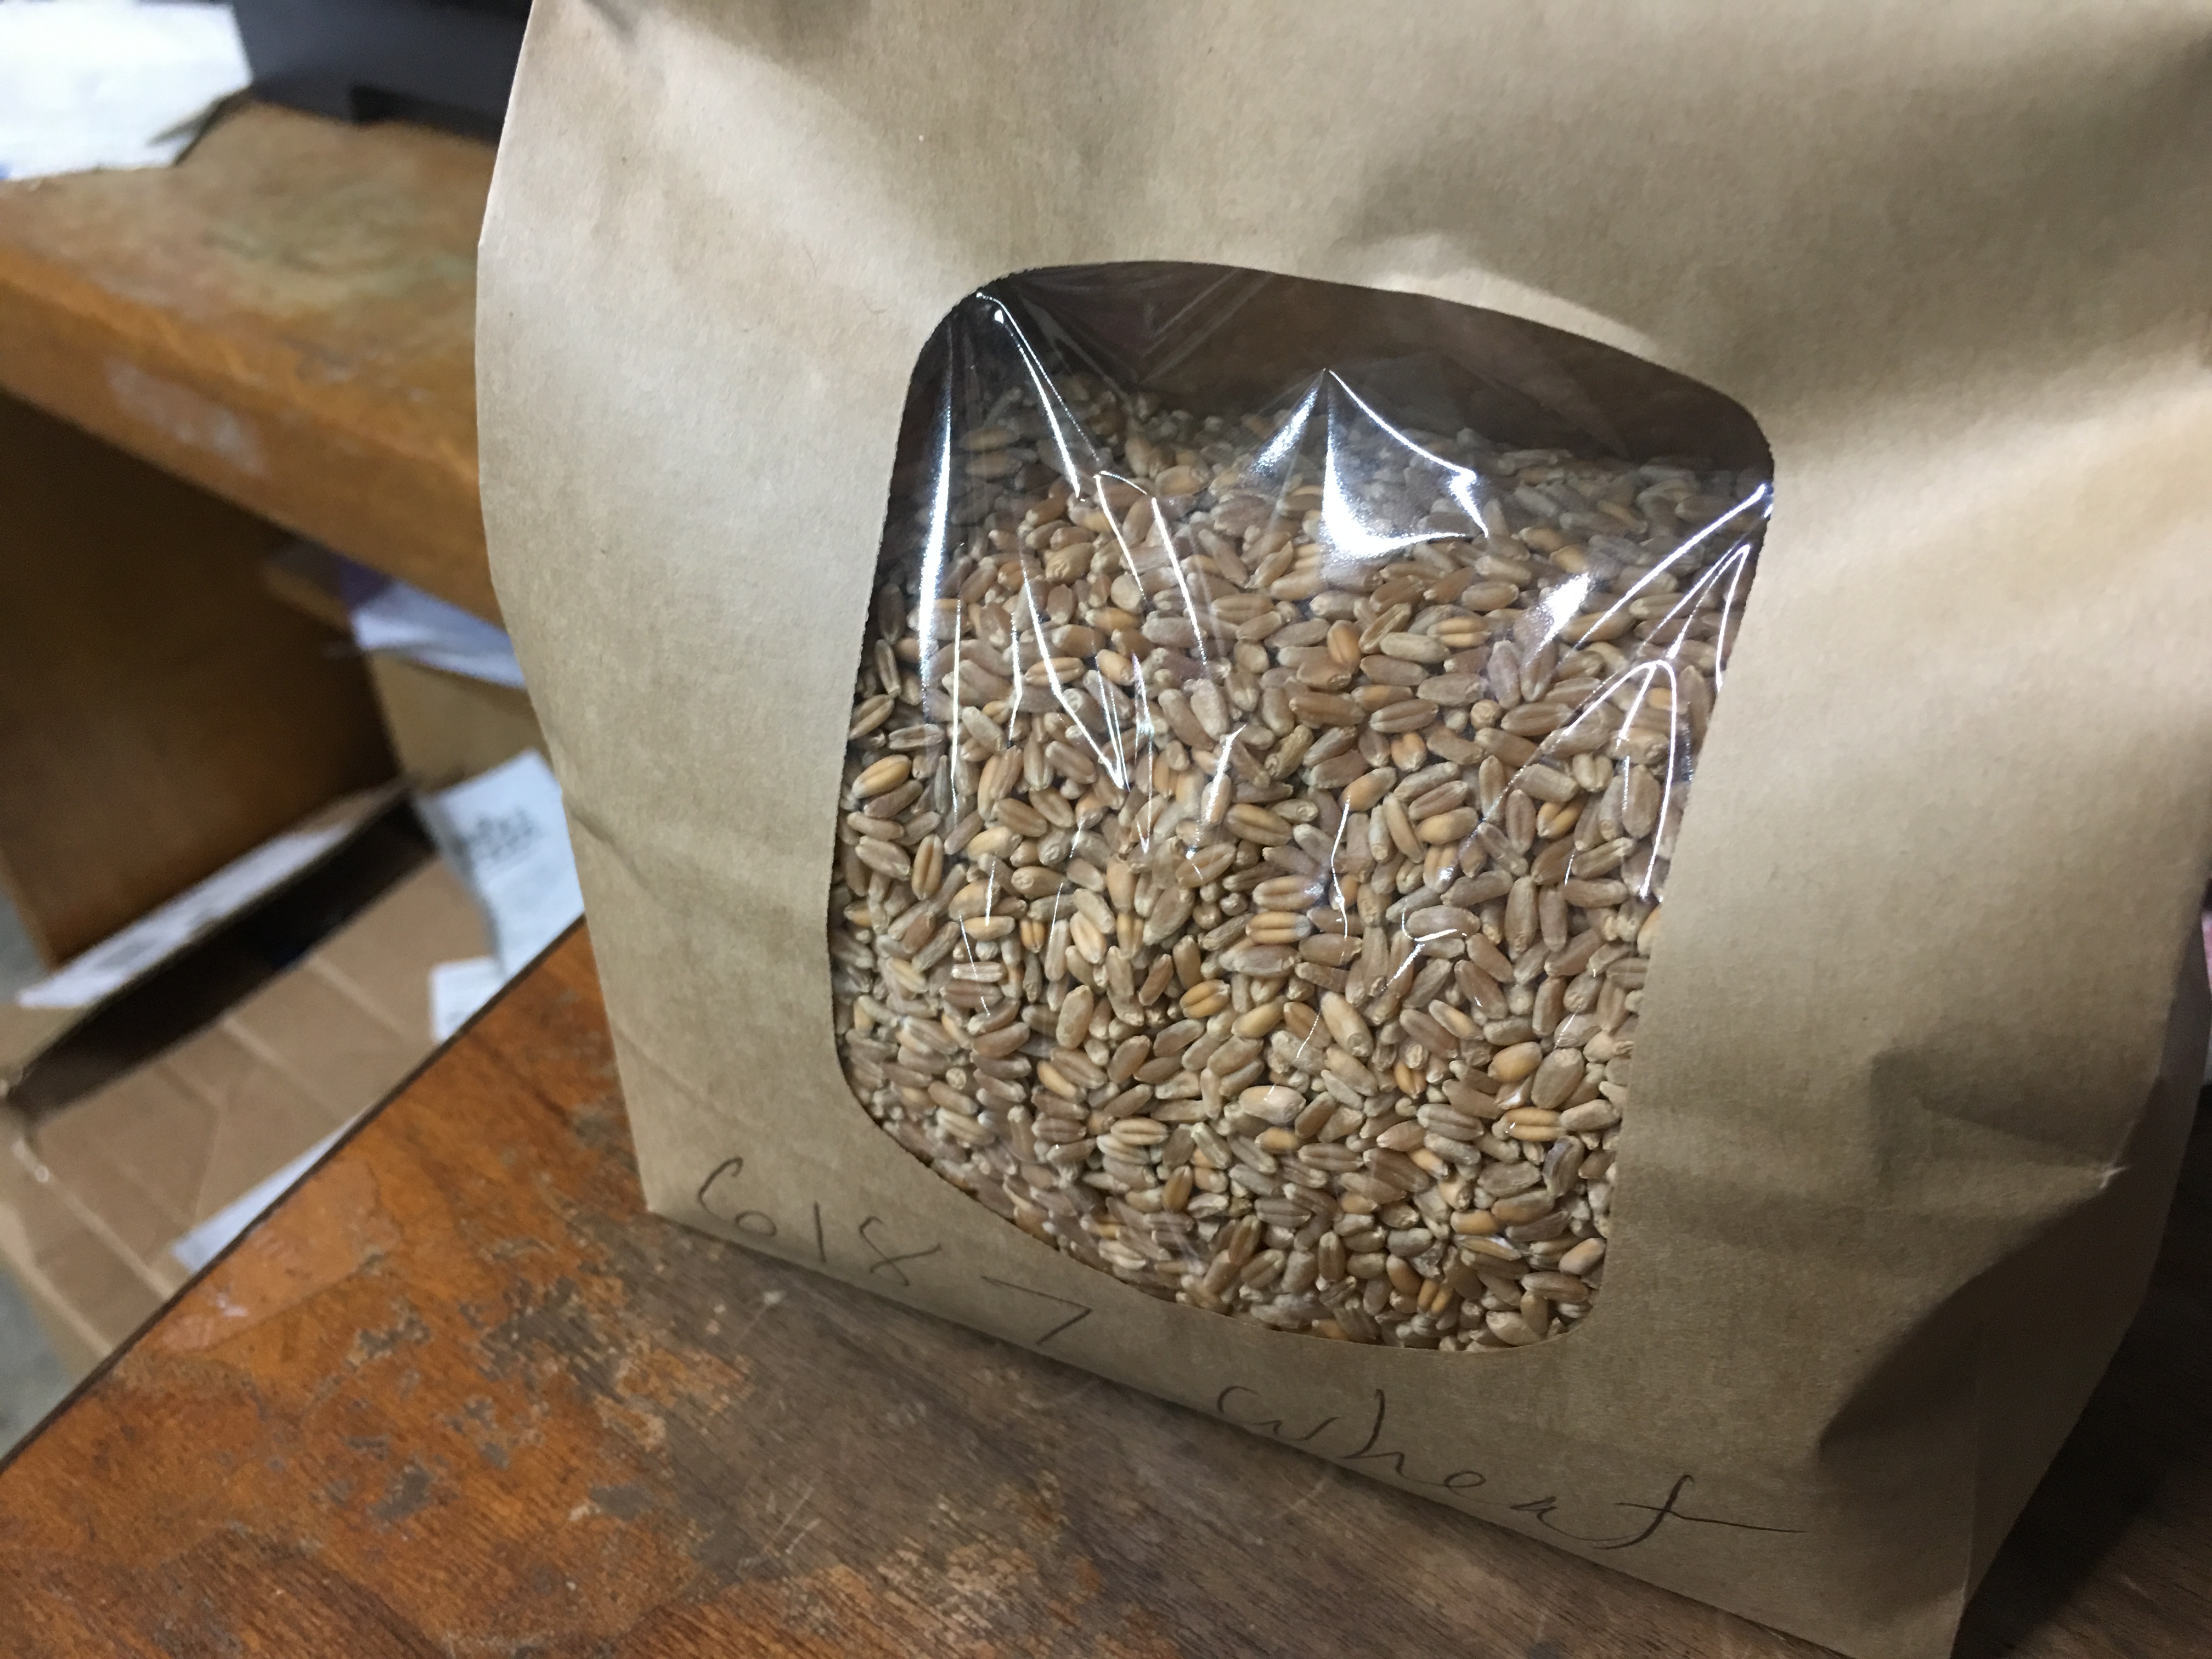
 I have been reading about malting grains for a good while and finally decided to give it a try after I spotted some raw wheat at Whole Foods the other day. I bought about 2.5 pounds of it to play around with. It was labeled as organic hard red winter wheat.
I put a dozen or so grains in a folded paper towel and placed it in a zip lock bag with enough water to wet the paper towel well. I let it sit for a few days and sure enough the grains sprouted to the people oint where the acrospire had turned green.
I used this procedure which seems to be popular with Google:
03/14/19 2:00 PM: I place the wheat in a two-gallon bucket and added enough water to about two inches above the wheat. I mixed it around a bit to allow any debris to make its way loose and then strained it. I added the same about of water again and let it sit for eight hours.
03/14/19 10:00 PM: I strained the wheat and put it back in the bucket, placed the lid on lightly (not sealed) and let it sit for another eight hours.
03/15/19 6:00 AM: I added water back to the wheat as before and let it sit another eight hours.
3/15/19 2:00 PM: After draining the wheat, I spredded the very damp wheat evenly layered about one inch deep into a stainless steel pan and covered with a towel. That evening before bed, I sprayed the top with water, just enough to keep it moist. I did the same the next morning.
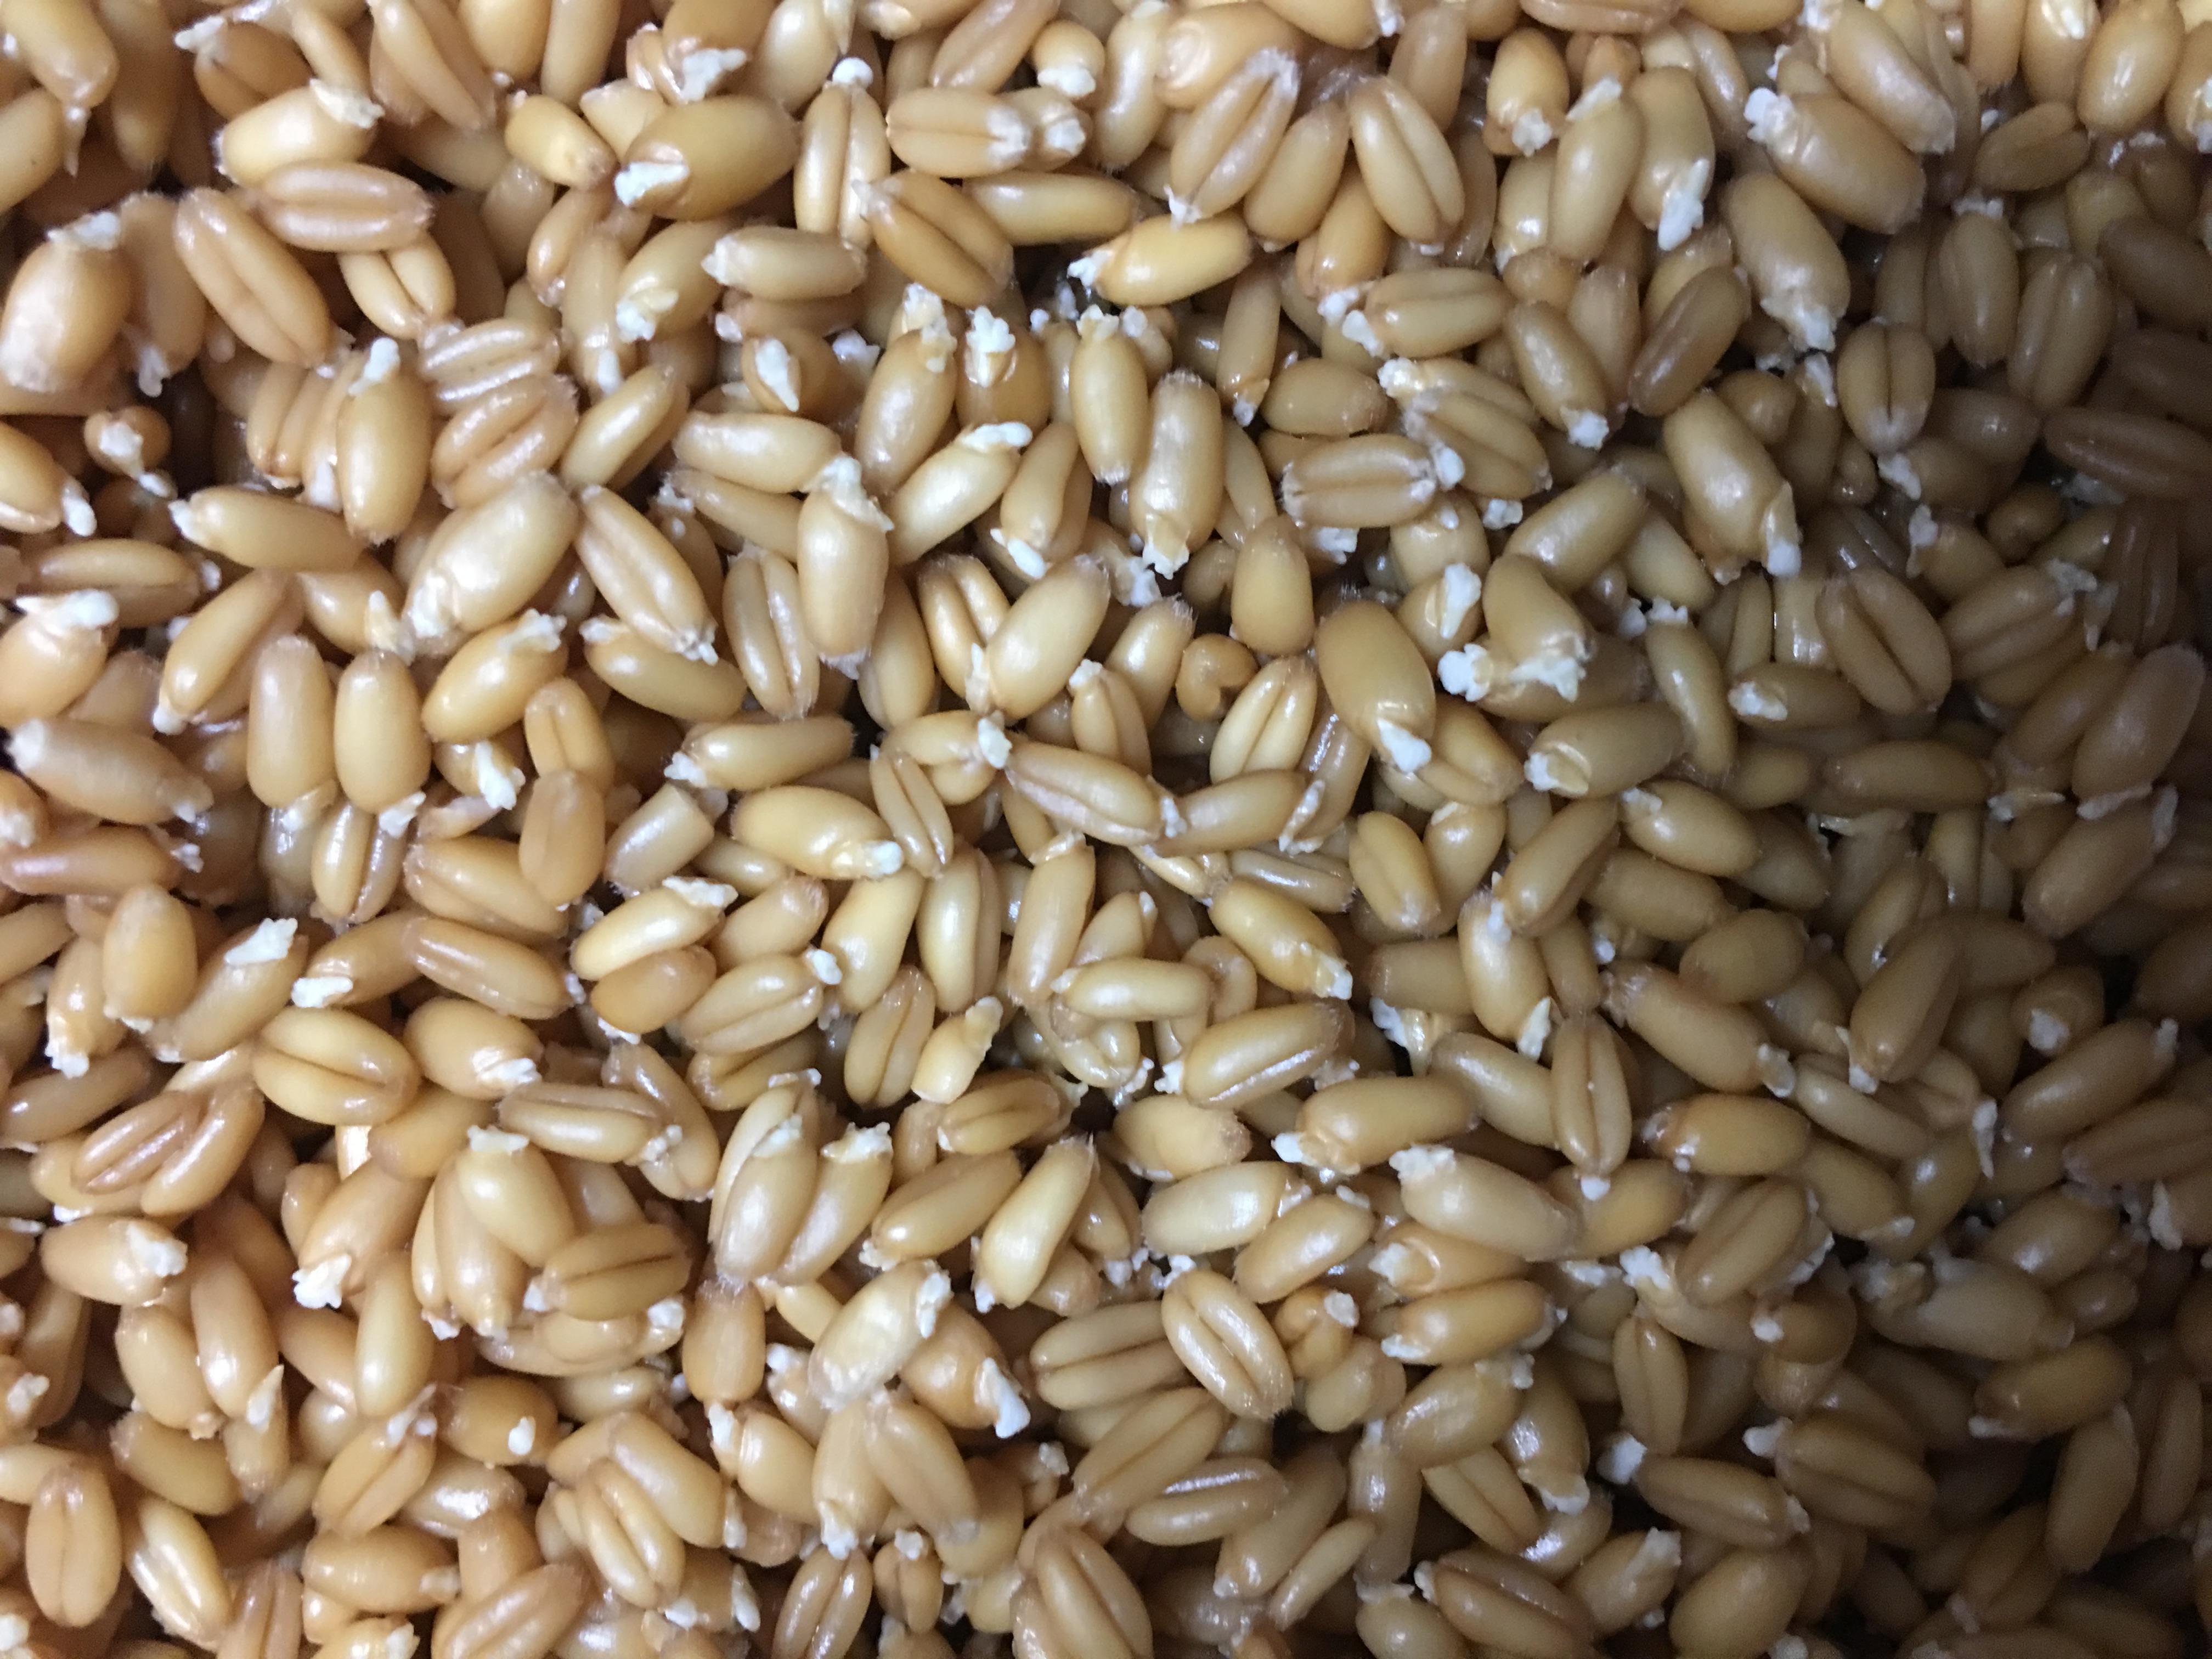
After about 18 hours into the soaking process, I observed the small white chits emerging from the grains.
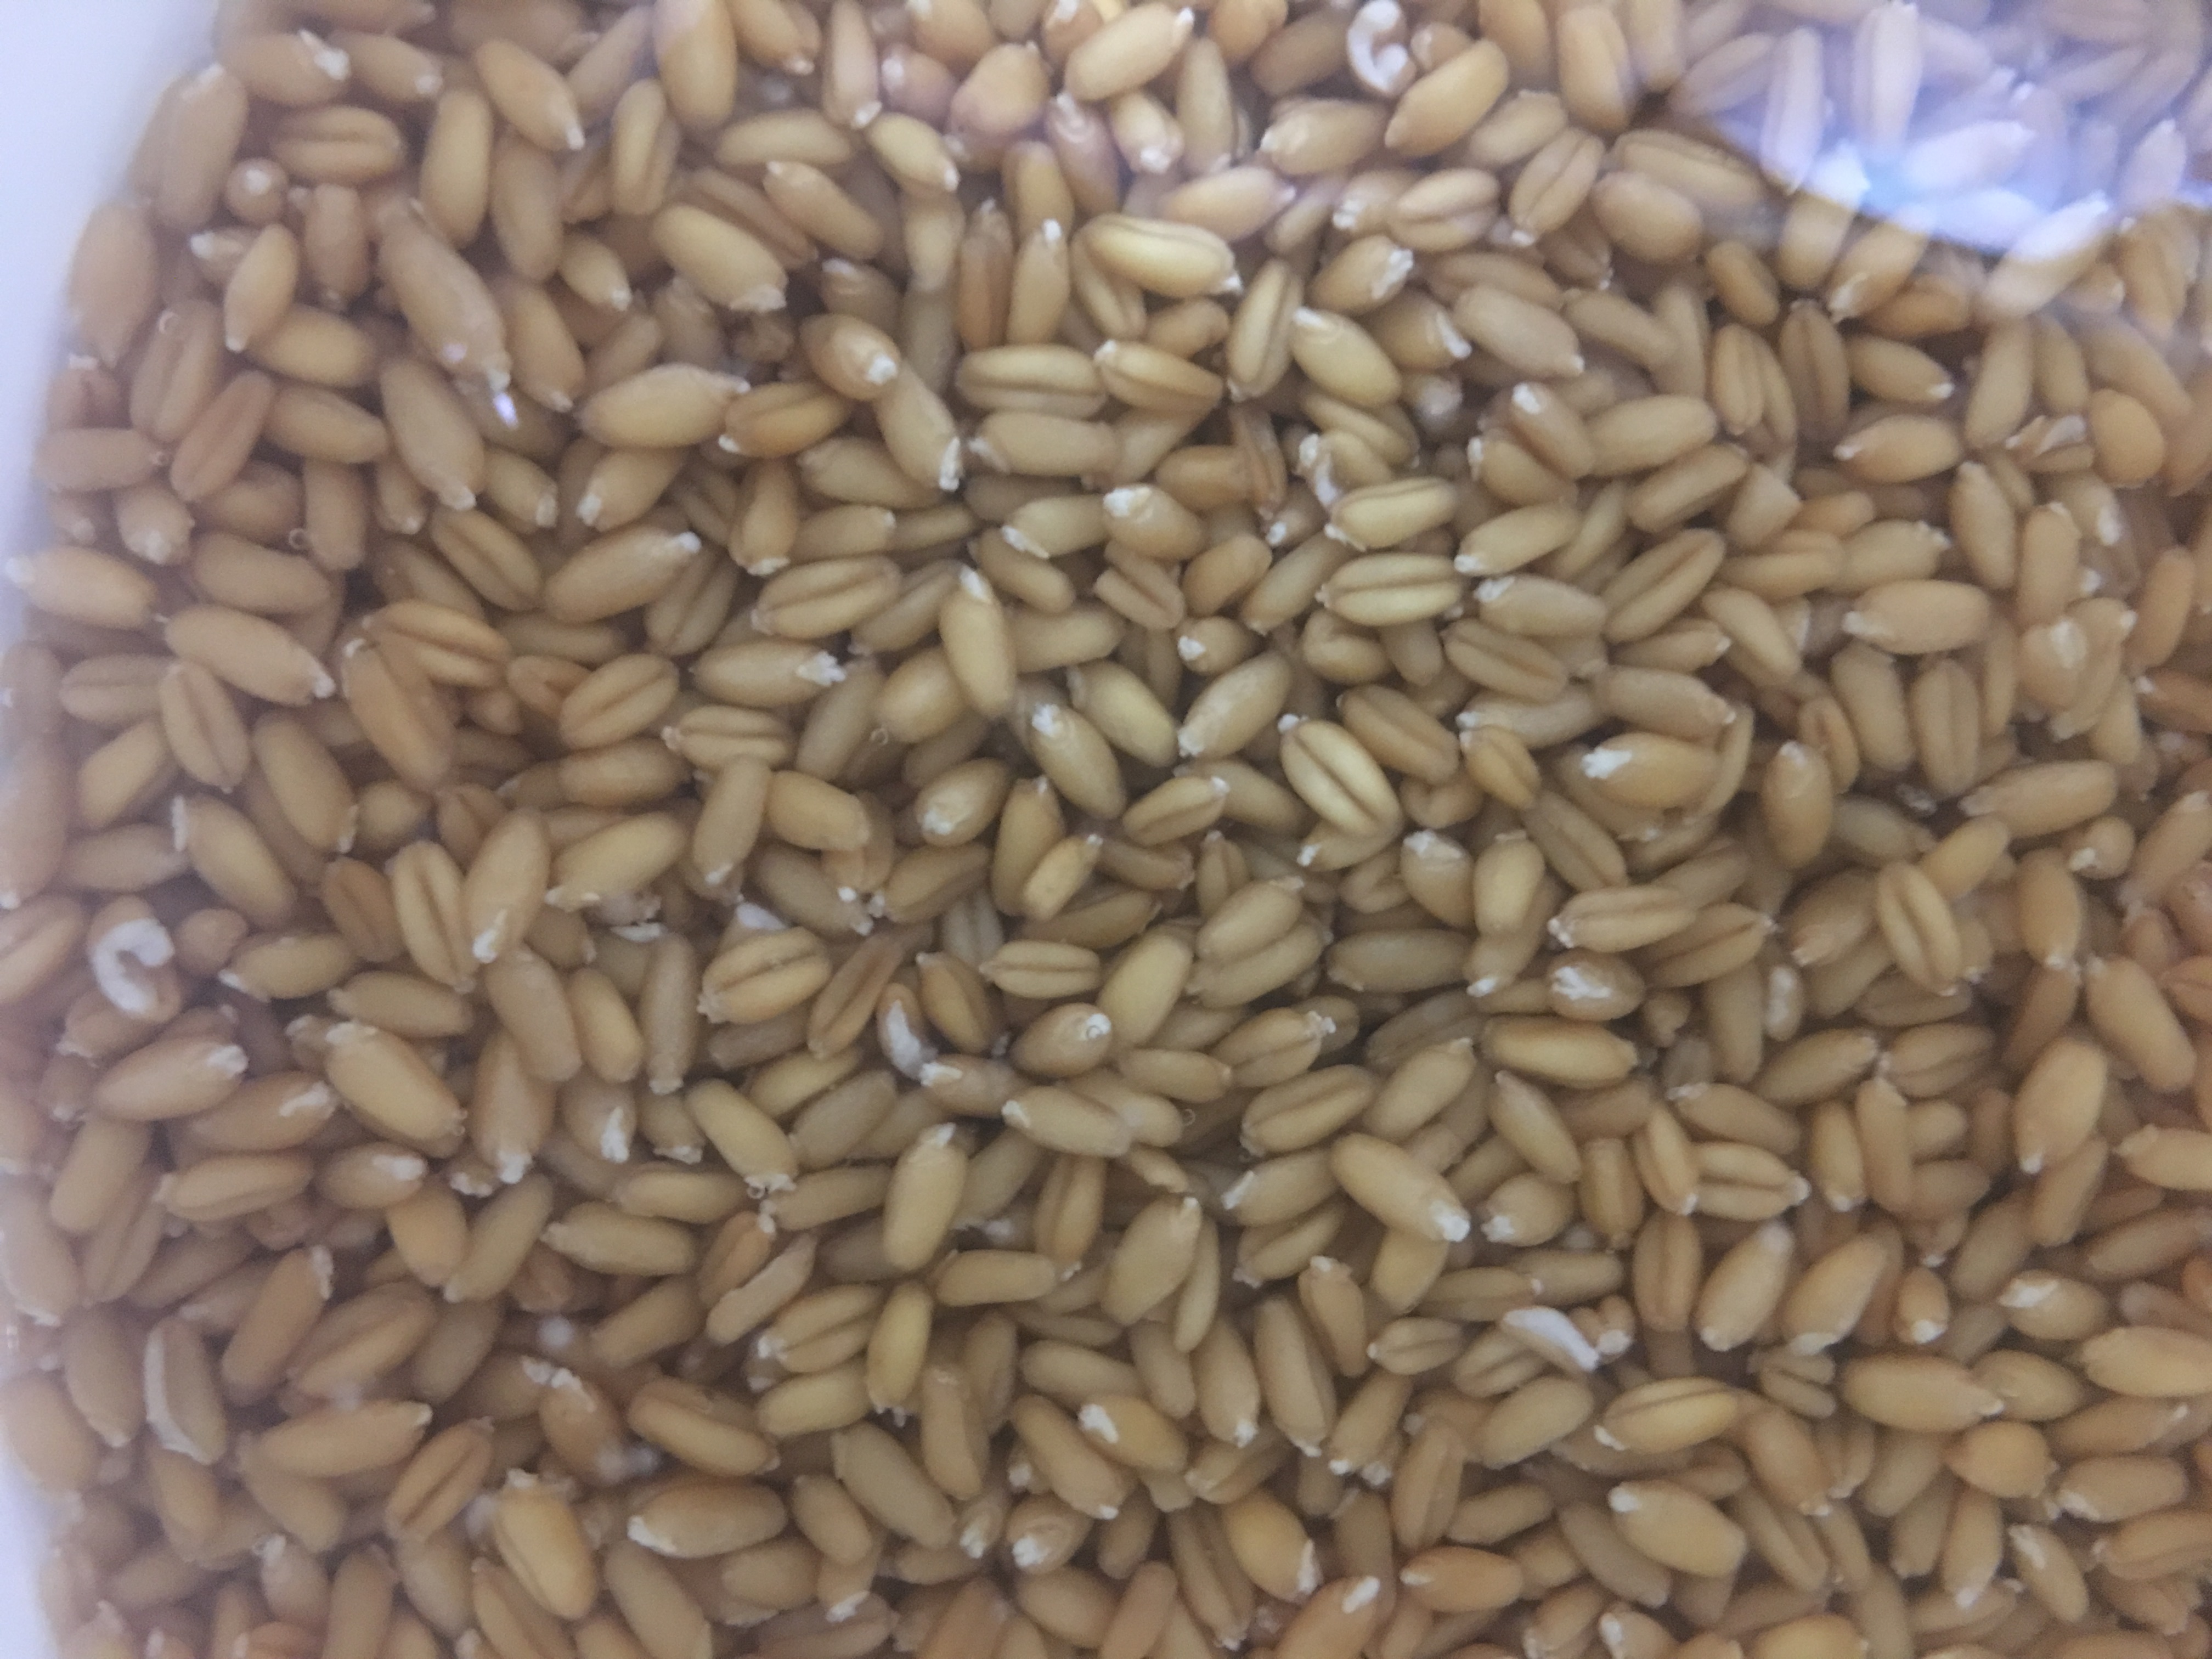
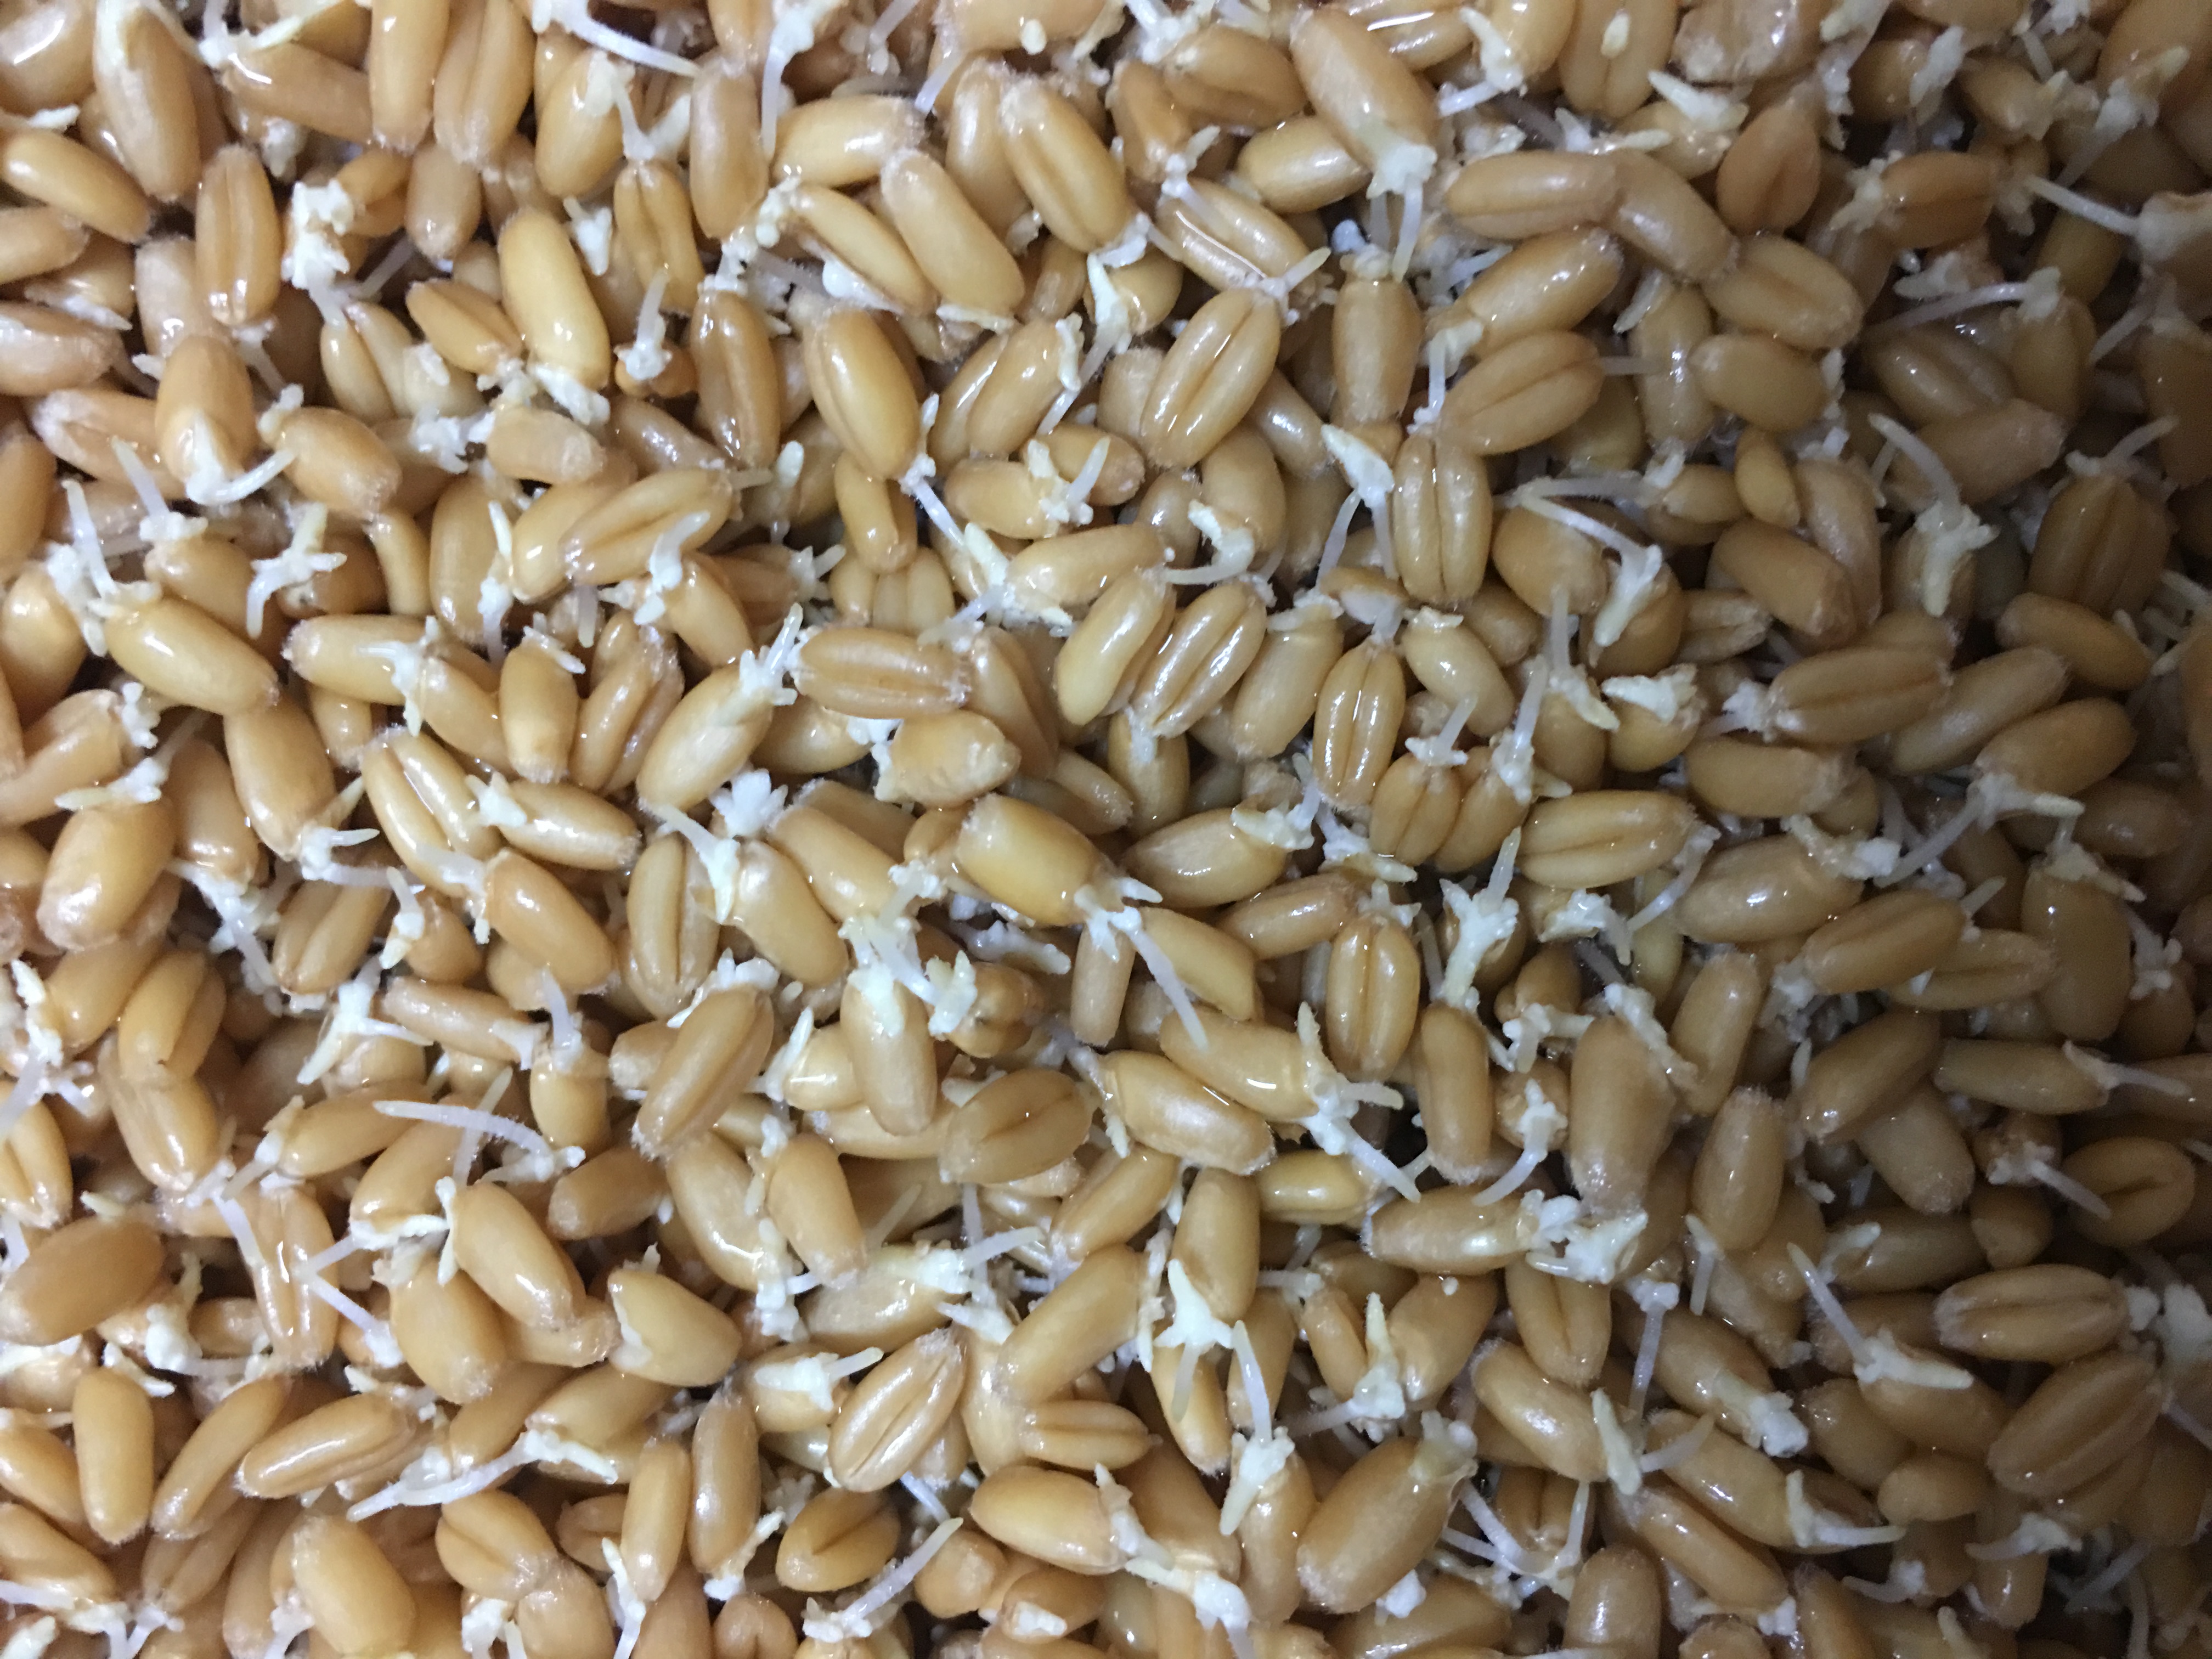
At about 28 hours, I observed the roots and acrospire beginning to emerge.
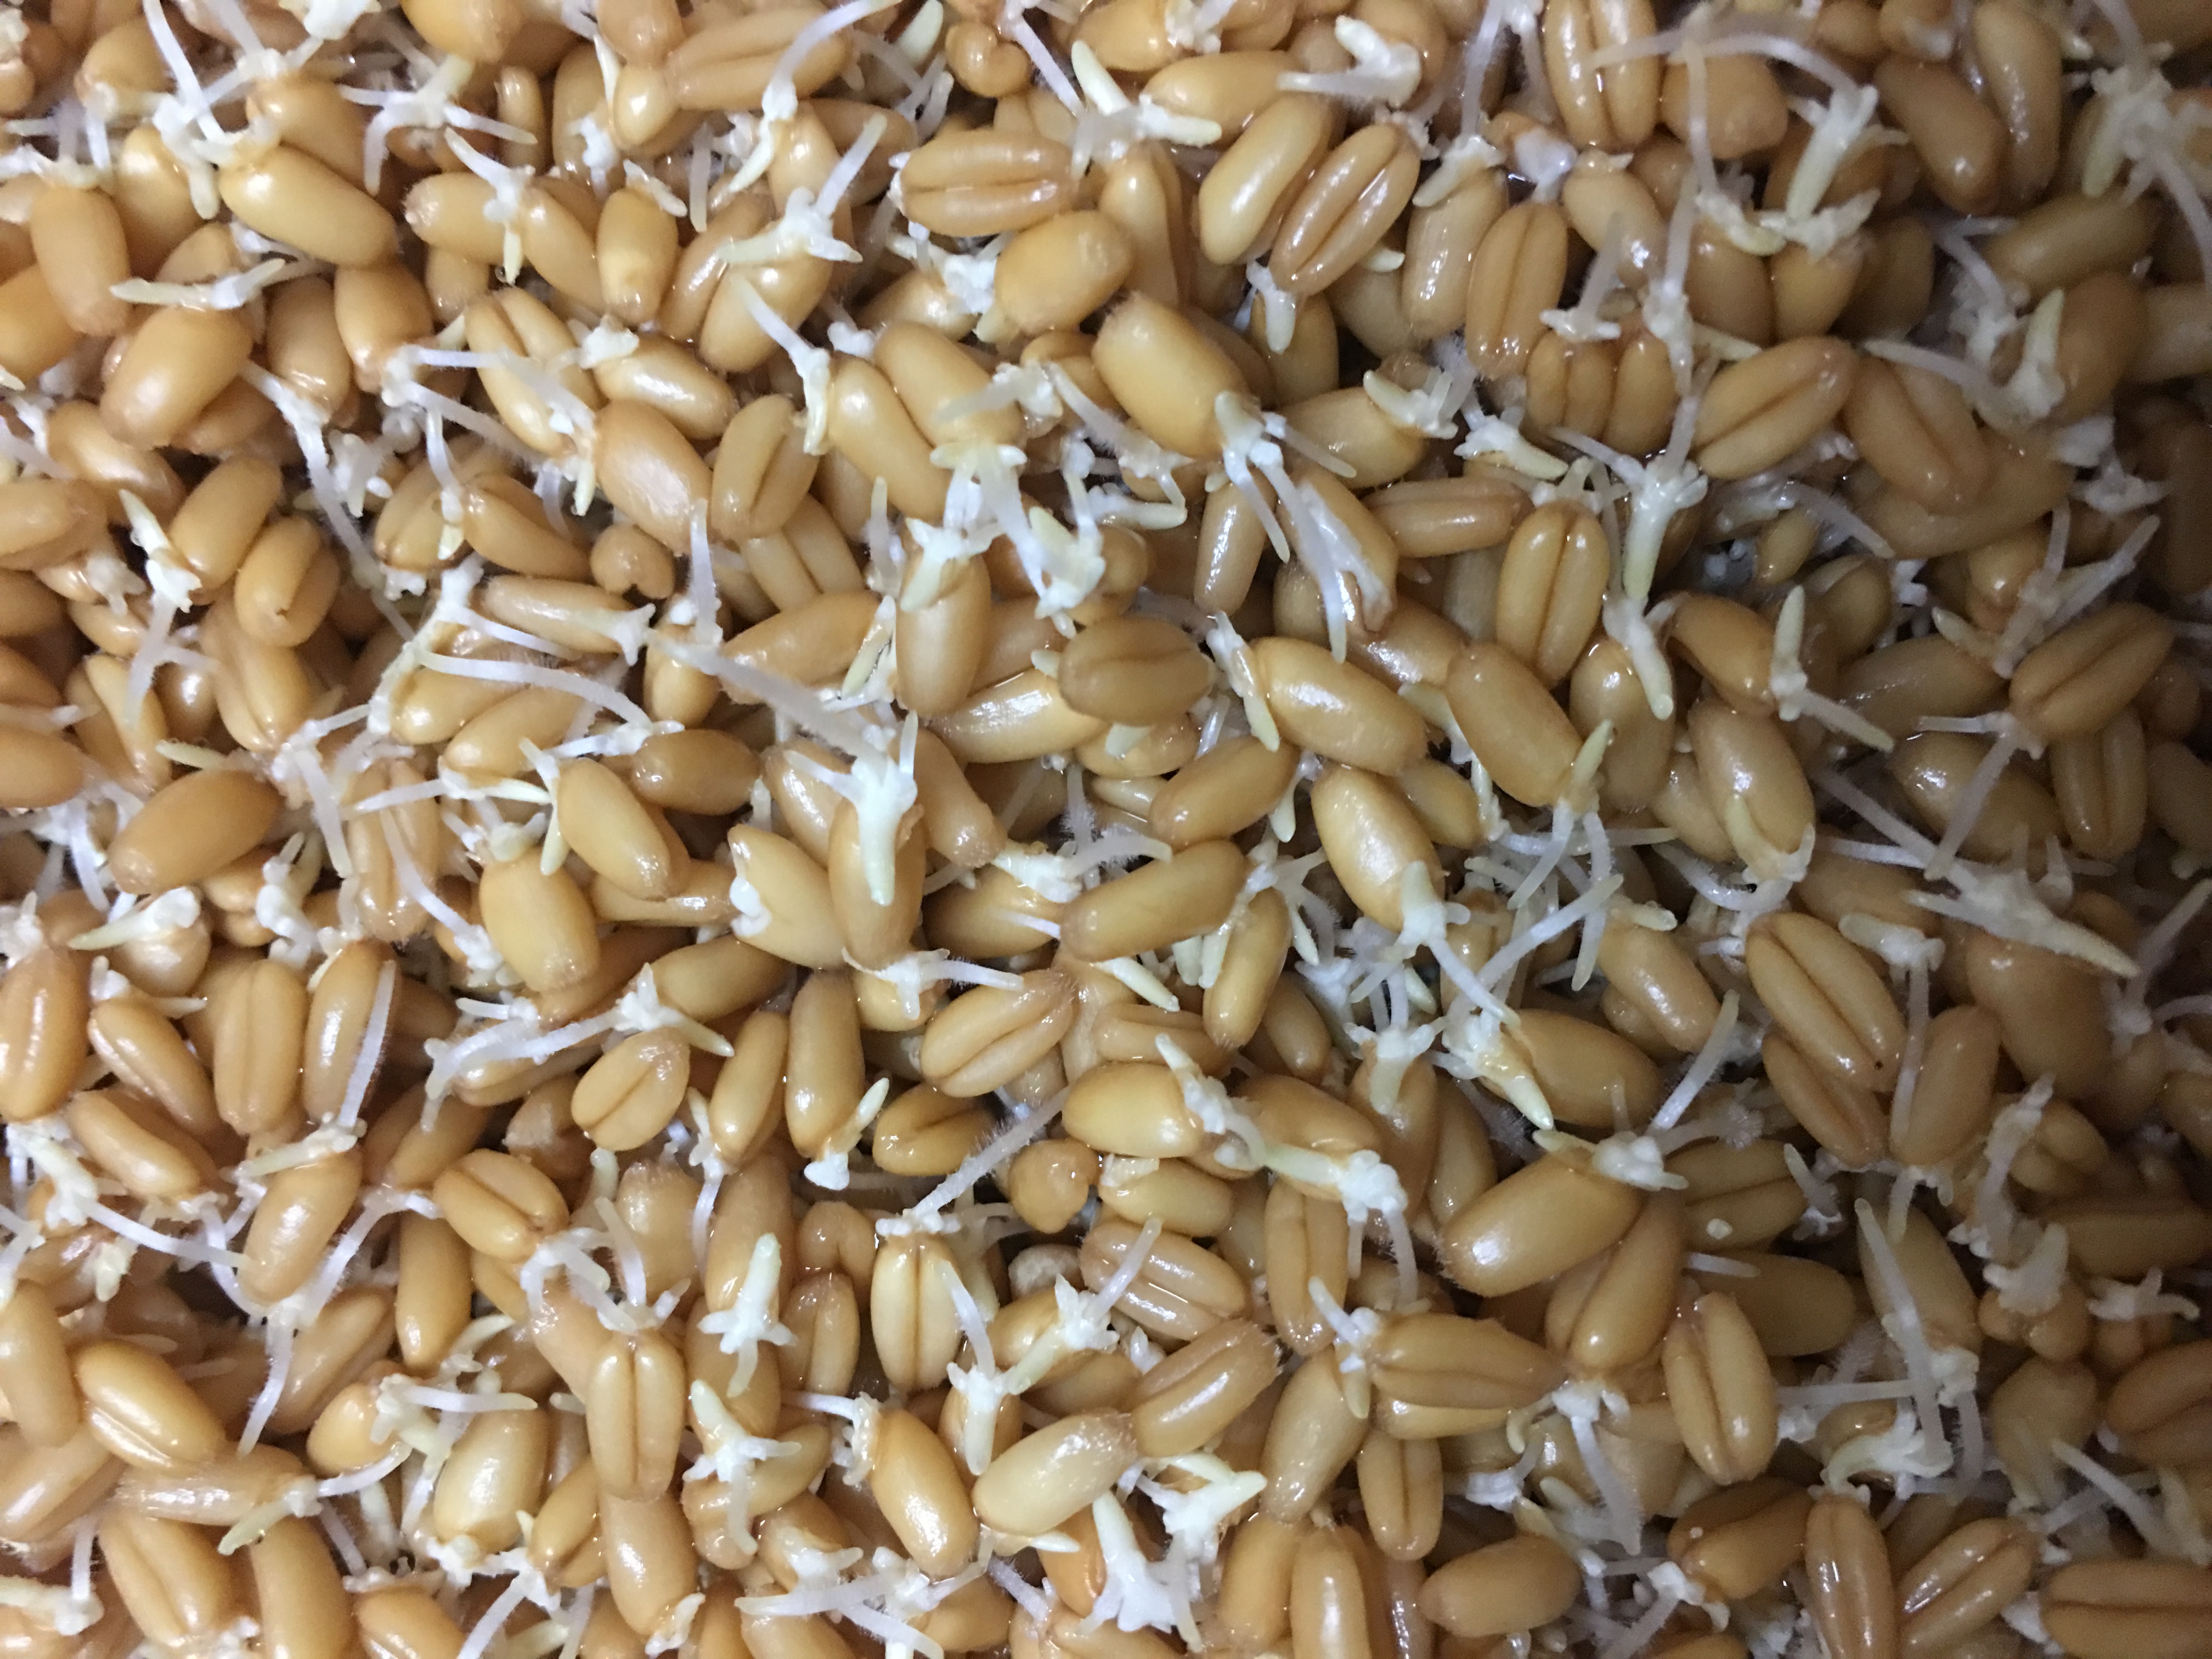
At 42 hours, the roots and acrospire are easily visible.
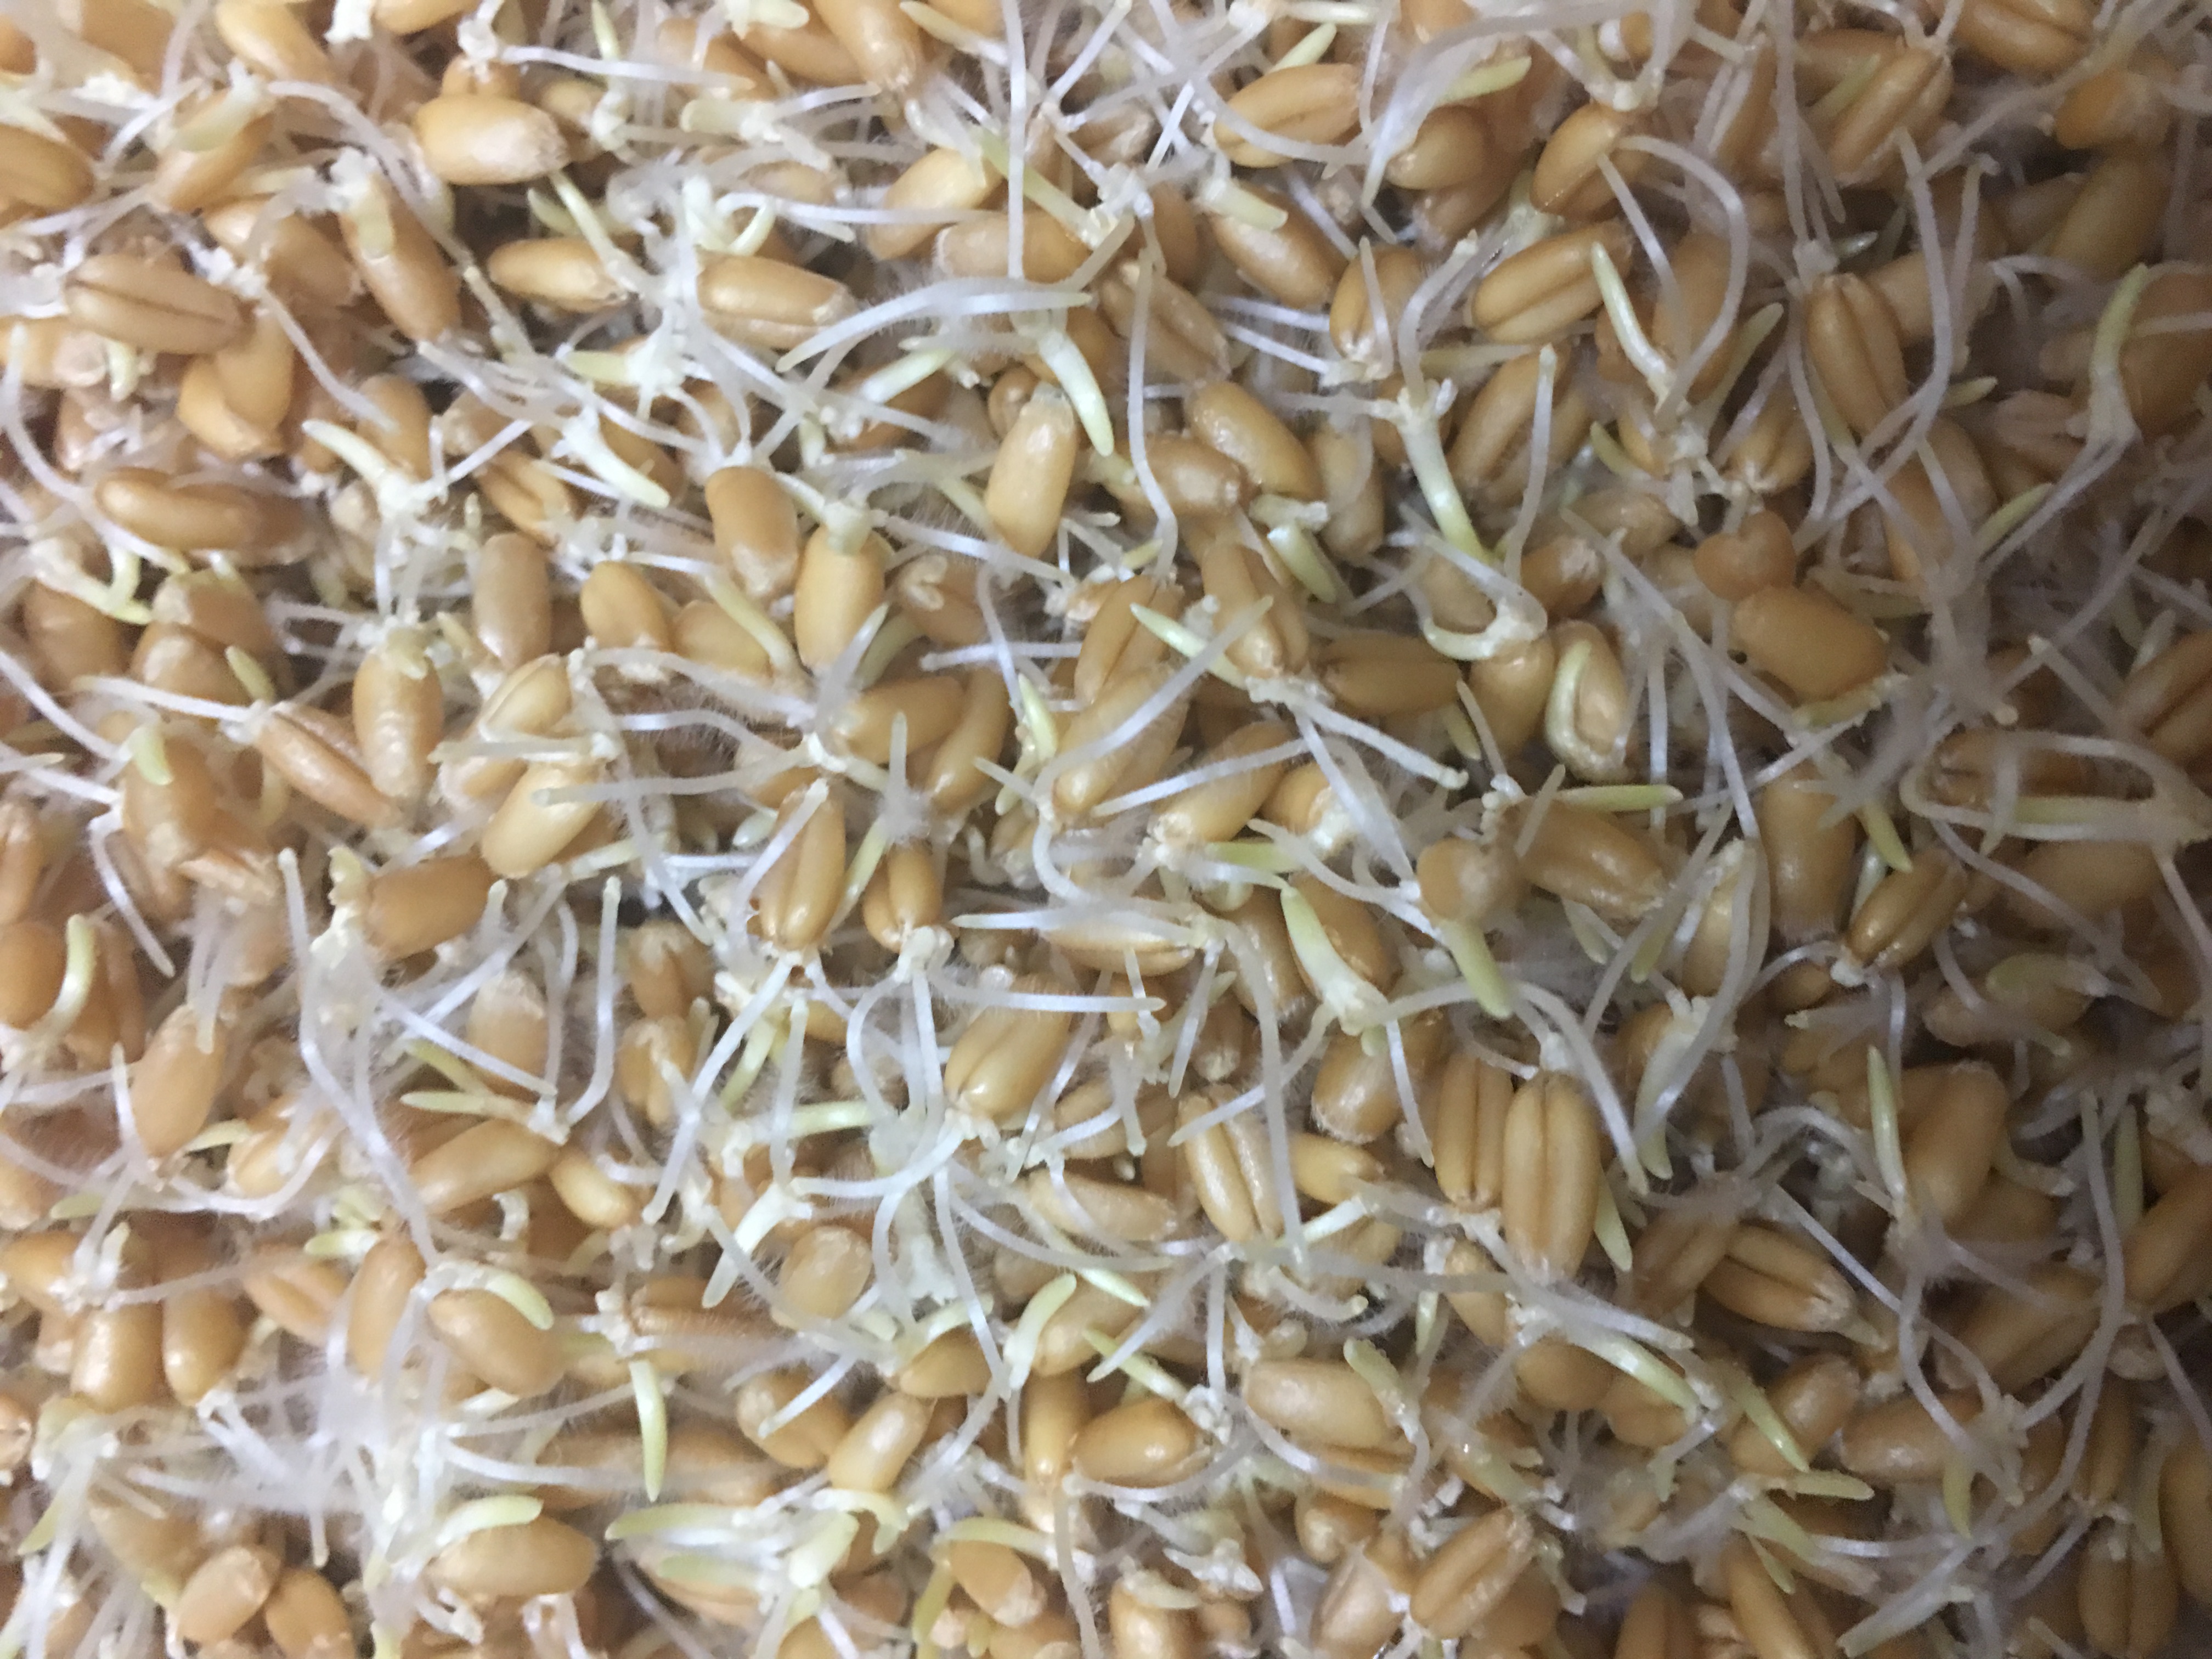
At 49 hours, the acrospire appears to be 1/4 to 1/3 the length of the kernels.
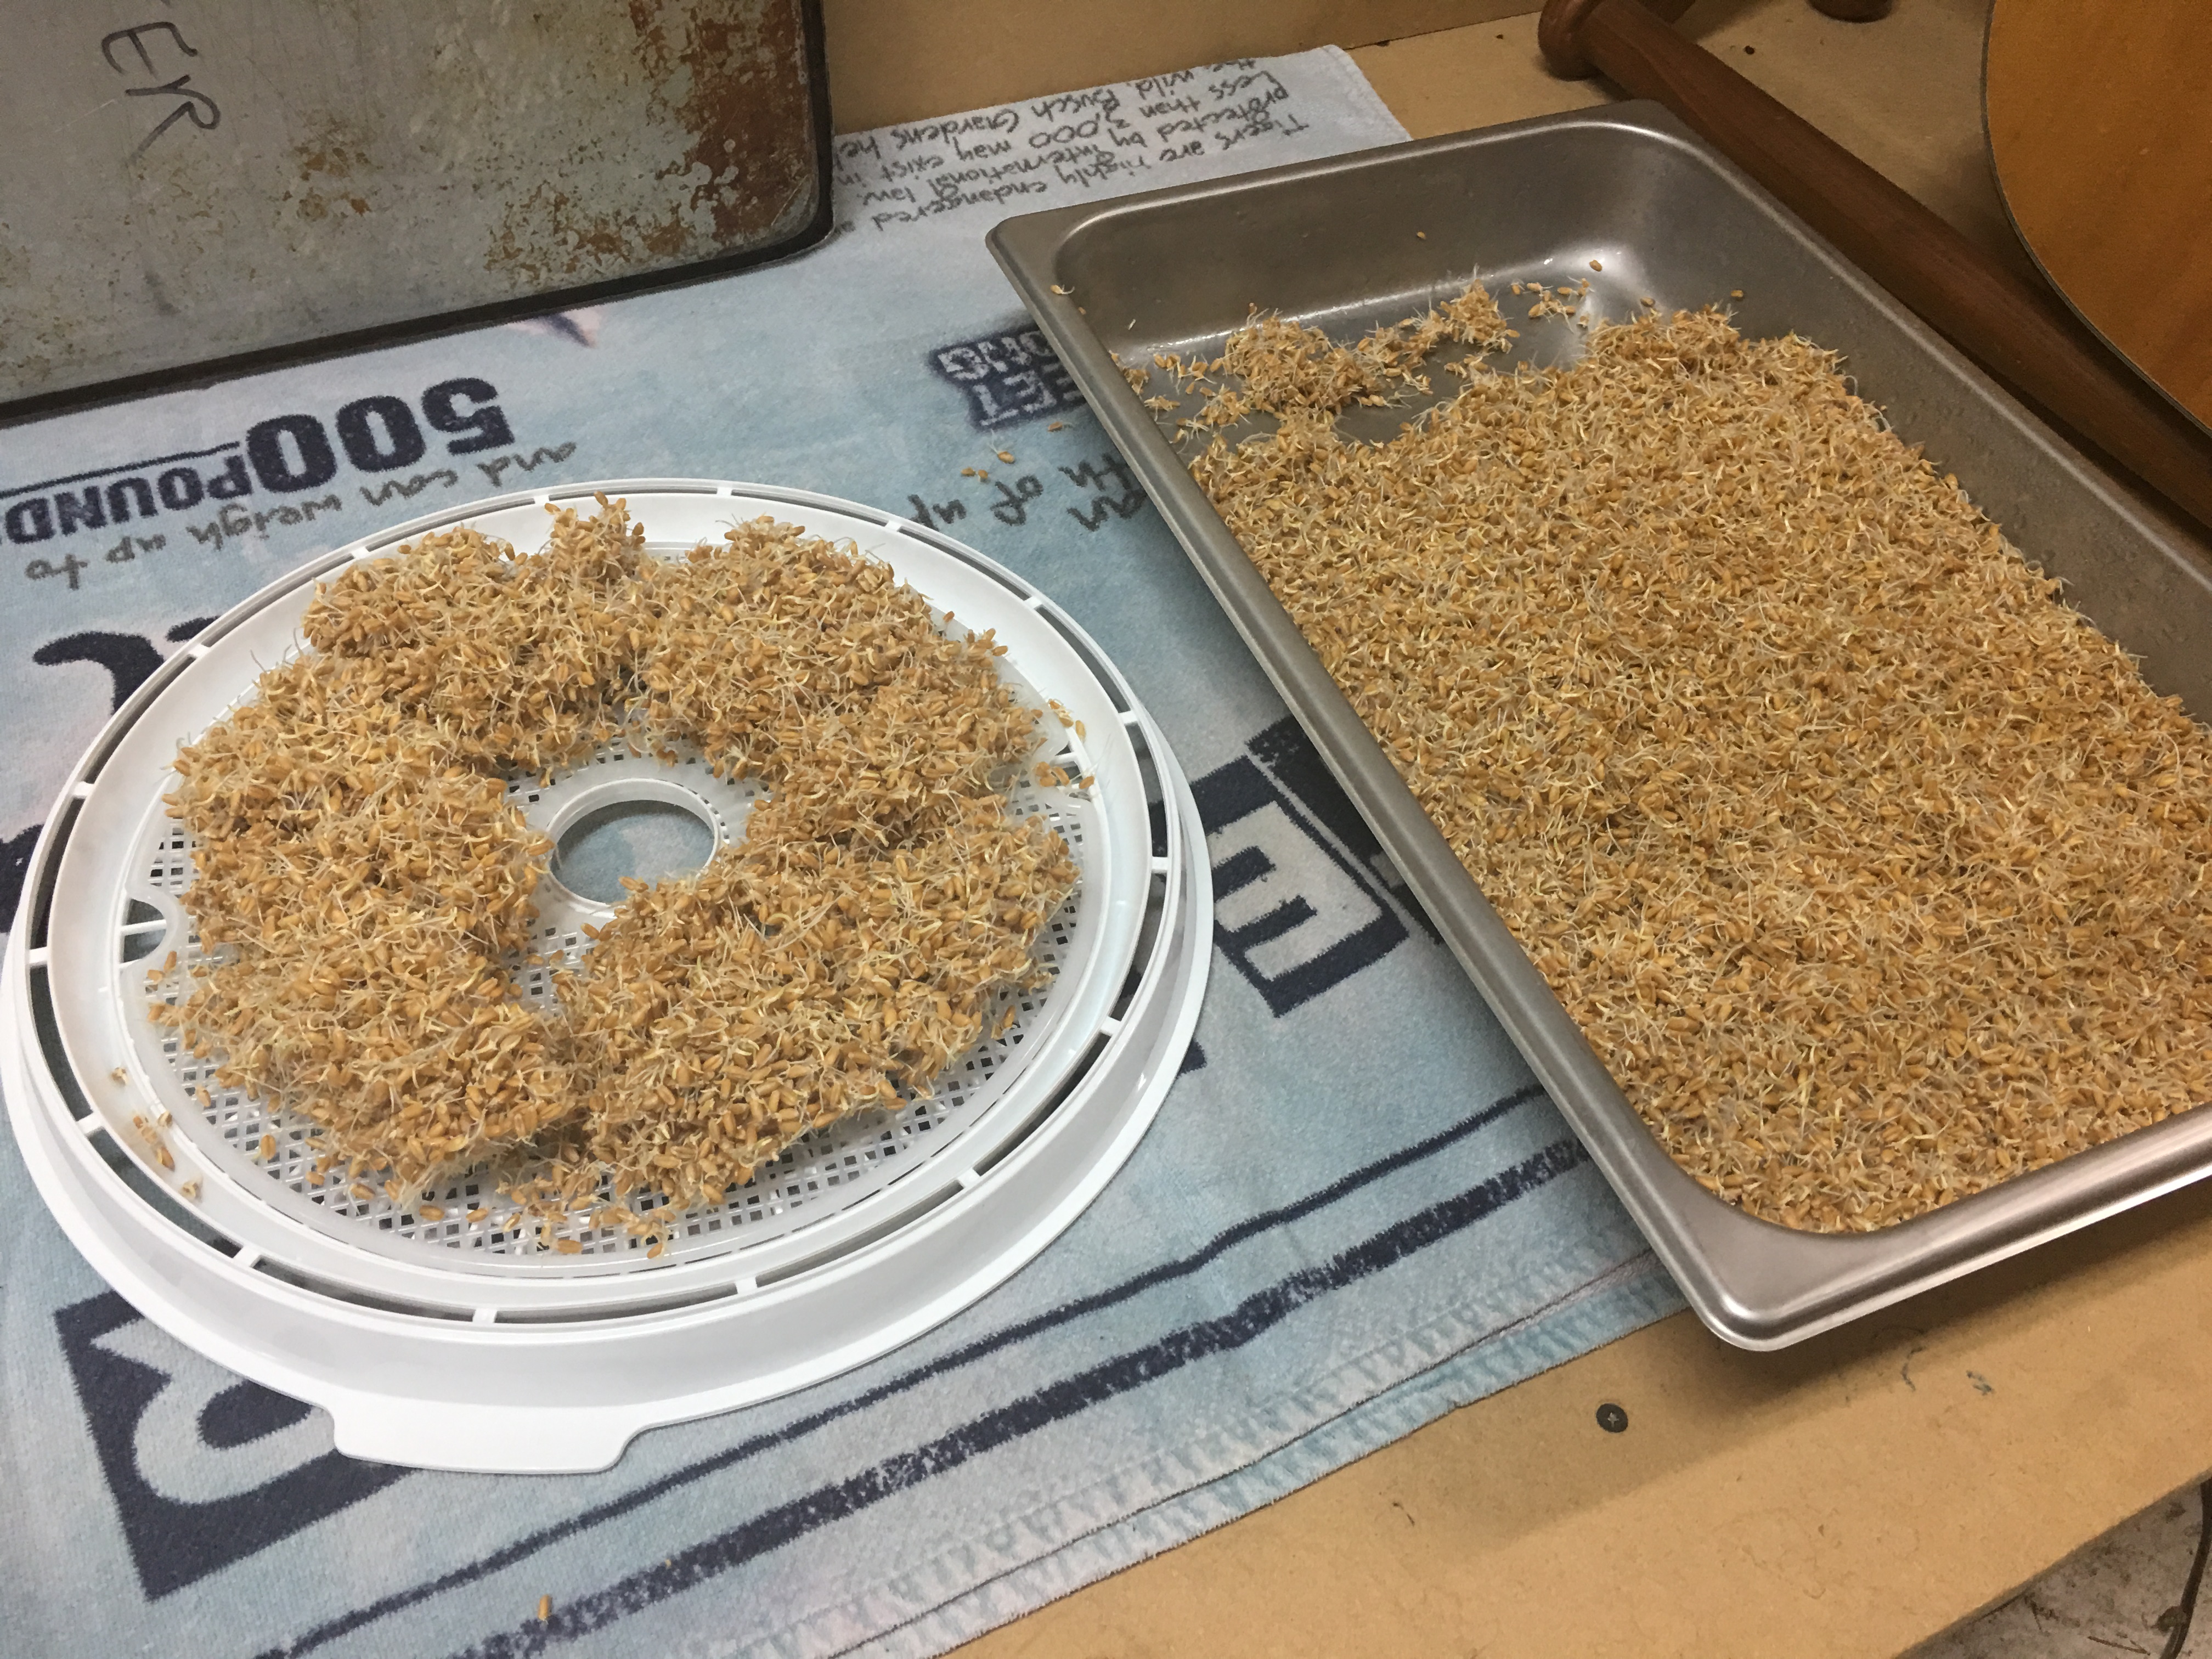
03/17/19 10:00 AM: At 68 hours, I observed that many of the grains had acrospires at or close to the length of the kernel. There were a lot that were around 1/4 the length but I decided to go ahead and begin the drying process.
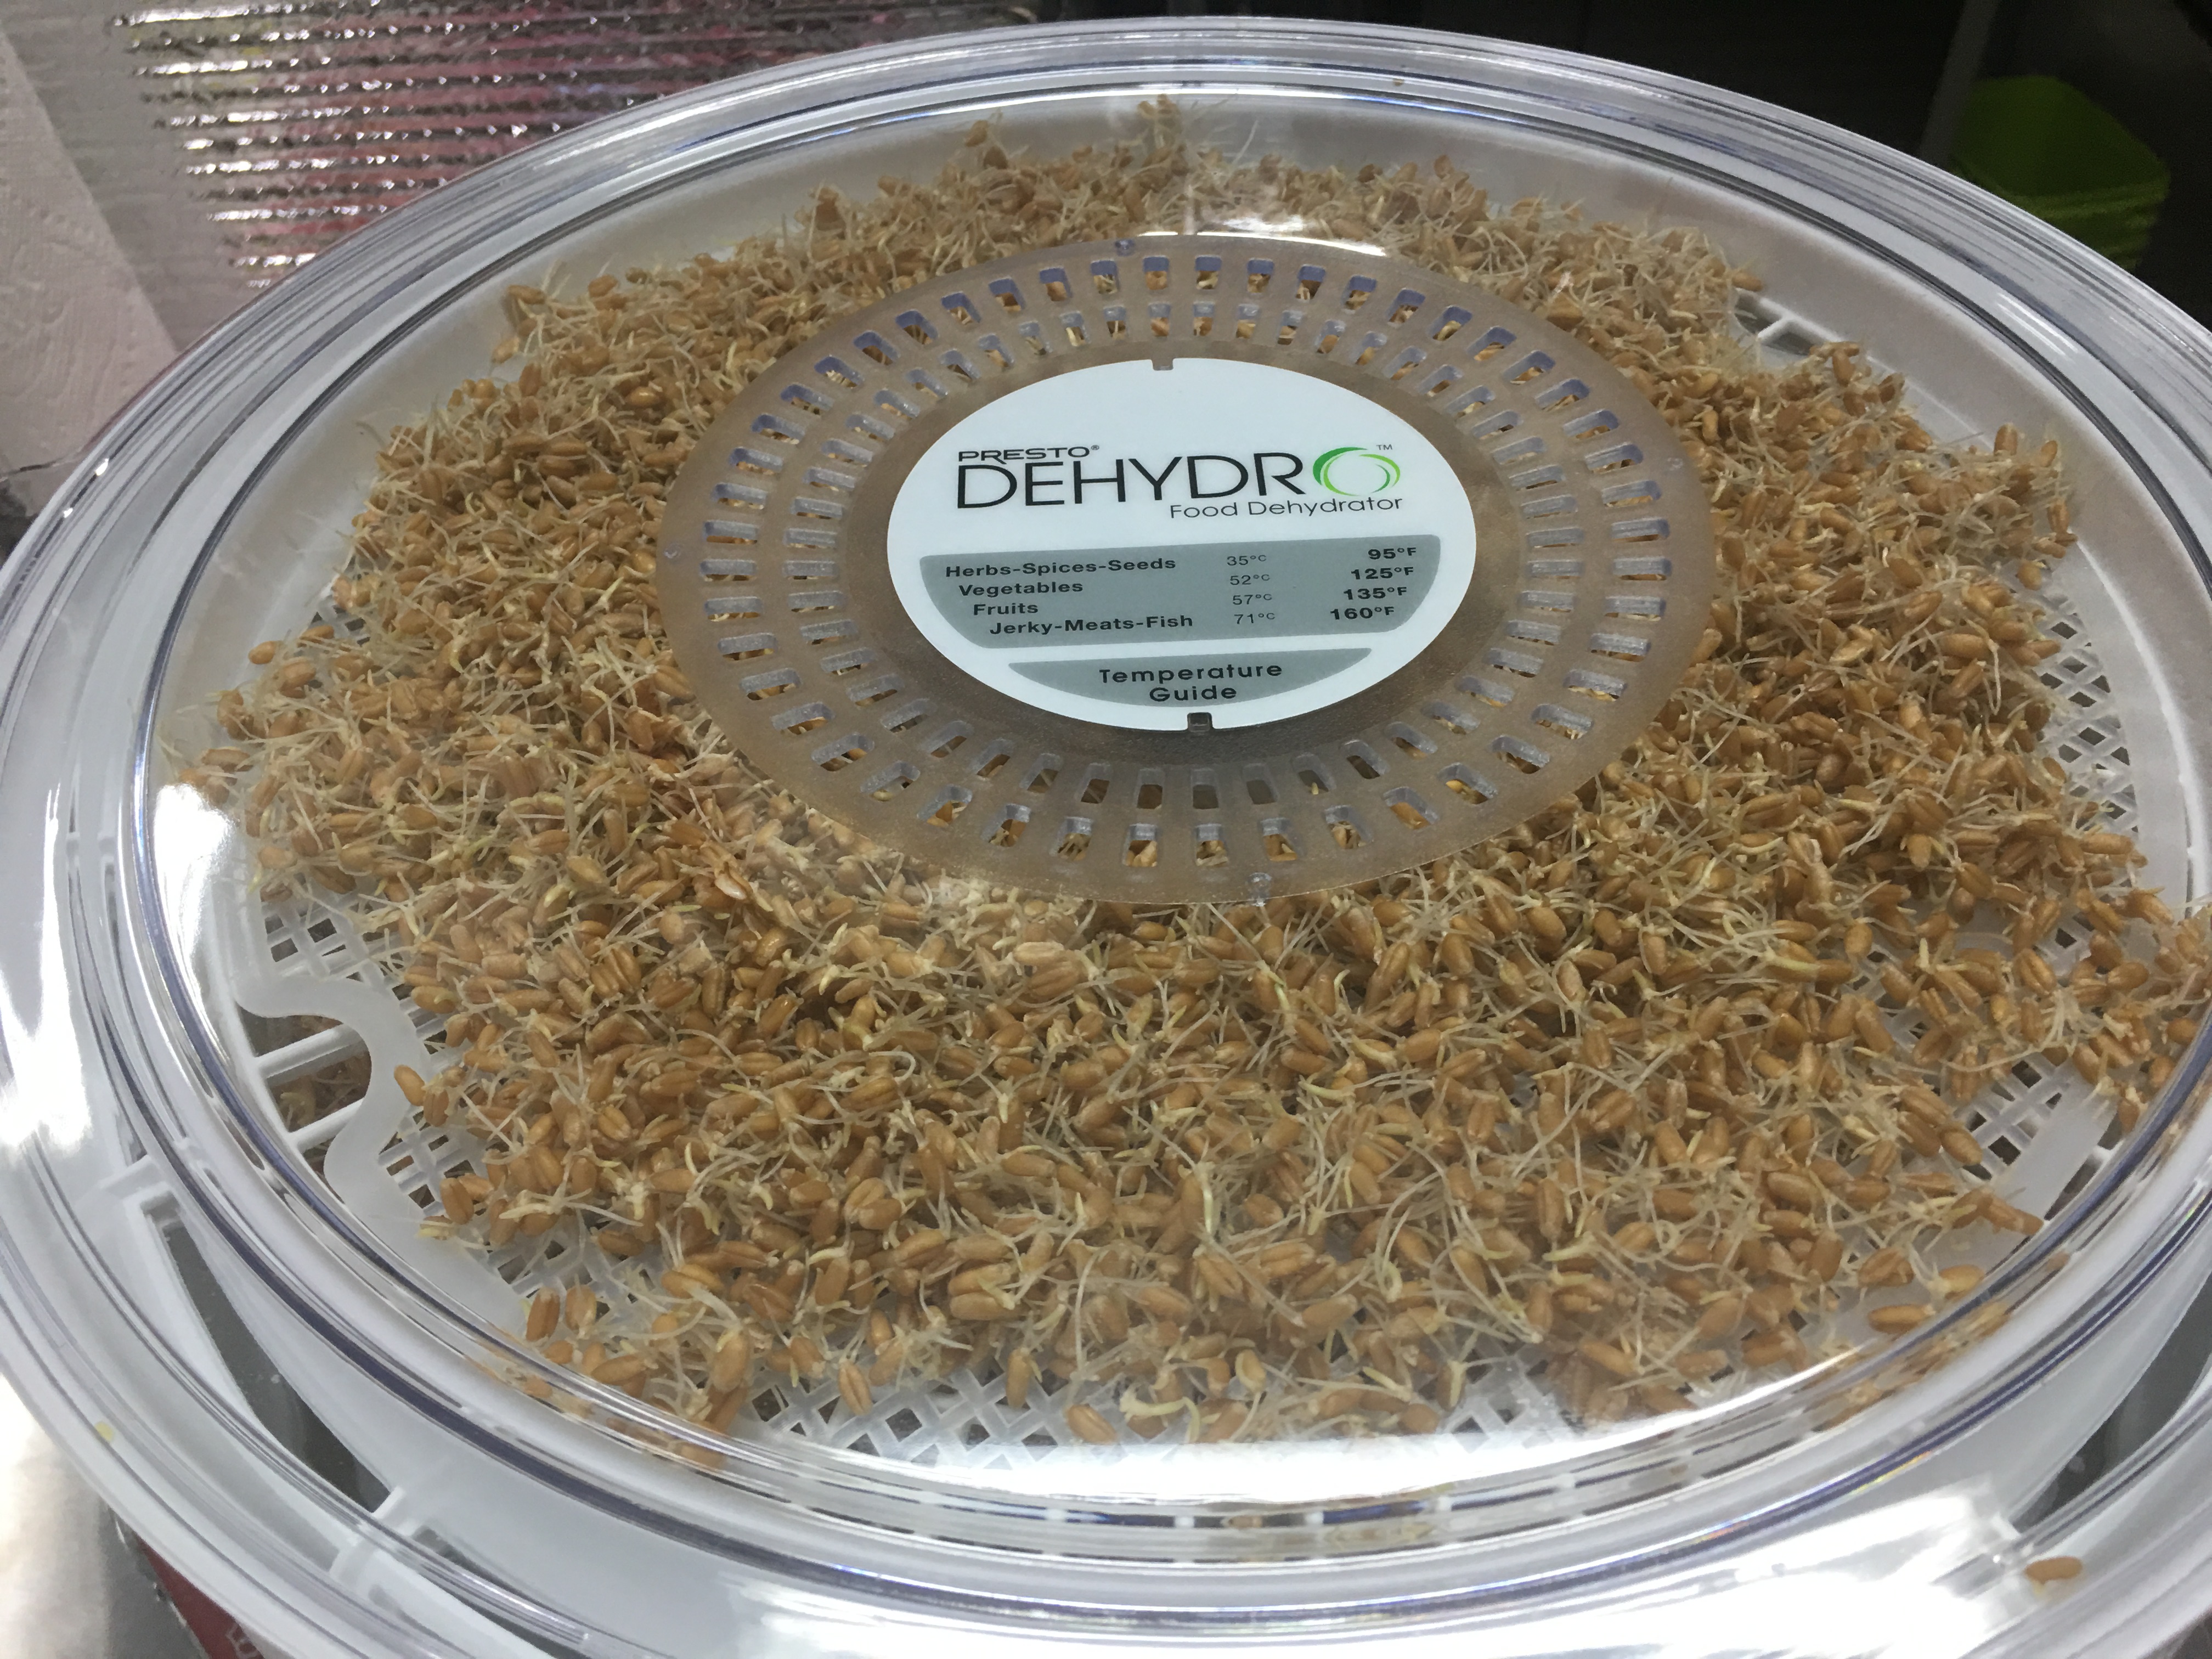
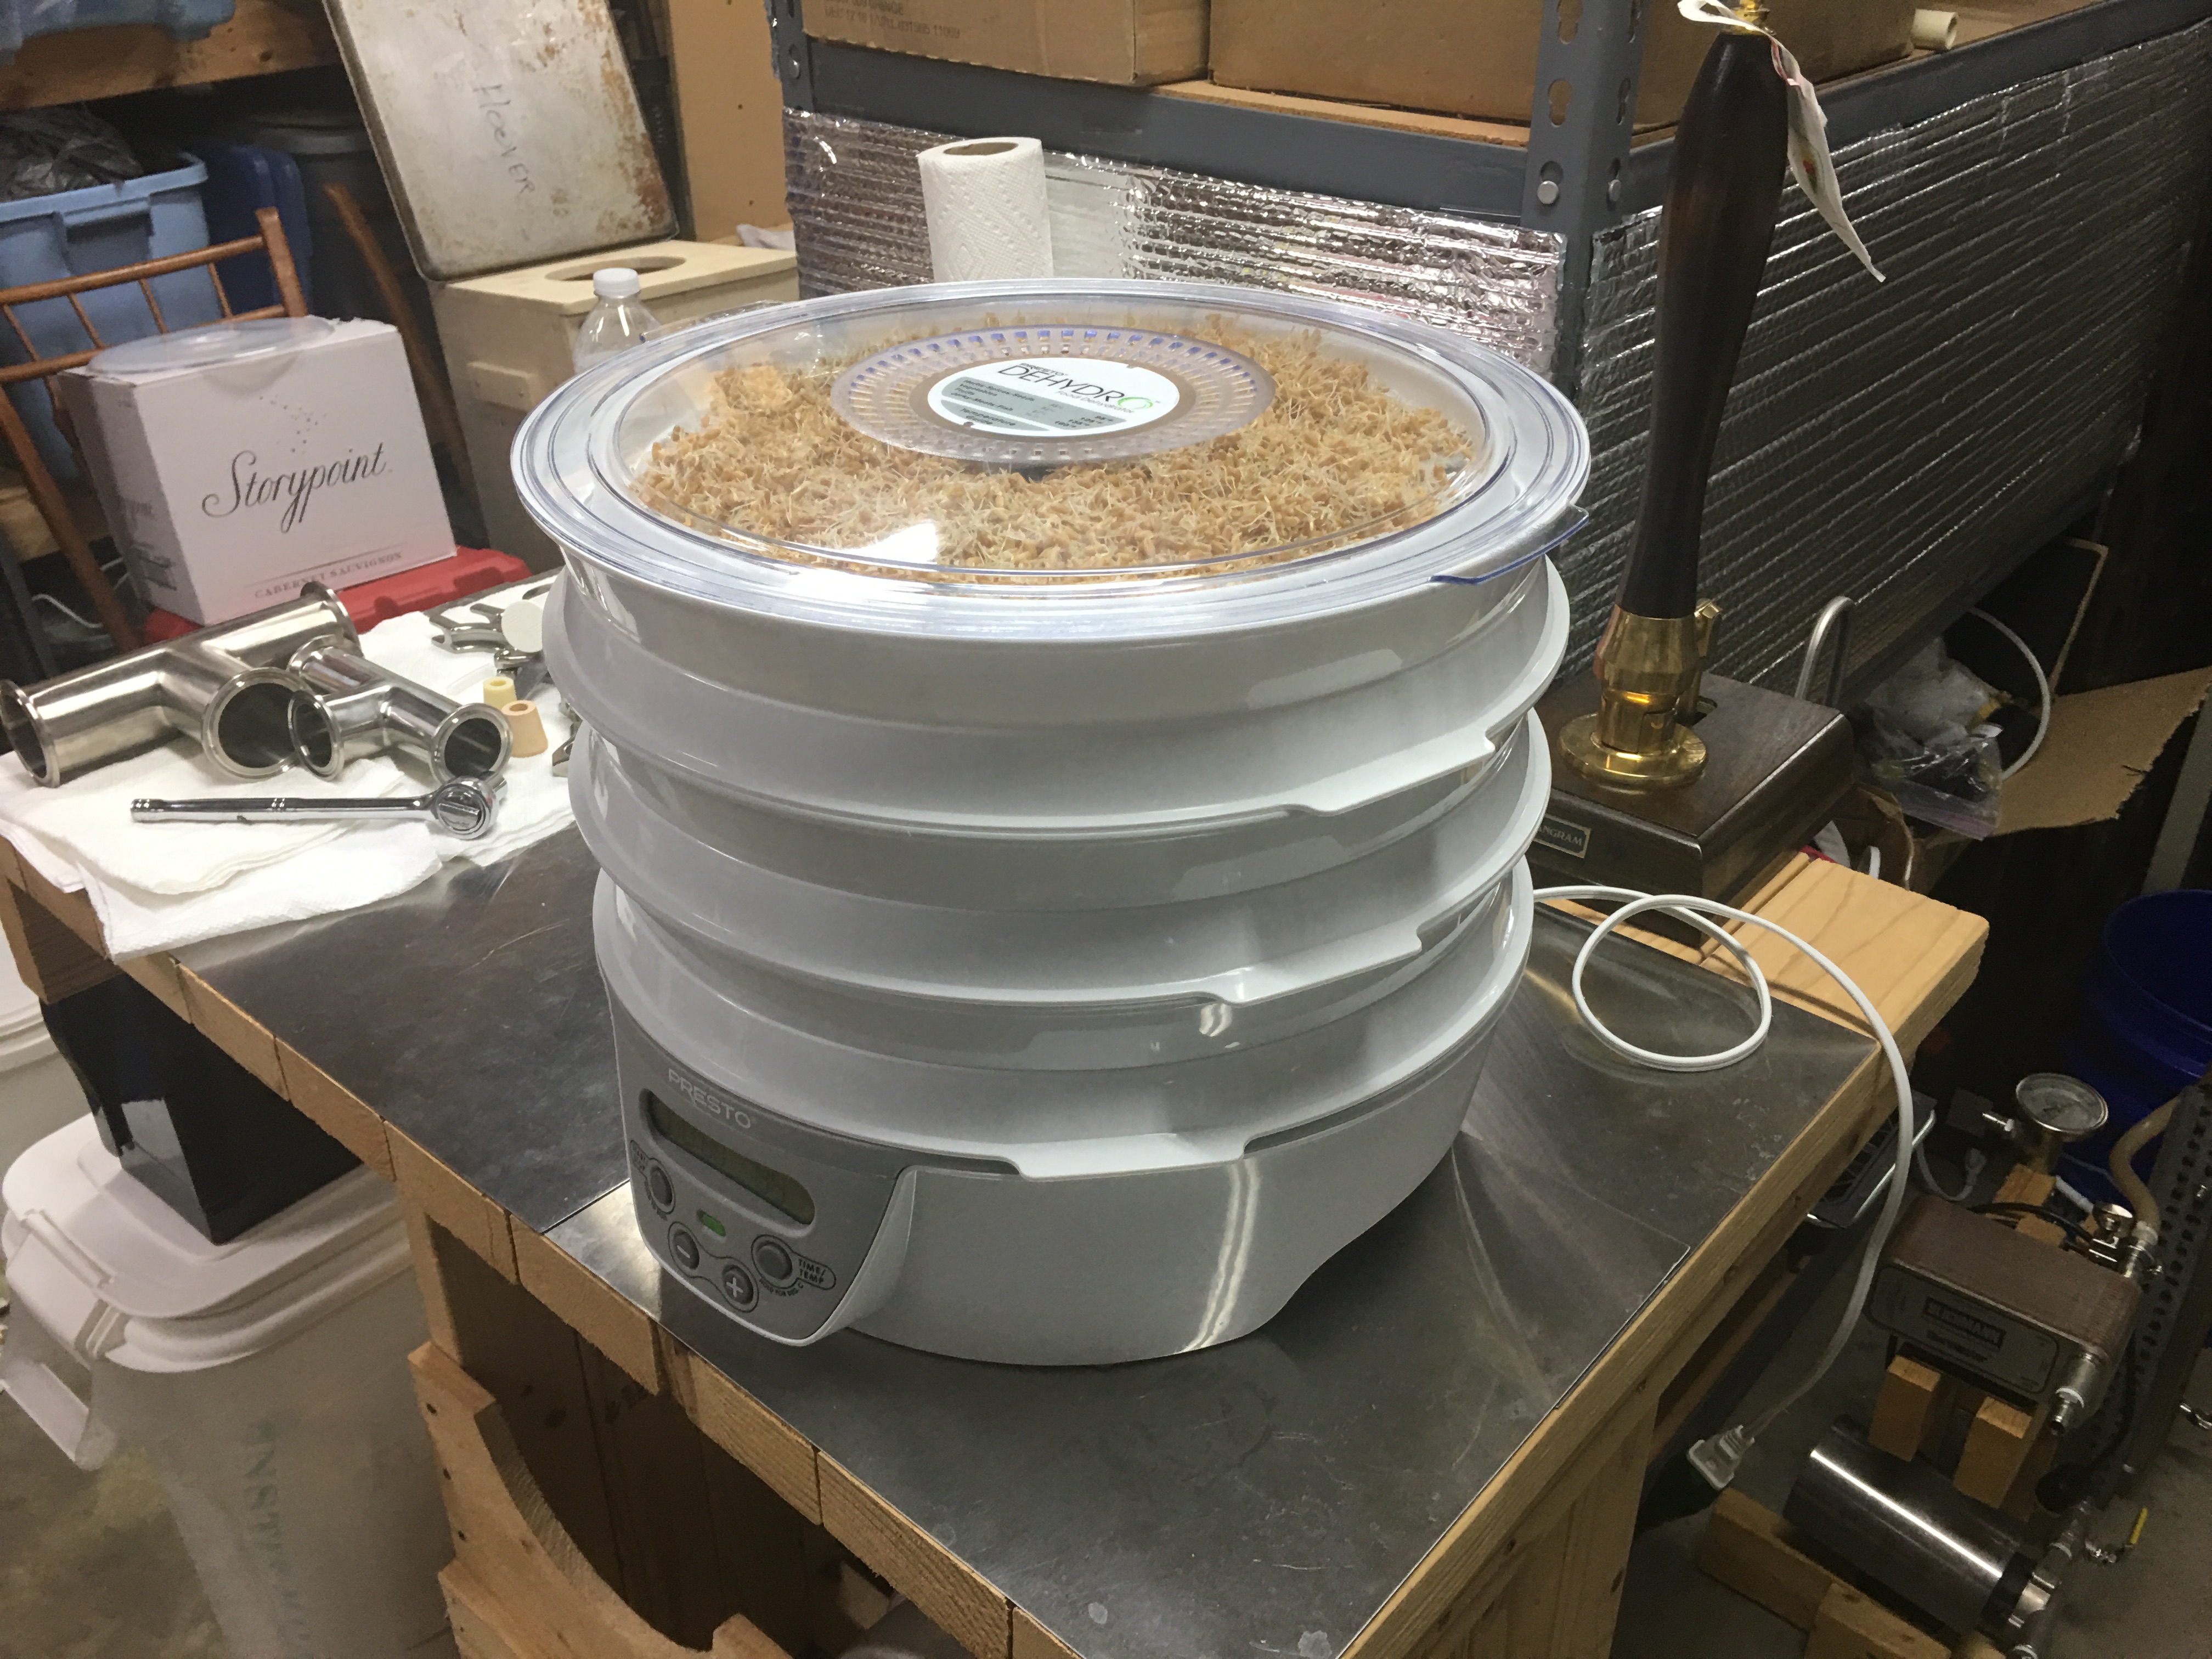
I am using the Presto 06301 Dehydro Digital Electric Food Dehydrator to dry my wheat. It has six trays and that turns out to be just enough space for this batch. The grains had swelled to where they were about 1.5″ deep in the stainless steel tray I used. I was able to break off chucks of the grains about two inches wide to put on the dryer trays, then spread them a little bit to reduce the height so the next tray on top will fit properly on the dryer.
Once all the grains were in the dehydrator, I set the temperature at 95°F for six hours. I will check periodically to see how they are doing. I expect it will take longer than six hours.
I let the dehydrator run for about 15 hours at 95°F. It was set to quit during the night so I checked the next morning. The malts are crunchy but tasted green. Not sure they are completely done.
03/18/19 10:45 AM: I set the dehydrator for another two hours at 125°F.
03/20/19 10:00 AM: I pulled a few ounces of the freshly malted wheat and put in a baggie. I put the rest in a stainless steel pan and place it in the oven and different temperatures, removing a few ounces after each step so I could sample the differences later.
Bag A: 15 hours at 95°F, 2 hours at 125°F – basic green taste and aroma.
Bag B: Additional 3 hours at 175°F – still green but better.
Bag C: Additional 2 hours at 175°F – a light pale malt, slightly toasty.
Bag D: Additional 2 hours at 225°F – toasty, biscuity flavor and aroma.
Bag E: Additional 1 hours at 325°F – smells of coffee and chocolate. Roasted coffee bean flavor.
Bag F: Additional 1 hours at 325°F – more roasted smell, harsher taste.
Bag G: Additional 1 hours at 400°F – strong roasted smell and taste. Acrid at first.