Made some coconut oil soap

Made another batch of soap yesterday. This time I used coconut oil sourced from Sams Club. It is Member’s Mark brand. The label says “Organic Virgin Coconut Oil Cold Pressed & Unrefined”.

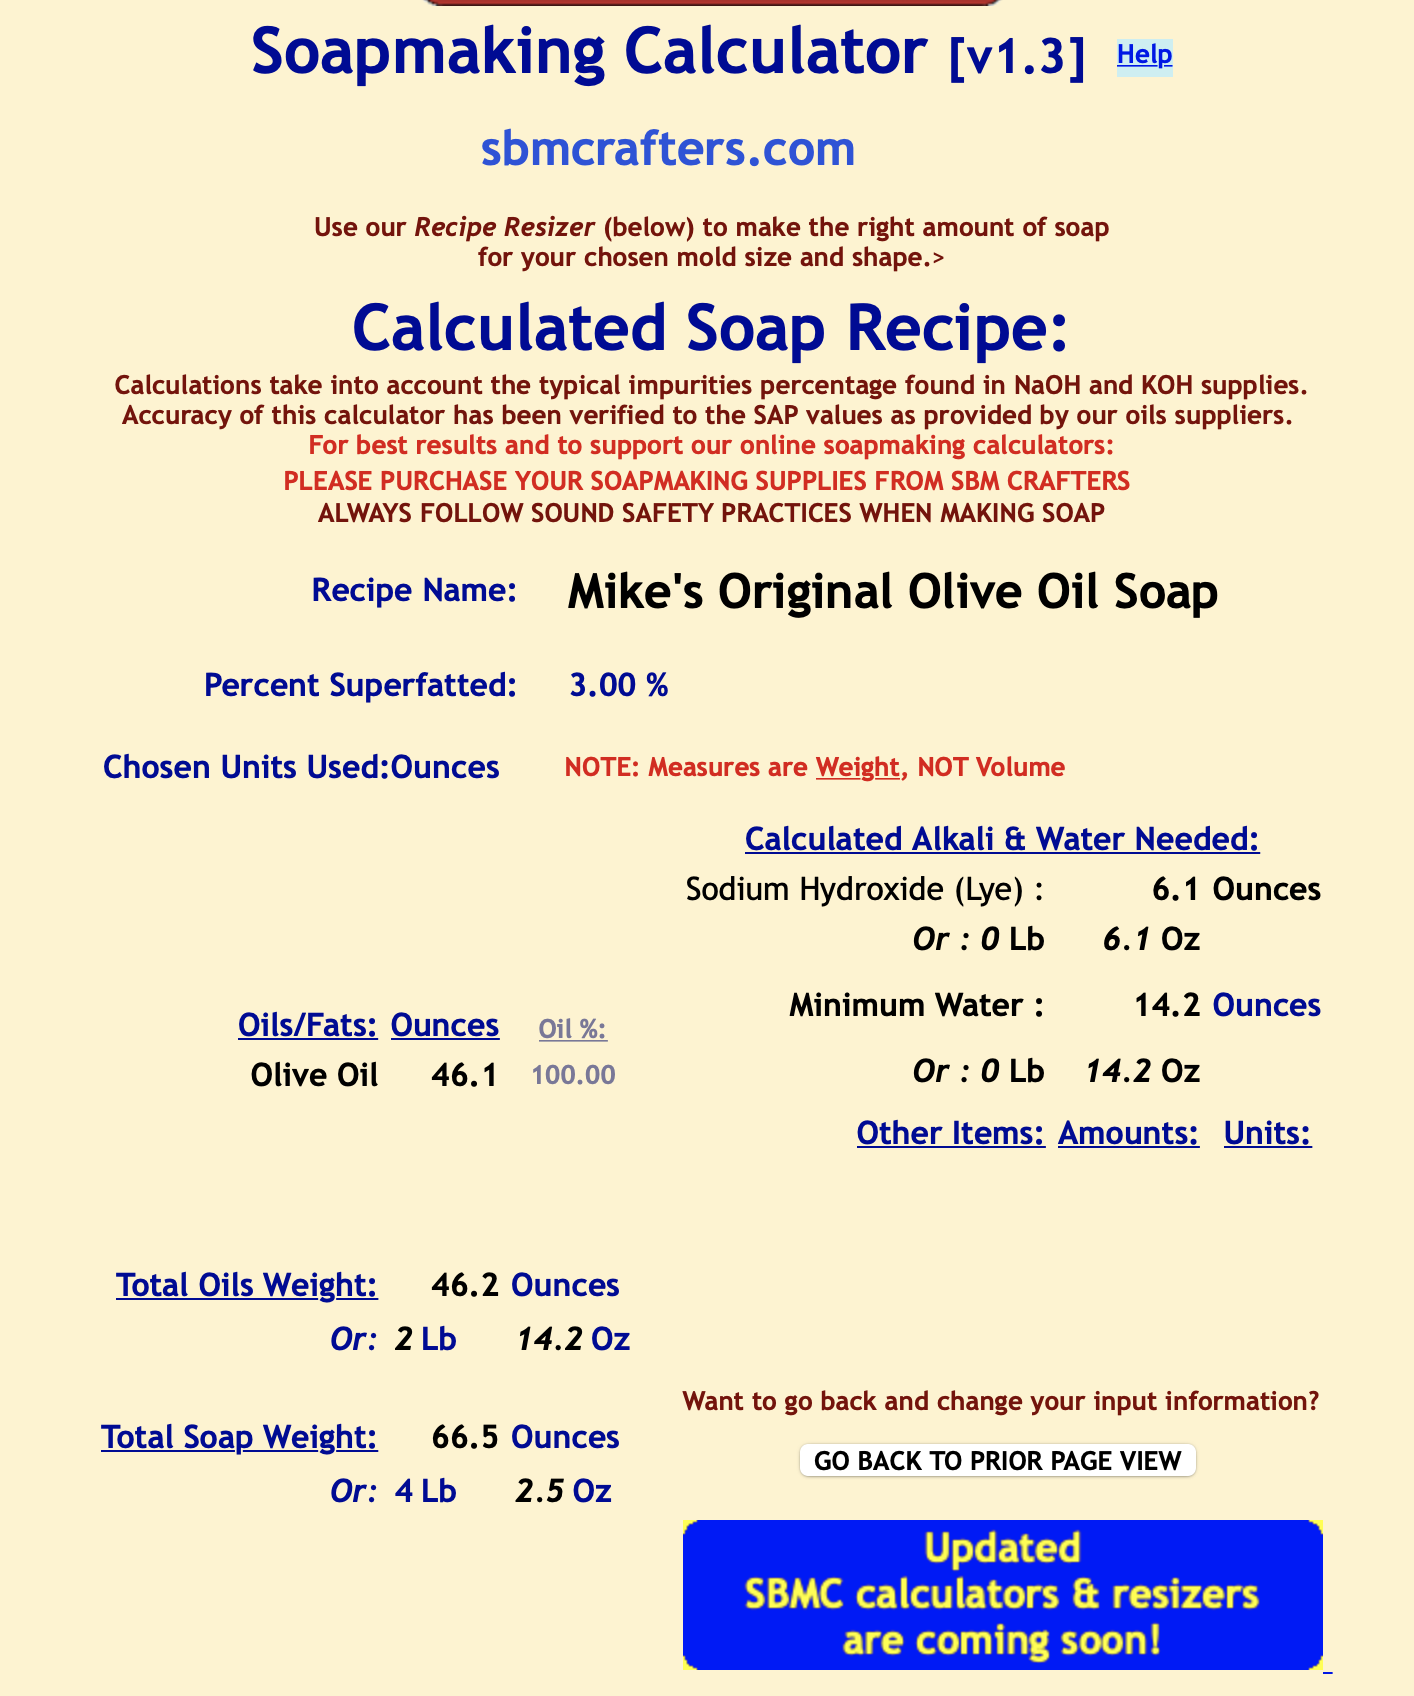
The old online soap calculator I used to use is now defunct so I searched for another one. Found one that looked straight forward at LyeCalc.com. I used the beginners version. Pretty simple.

The container of coconut oil is 56 fluid ounces. It weighed in at 1665 grams. I pour all the coconut oil in a pot and weighed the empty container. It weighed 150 grams. That gave me an oil weight of 1515 grams. I used the default 5% superfat, but changed the water percentage to 30%. The default is 38%. The calculator said to use 454.5 grams water ( I used distilled water), and 264.82 grams of NaOH (sodium hydroxide granules).

I donned my rubber gloves and safety goggles and went to work outside on the deck. I weighed out the distilled water in a measuring cup and added the NaOH to that and stirred well. After a minute or two I measure the temperature of the solution. It was 208ºF! I let it sit and heated the oil up to about 140 to get it all melted. I let them both cool down for a good while. The lye solution was at 118ºF and the oil was at 121ºF so I began to mix them. I slowly poured the lye solution into the oil while mixing slowly. Start time: 2:42 pm. After mixing with the hand mixer in short bursts and stirring with it for what seemed like forever. I started wondering if I would ever see trace.

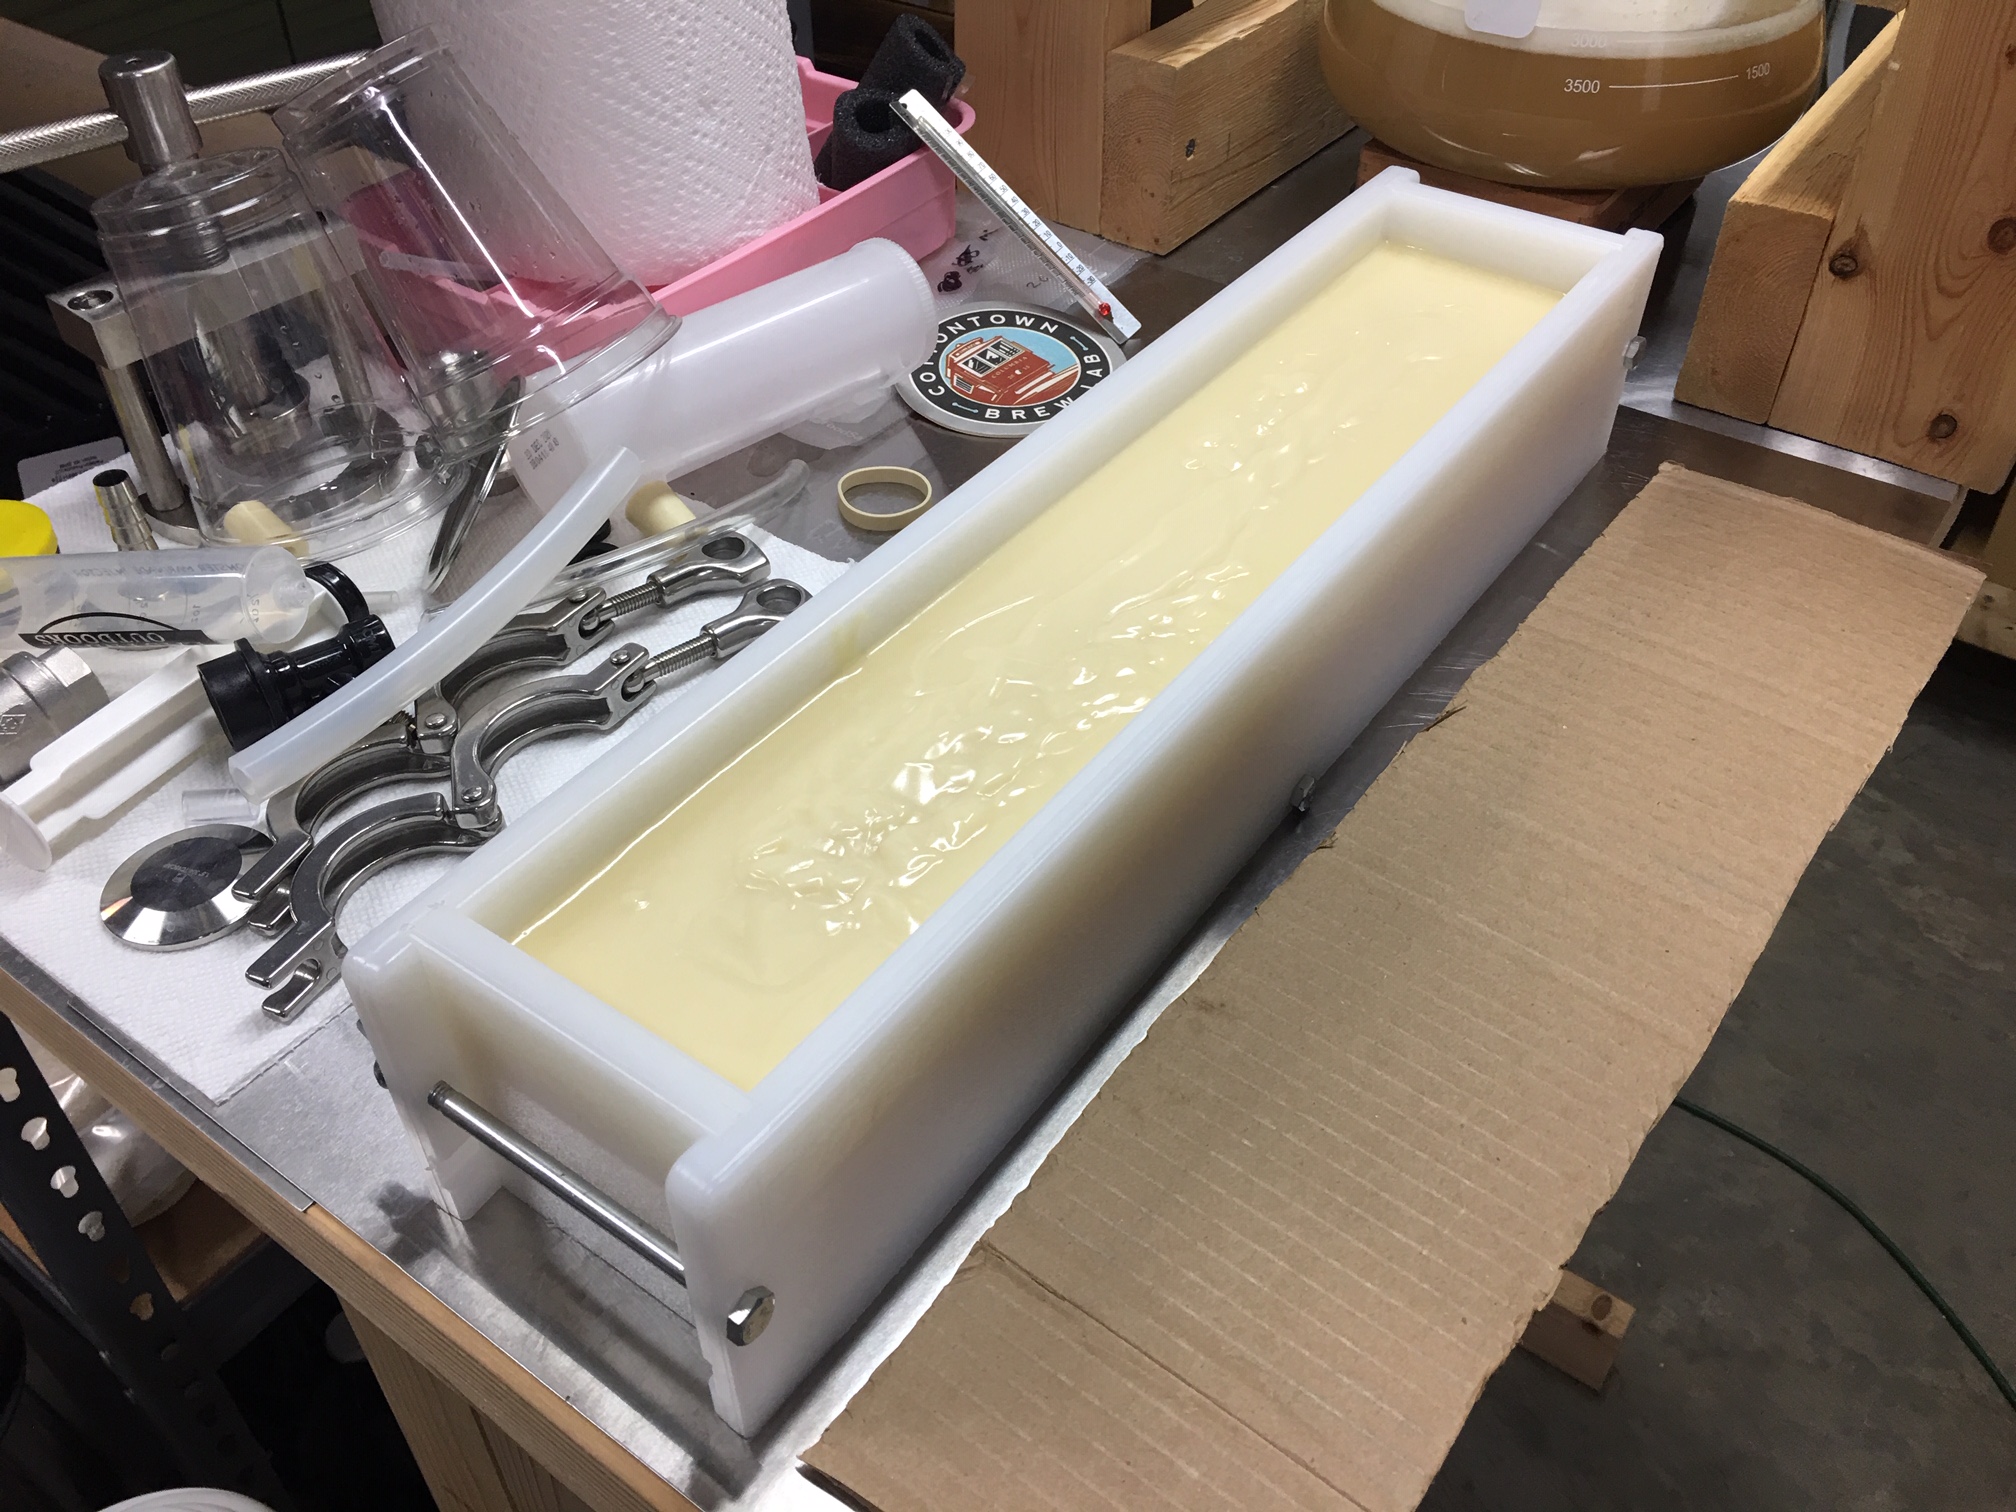
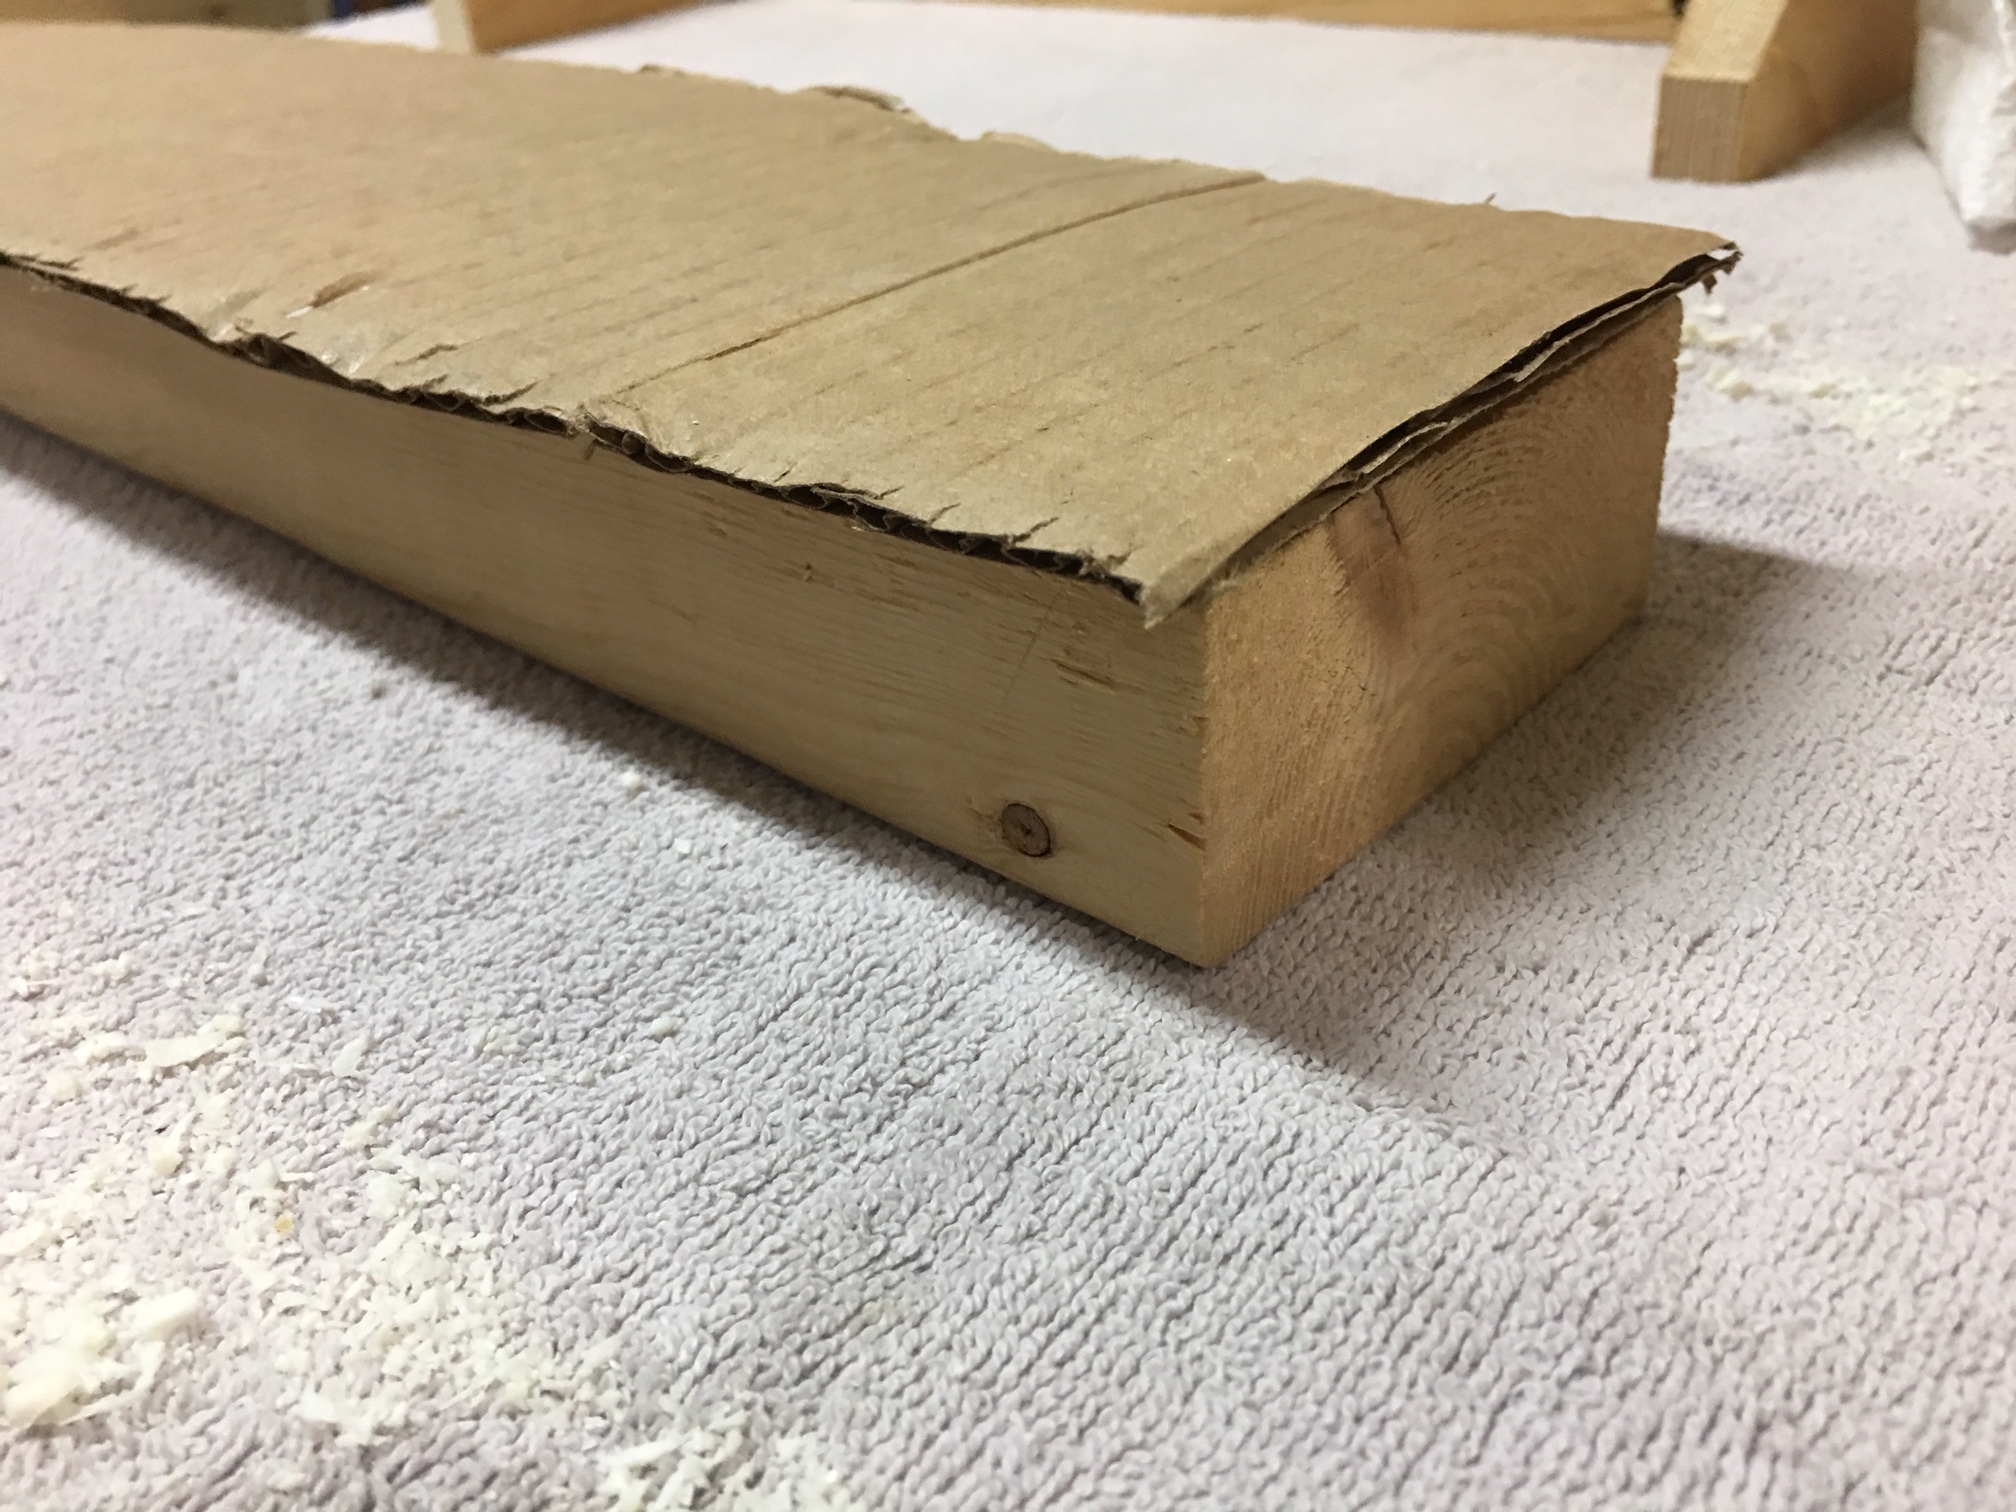
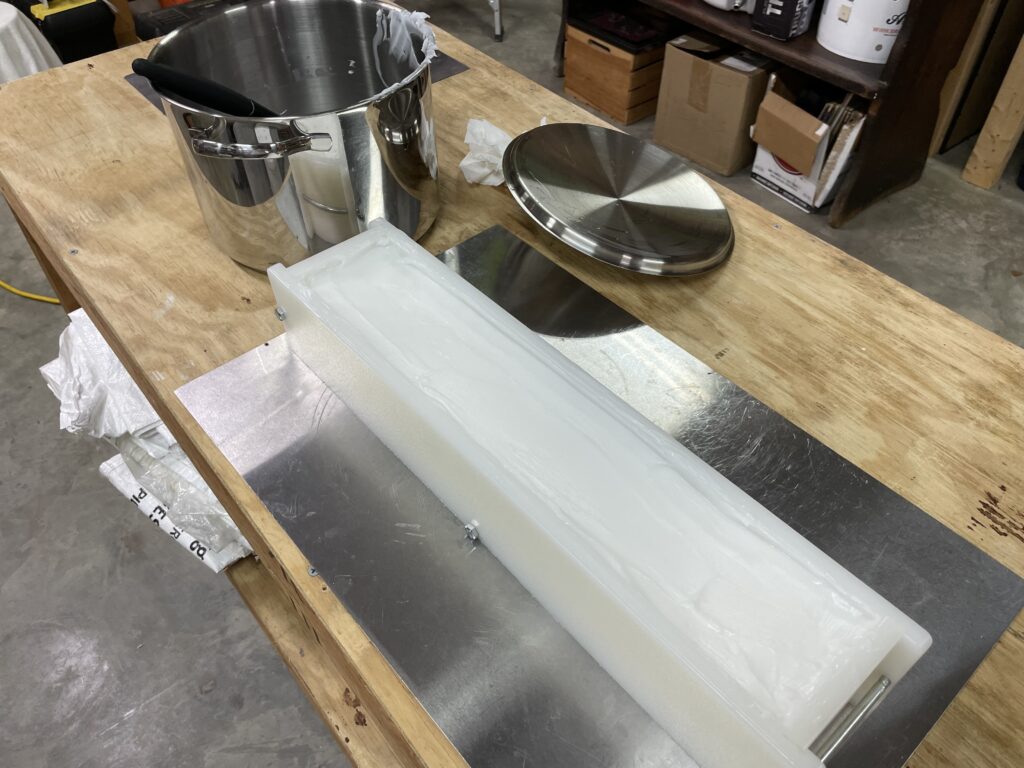
The soap finally traced at 3:16 pm and went fast. I poured it into the mold. It thickened up quickly. I used the spatula to smooth it out as best I could. The mold was very hot. It was cooking! I covered it with a piece of cardboard and a towel. It stayed warm for many hours.

This batch of soap set up quickly and stayed hot for many hours.

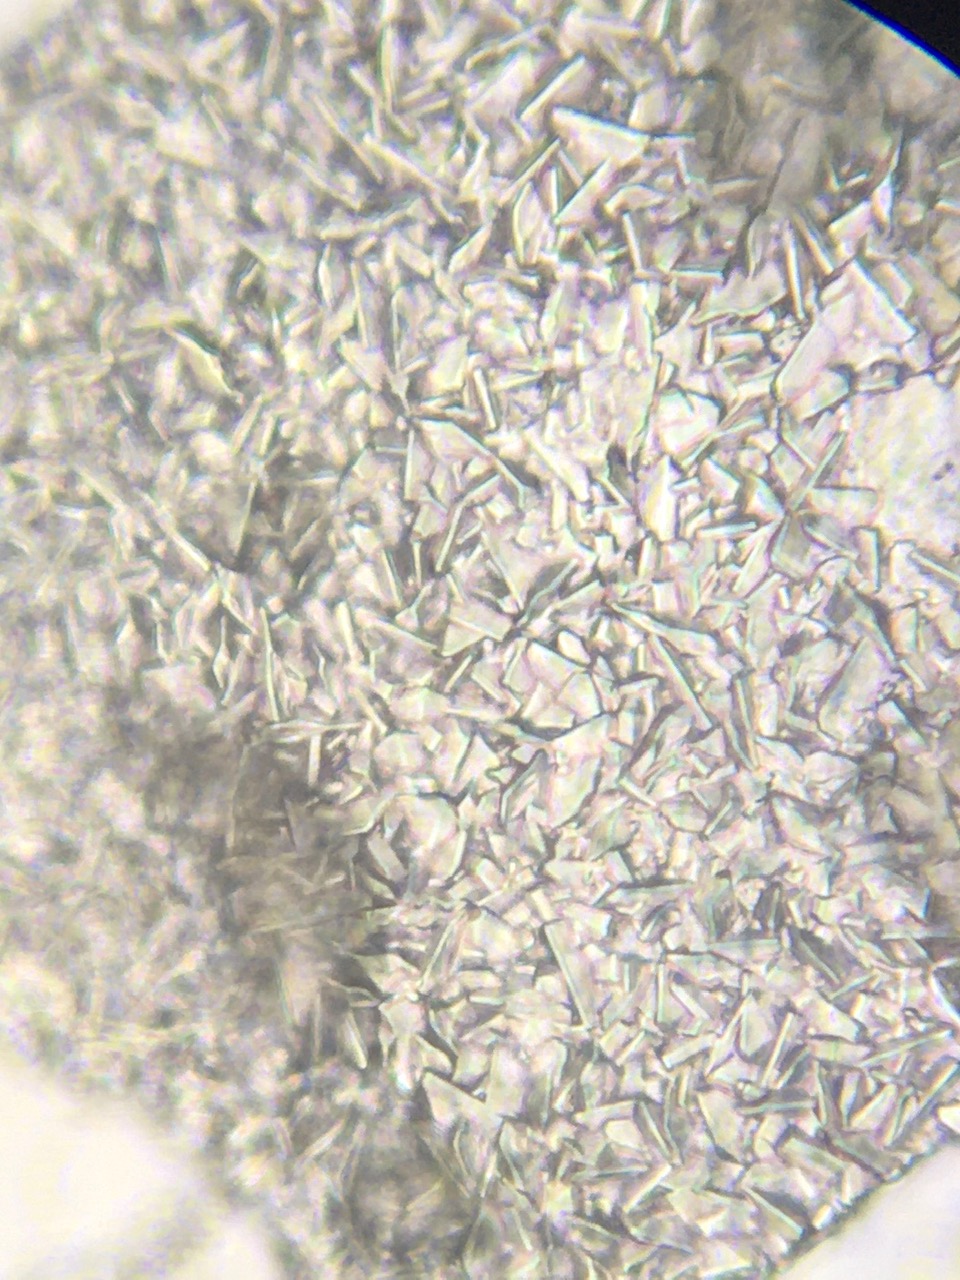
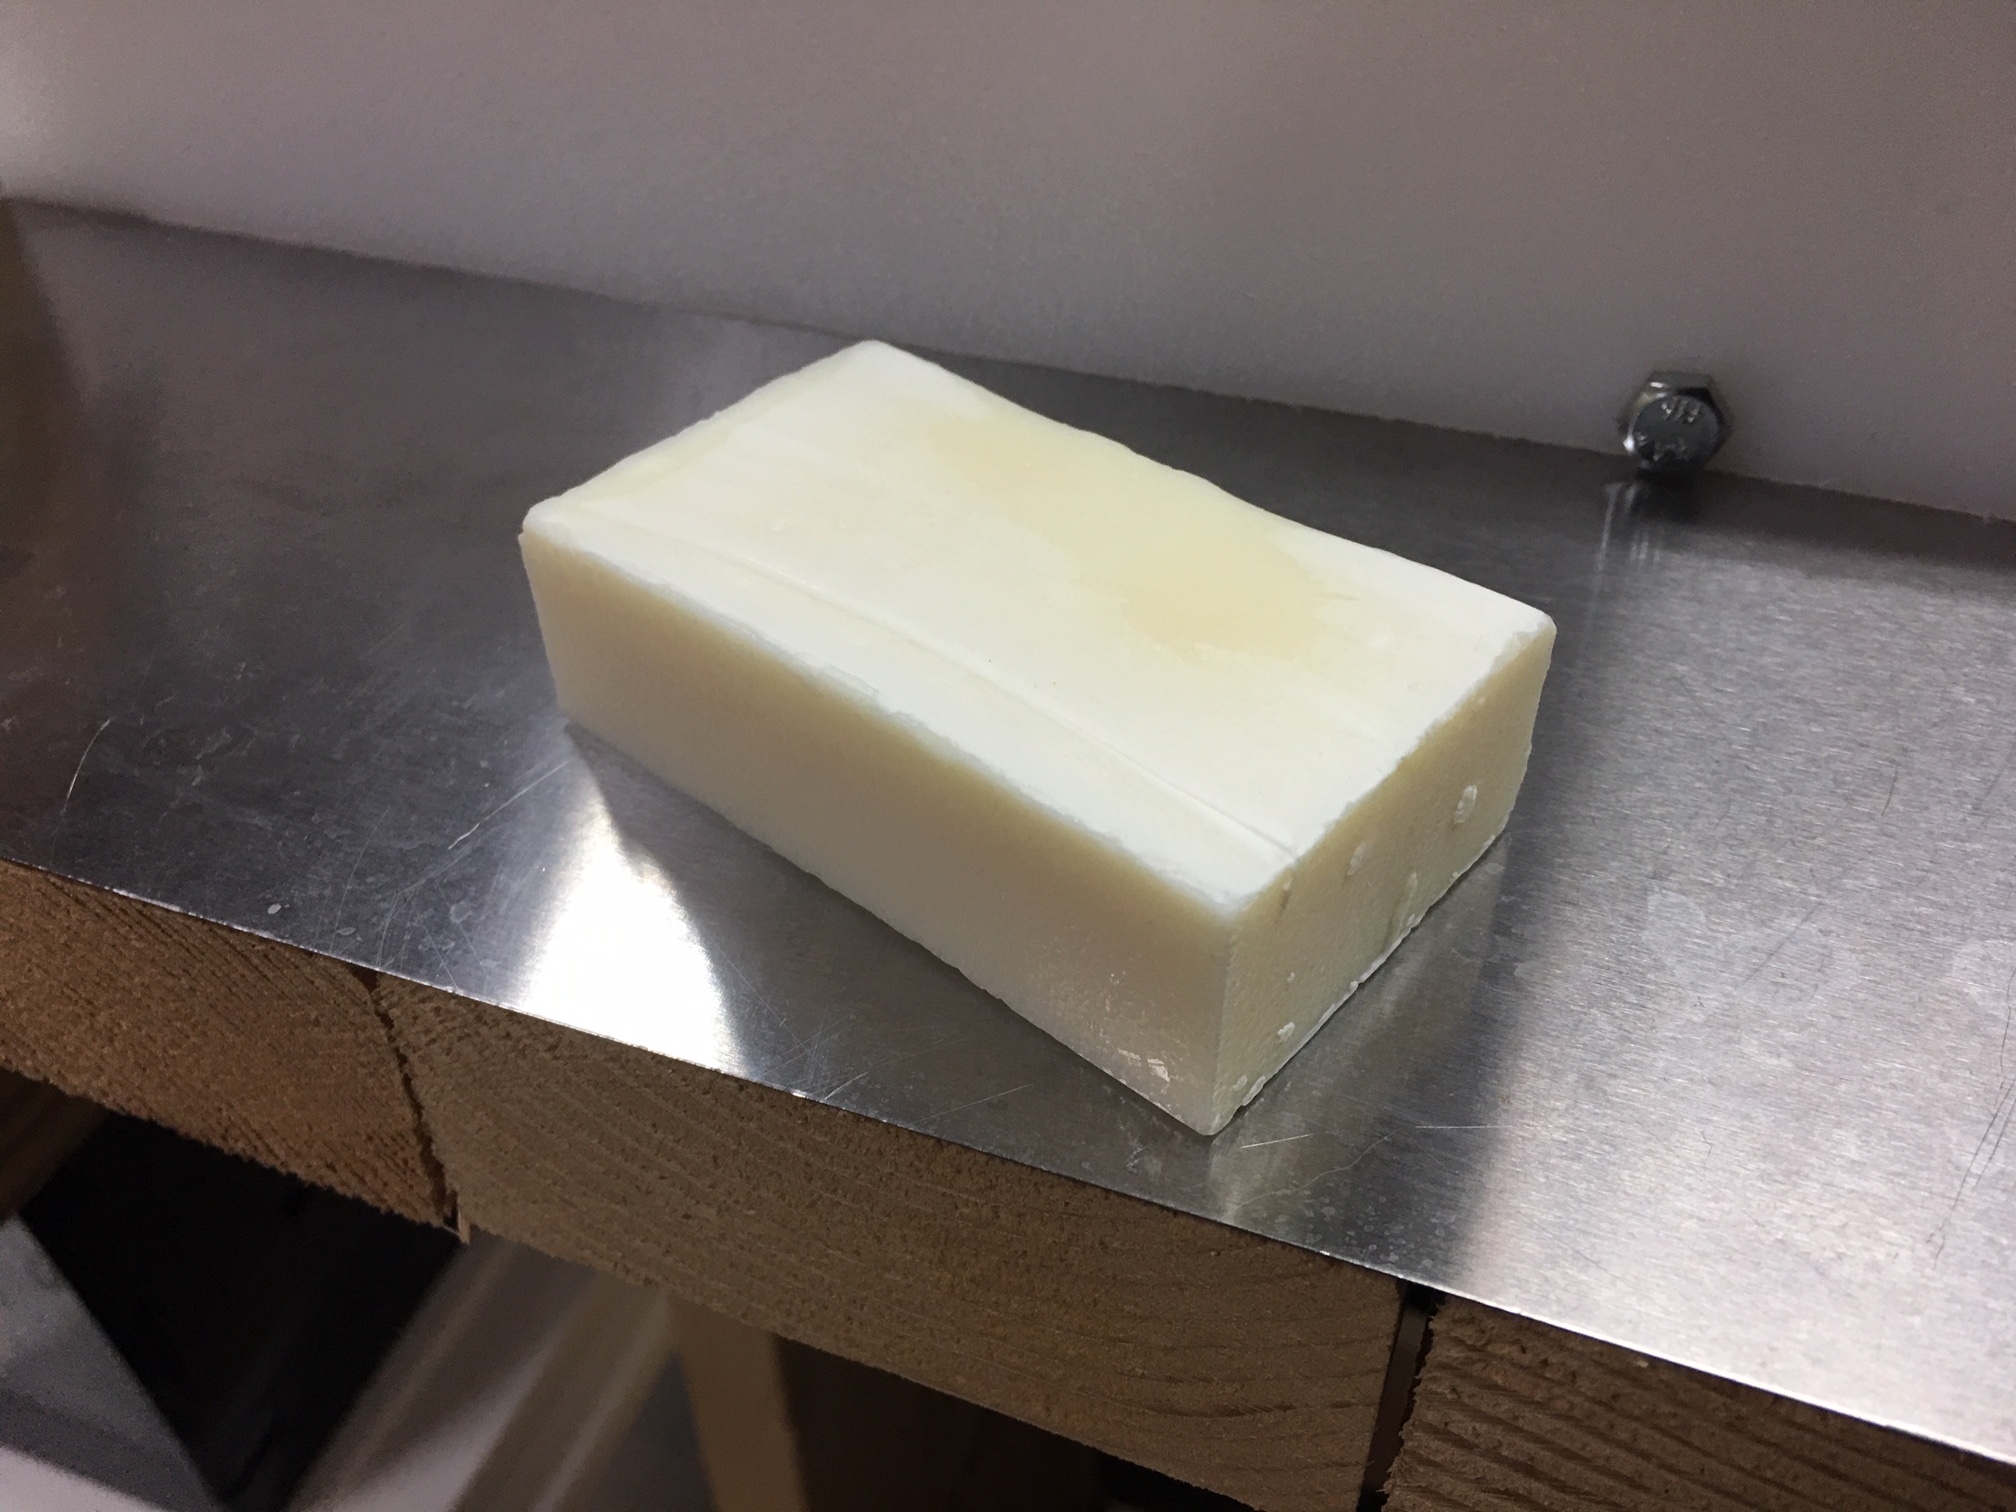
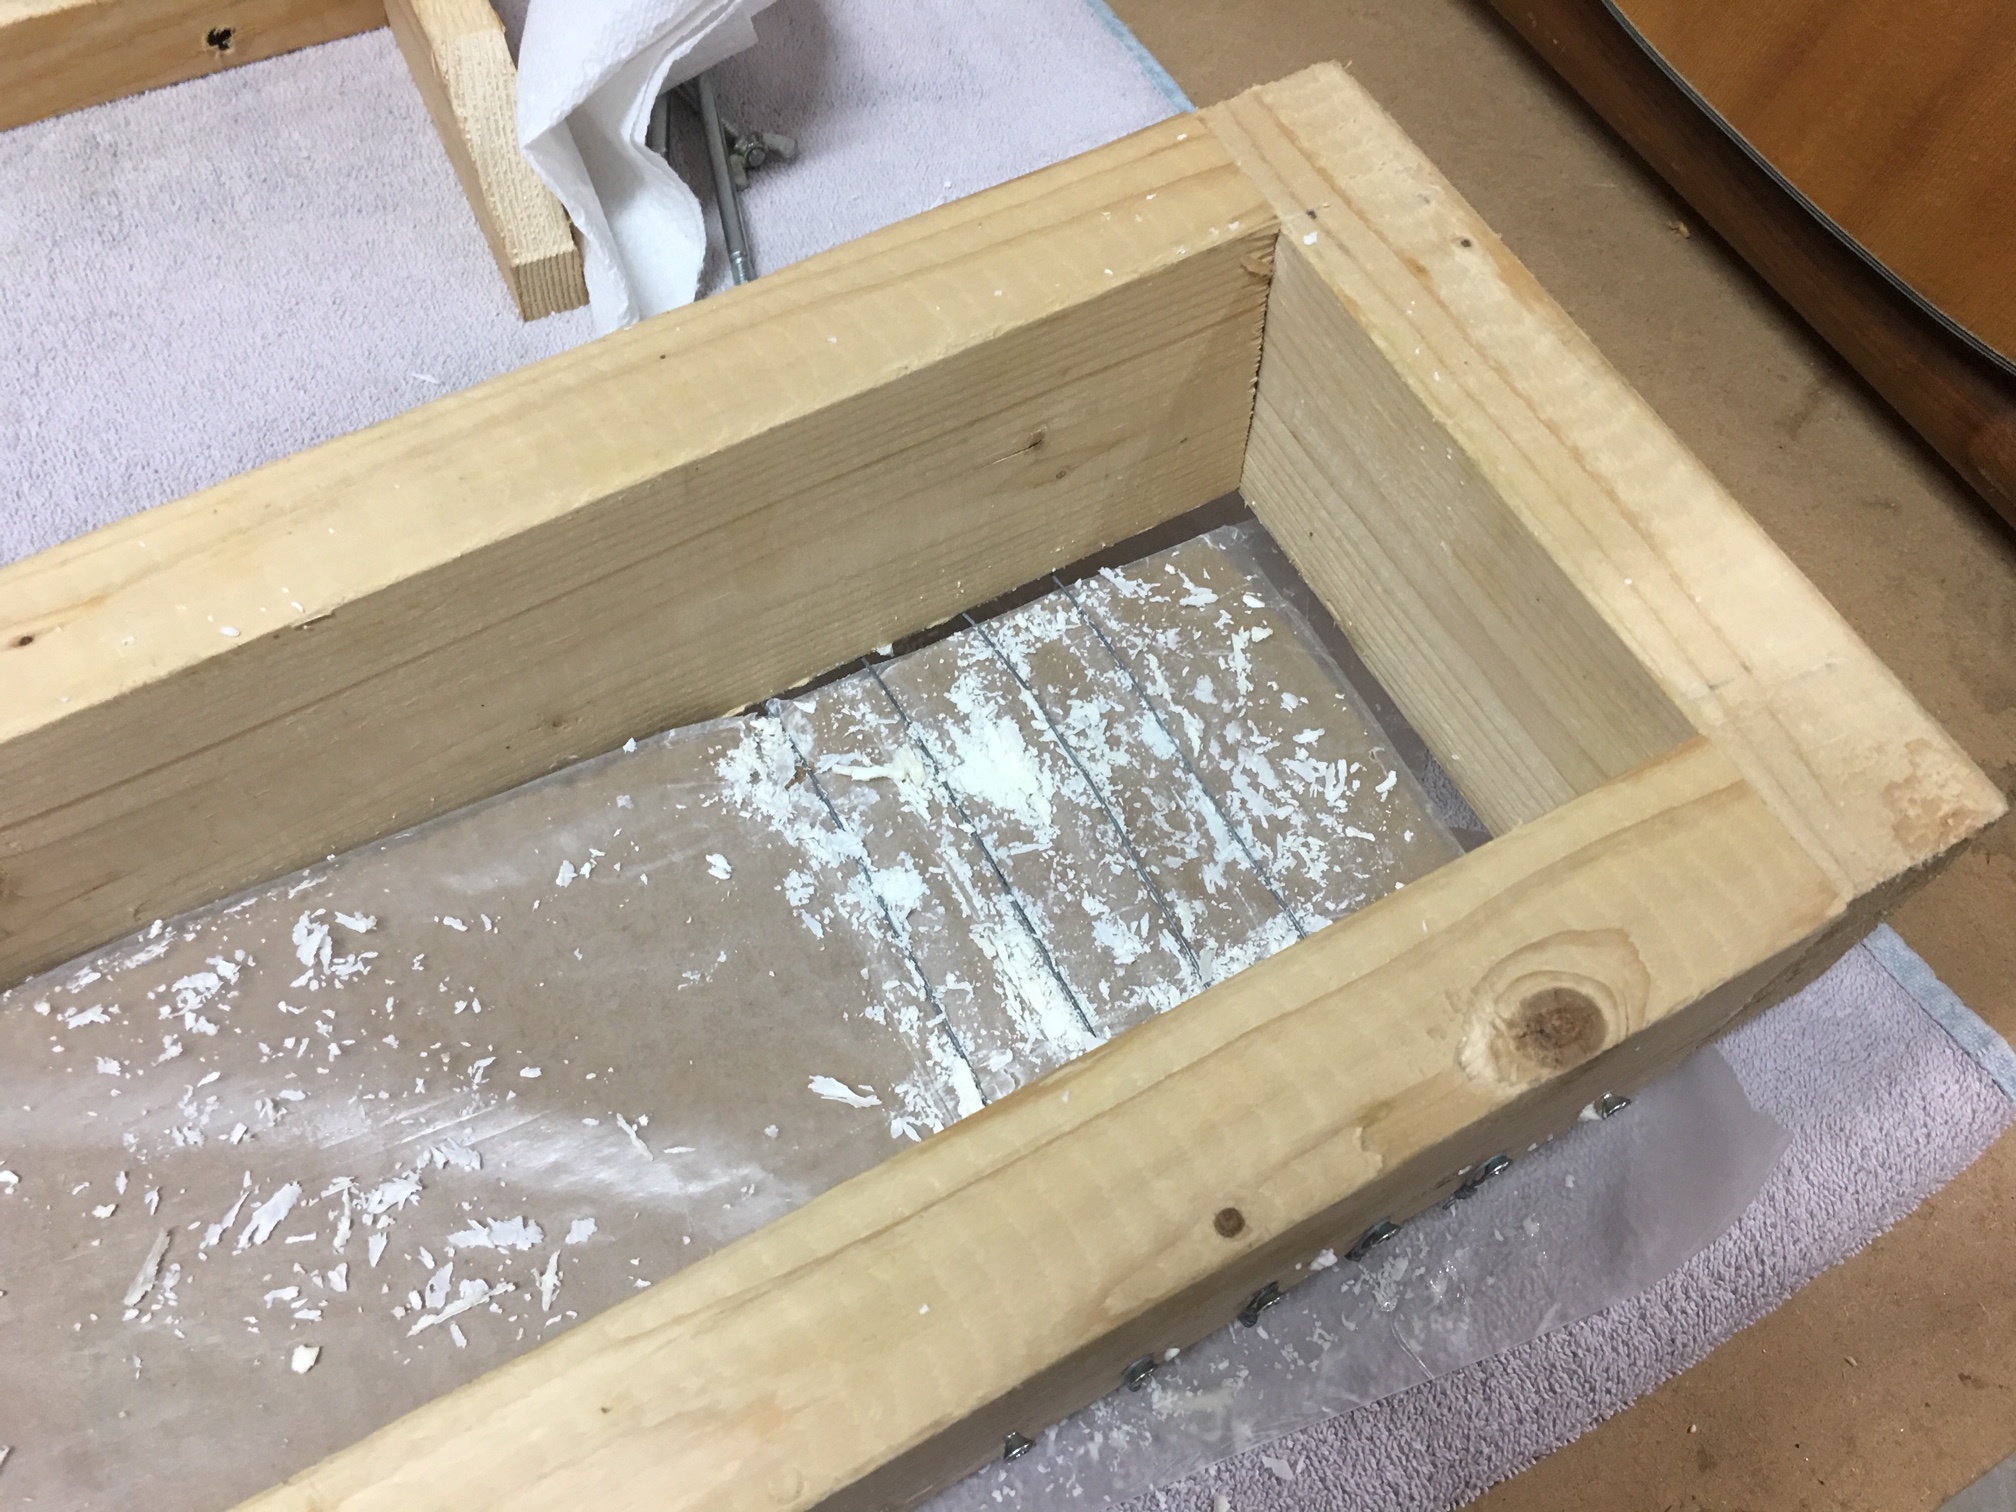
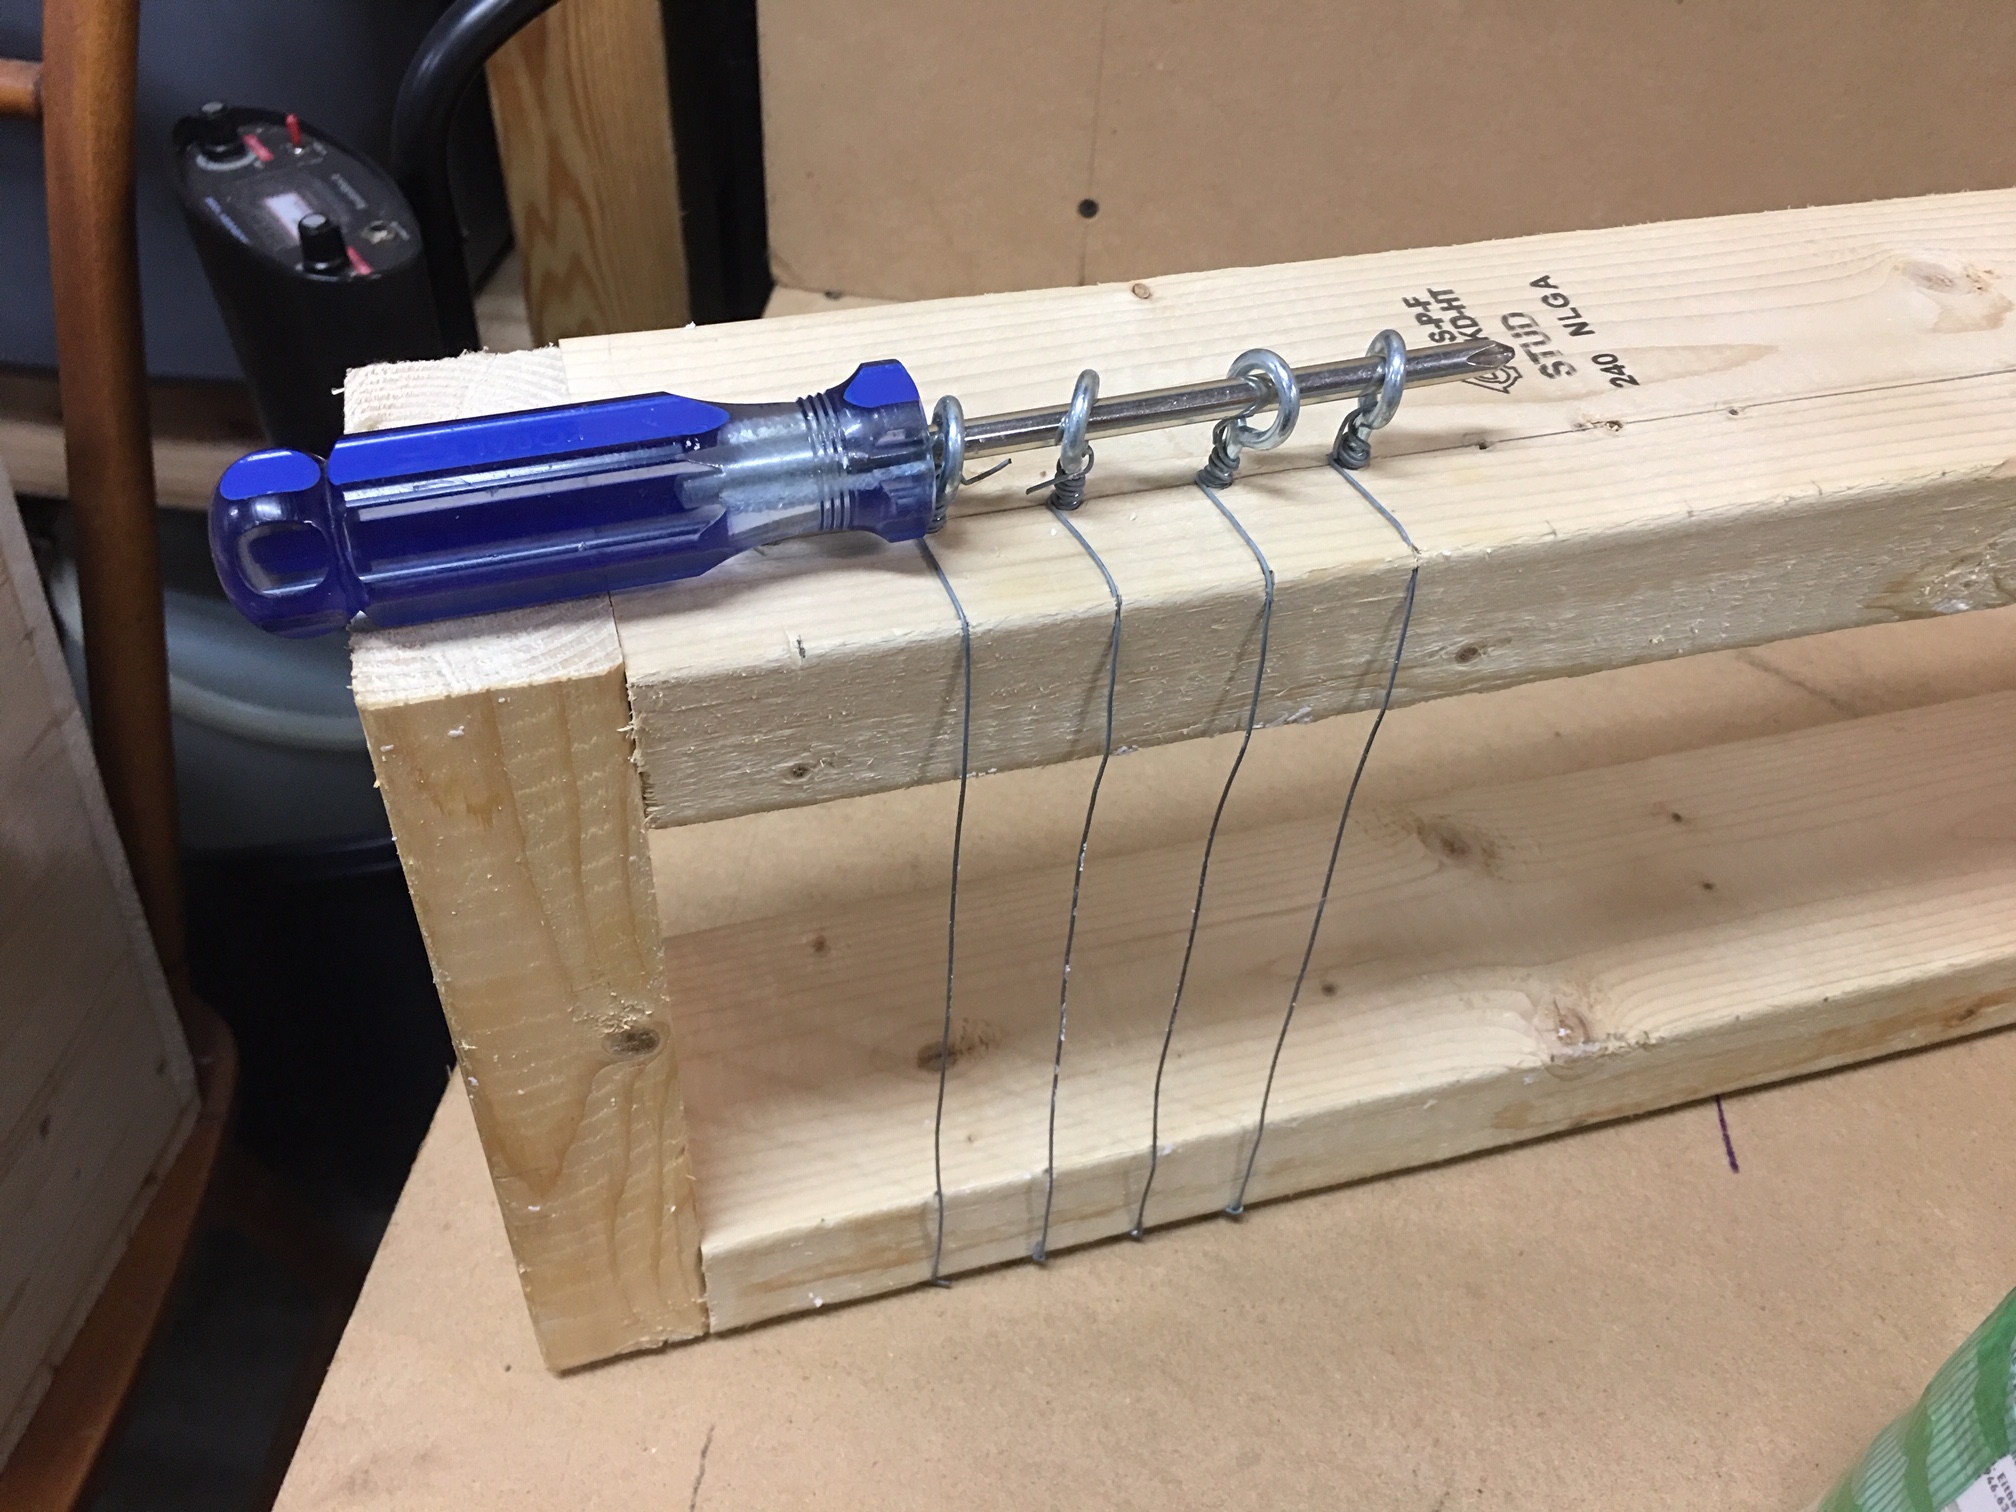
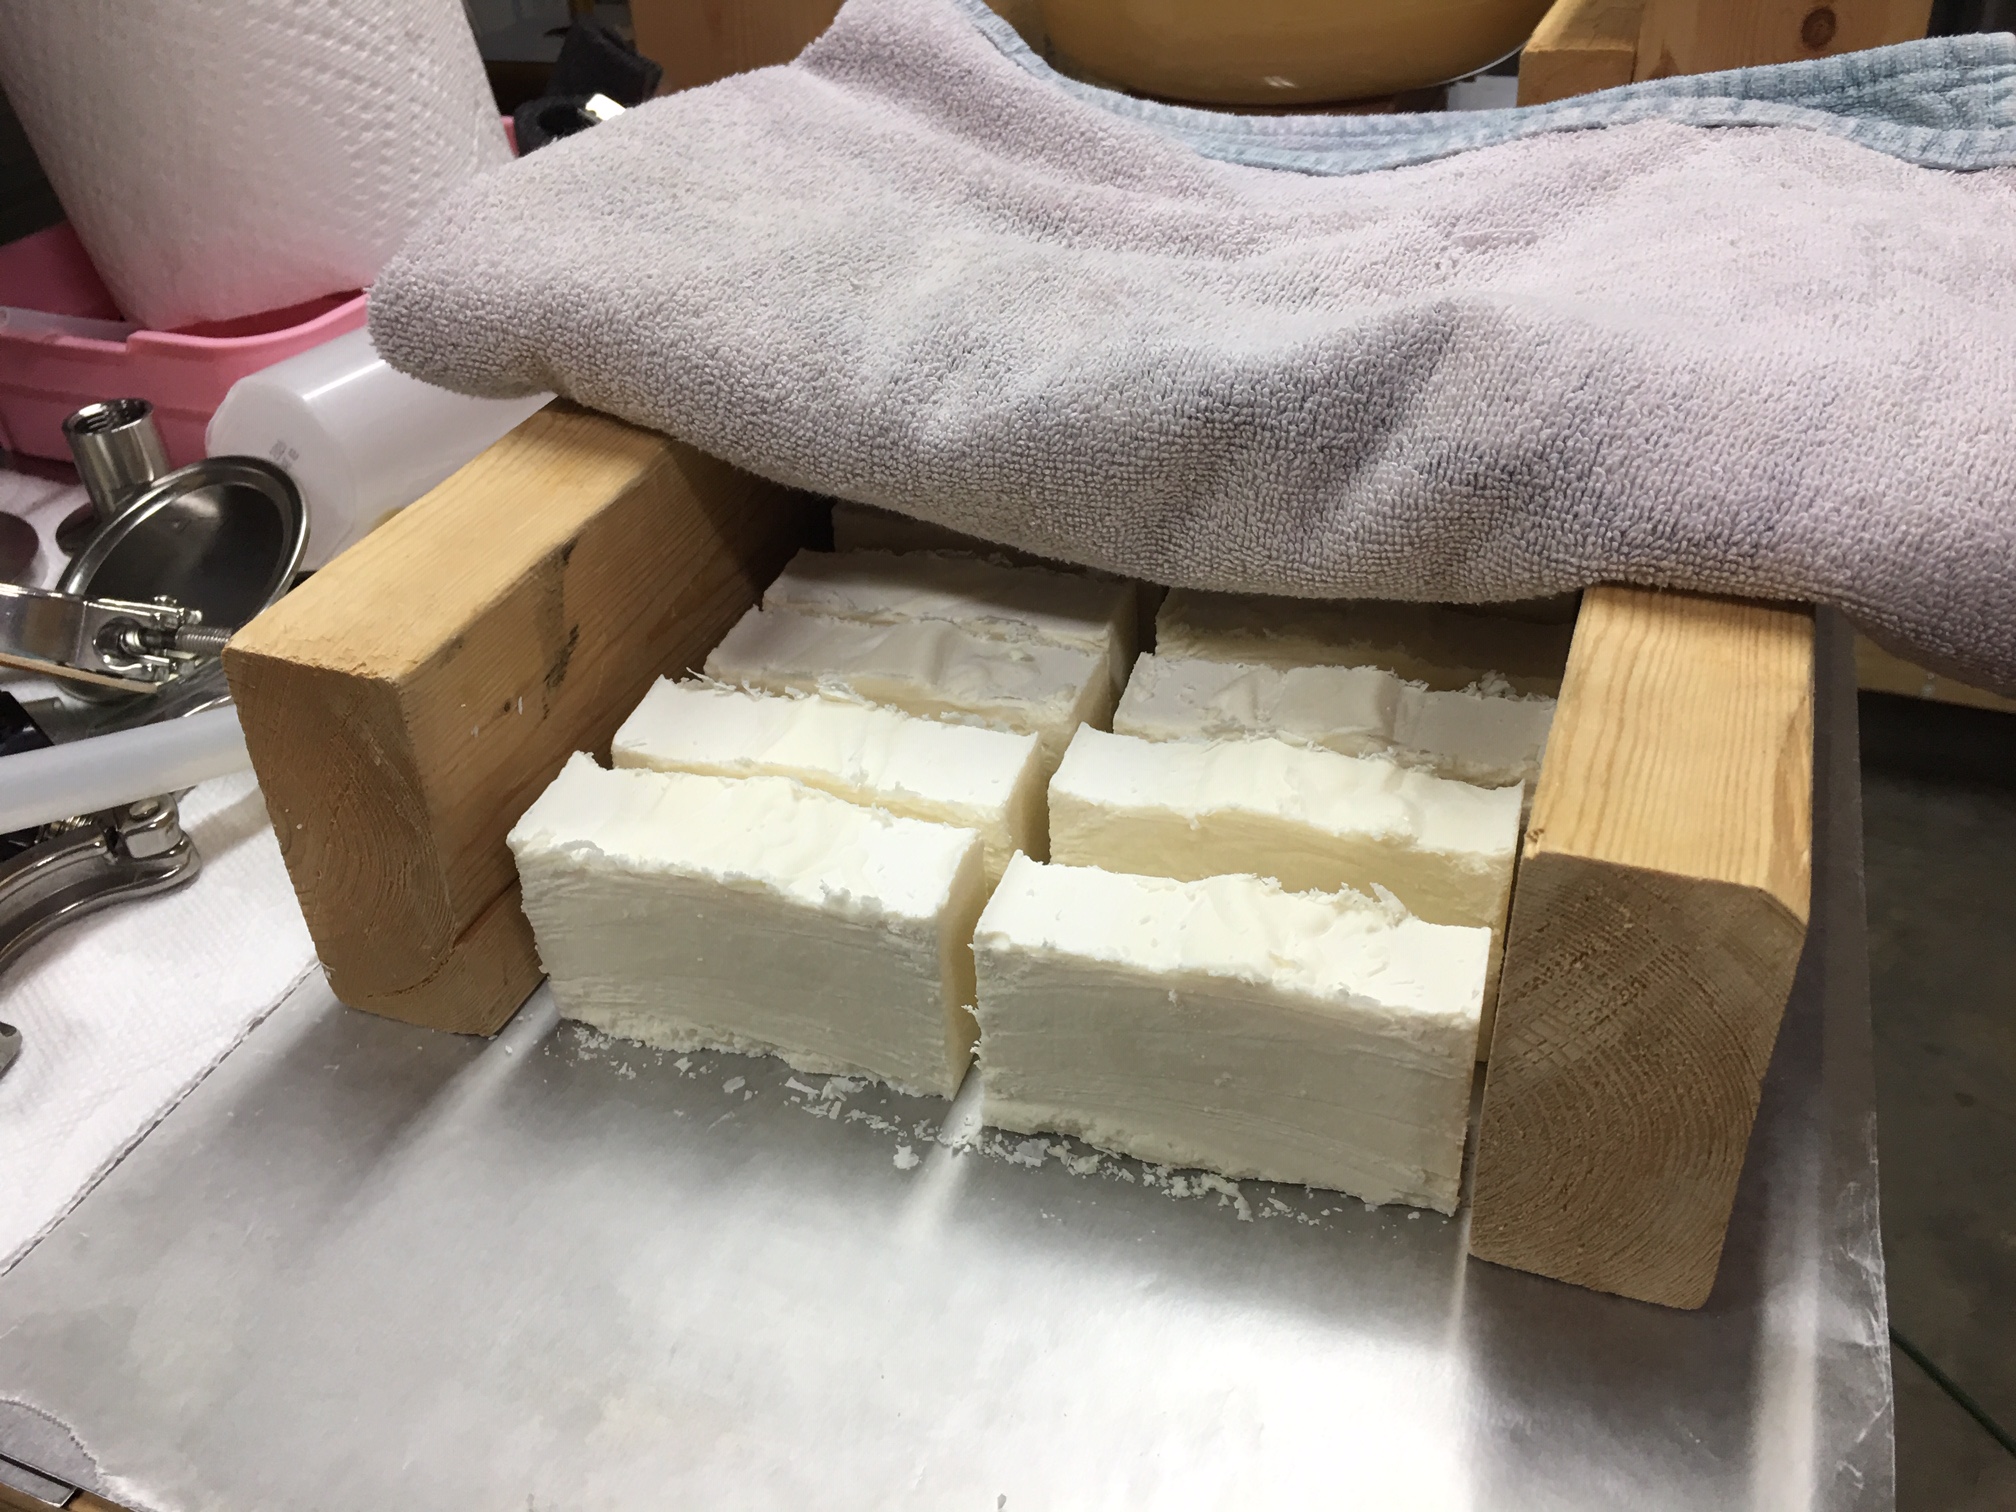
The soap hardened up pretty quickly. At 10am the next morning, it was hard. I was concerned I would not be able to cut it so I went ahead and de-molded it. It was too hard to use my wire soap cutter (my homemade rough version of one) so I used a kitchen knife. It cut pretty well. I ended up with the expected 18 bars. I trimmed them up and placed them in a container and covered with a cloth.

The bars of soap trimmed and placed in a pan for curing.

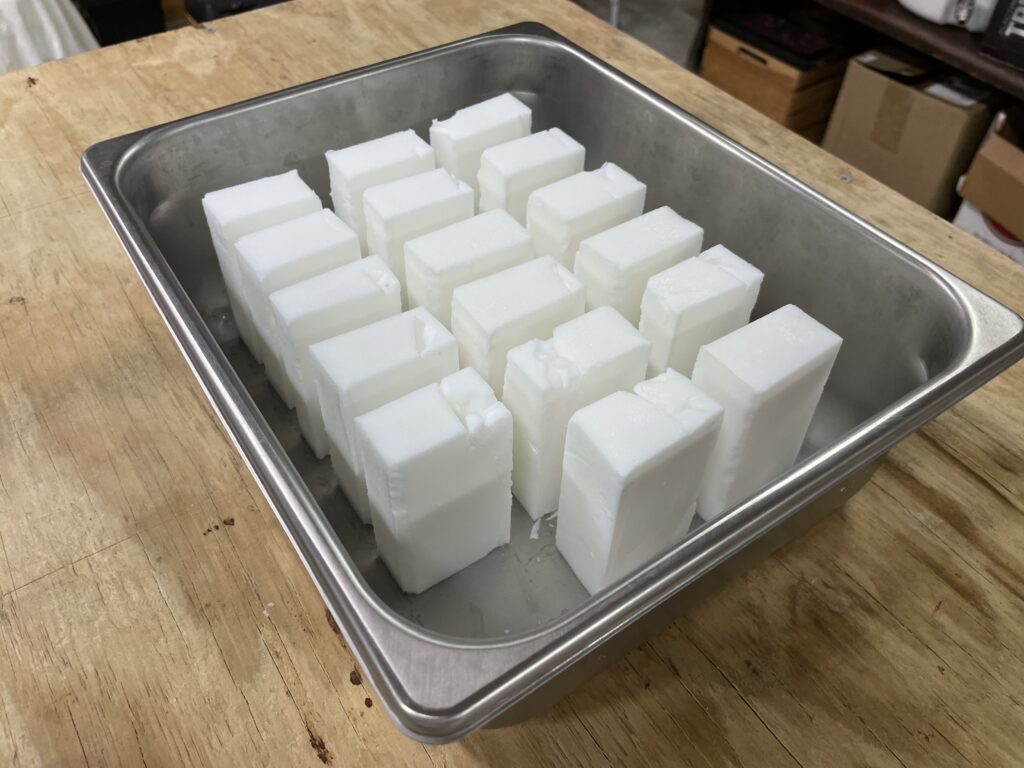
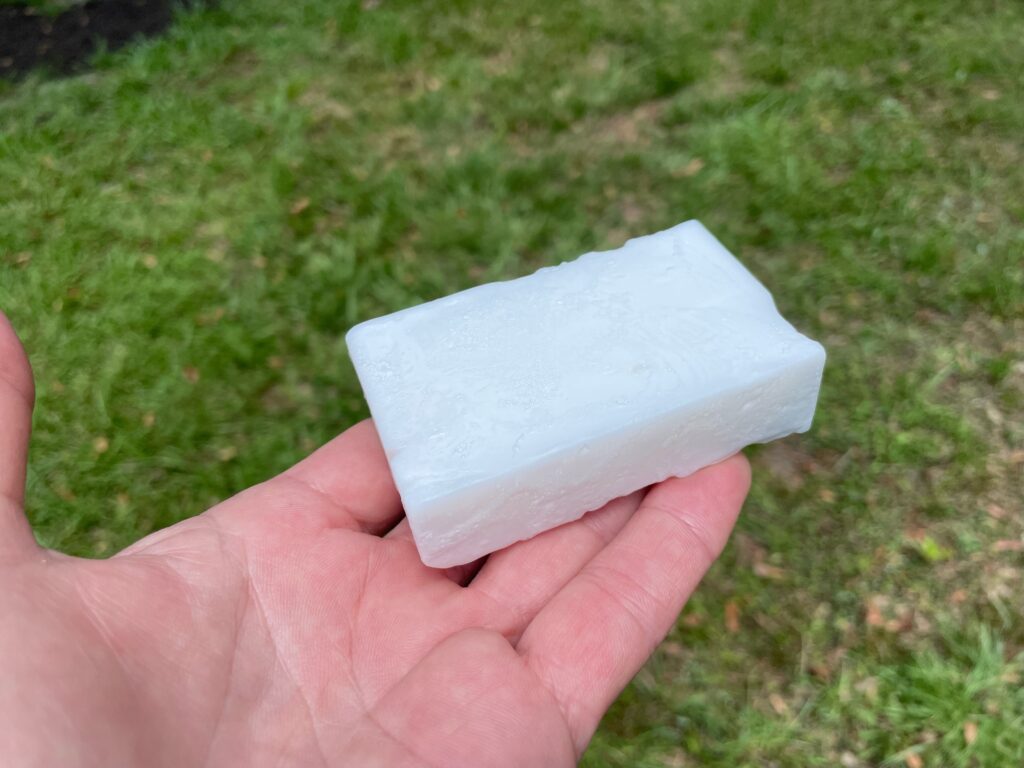
The soap turned out pure white and has little smell to it, maybe a slight toasted coconut aroma. I tried washing my hands with a bar. It lathered up nicely!

Freshly made 100% coconut oil soap.

Found an extensive SAP table at fromnaturewithlove.com. Also, good information about recipes at brambleberry.com. Also, SoapCalc.net is a popular calculator.

Turns out that the calculations for ingredients are not that difficult. Start with the weight of the oil you are using, multiply that by the SAP number for that particular oil to get the weight of NaOH required. Reduce the NaOH weight by the percentage of superfat you desire, ie, 5% superfat, multiply the NaOH calculated by 0.95 to arrive at the new NaOH weight. The distilled water is typically 30-38% of the weight of the oil.

My recipe: 1515 g coconut oil x 0.184 = 278.76 grams of NaOH. Superfat at 5%, so 278.76 x 0.95 = 264.82 grams NaOH required. For the water at 30%, 1515 grams oil x 0.30 = 454.5 grams distilled water required.

Posted in Education, Soap | Tagged , , | Leave a comment

Notes from Doug Piper’s Crowdcast interview with Weihenstephaner’s Philippe Janssens

Doug Piper, host of Gourmet Brewing on Crowdcast had Philippe Janssens as his guest on April 28, 2022. Philippe Janssens is Tech/Mgr at Fermentis and offered up a lot of great information on the subject of brewing lagers, particularly helles lagers. Listen to the cast: Fermentis: Lager Yeast Best Practices – Strains & Avoiding Off-Flavors here.

Here are some notes I took for future reference:

Weihenstaphaner’s bottled “Premium” Lager in America is the same as their “Helles”. Their helles is decocted, while their newer canned offering, is not and is not the same beer. Janssens says the decoction is better for flavor. The slimmer-bodied canned helles is infusion mashed with 100% Pilsner malt and “no crystal”. Mash out at 77°C (172°F). Sauergut is used. OG=11.0, 16 IBUs, 4.8% ABV. Perle hops at start of boil. Hallertau Select in the middle of the boil. Hallertau Saphir at finish.

Their beers are lagered in horizontal tanks for 4-5 weeks at 0°C. Then to filtration through a “horizontal leaf filter” which is a sheet filter with pads. At 14:40.

Janssens says main difference Fermentis 34/70 versus S-23 is the ability of the S-23 to produce more esters compared to 34/70, depending upon conditions, like temperature. 34/70 is robust and stable. S-23 has more ability to react to the process. Increase in temperature increases more esters, compared to 34/70 in the same conditions. Pressure applied during fermentation will produce less esters. Temperature, pressure, gravity and pitching rate are things the brewer can experiment with. Decreased pitching rate will increase ester production.

For 34/70, Janssens says you can start at 12°C. Recommends not below 10°C fermentation. “At 8°C, for example, fermentation time is a little bit too long”. Recommends initiating between 12 and 14°C with a diacetyl rest at 16°C if desired.

Janssens says 34/70 will produce clean, classic beer. Fruity and hoppy beers with S-23.

Janssens offered some information on Weihenstephaner’s hefewiesen. A 113°F rest for ferric acid production and protein to allow for stable haziness.

Janssens said they treat the finished beer with “keogoreb” or whatever. I could not make out word he said. He said it “absorbs yeast and proteins”. I wonder if this is similar to kieselsol or chitosan.

Give the Crowdcast a listen and consider supporting Doug Piper. His Crowdcasts are very informative.

Posted in Uncategorized | Leave a comment

My first encounter with beer stone

I had my first encounter with beer stone recently. My fermenter chiller coils have been collecting a residue that does not come off easily. Normally, to clean them, I run a Scotch brite pads along the coils with some Barkeepers. Then I rinse well and dip in a StarSan solution and let air dry. The coil looks clean while wet. Afterward it dries I notice the residue. At first I thought it may be residual StarSan that dried up but the last time I used the coil, there was a lot more residue.

This is a close up of my chiller coil I put in my fermenter to keep temps with glycol. I have seen this residue on the coil before but not near this much. The picture of the coil is after cleaning with a Scothbrite pad and Barkeepers.

Upon swirling the cup, it did not act like yeast, which would make the solution milky. It acted more like miniature grits or something and quickly settled out. So I took a sample an eyedropper and put it on a slide and checked under the microscope. The microscope picture is at 430X.

Continue reading

Posted in Education, Equipment, Sanitation | Tagged , , | Leave a comment

My Second 5000 BTU Window AC Glycol Chiller Build

This is my second glycol chiller build. I used a new 5000 BTU window AC unit I had sitting around still in the box for several years. I decided to build out a second chiller to have as a backup in case my first one fails, but also to use to chill wort after boiling.

My first chiller, practically the same build, has been in use for 13 months so far with excellent results. I have had it in use the whole time, holding the nine gallons of glycol solution in the Rubbermaid 48-quart cooler at 30-33°F. It is controlled with an Inkbird ITC-1000 controller. The chiller has come on at least 10 to 15 times a day since it was put into service.

This is a Frigidaire 5000 BTU window AC unit with analog controls. Whether it is an analog or digital unit, the only components needed are five things: the HERM compressor, compressor fan, compressor coil, evaporator coil and capacitor. Other than that, I kept the base it is all mounted to, the housing cover, and wires.

Here is the unit with cover removed, return air blower wheel and styrofoam air routing removed. It is ready to begin working on.

Continue reading

Posted in Equipment | Tagged , , , , , , | Leave a comment

Notes on my first attempt at making crystal malt

On Friday, August 23, 2019, I made my first attempt at making some crystal malt. I used Brewcabin.com’s post as a guide.

8:00 AM: Soaked 1 lb Thomas Fawcett Golden Promise malt in about 21 oz of bottled water in a plastic container at around 78°F for four hours.

12:07 PM: Poured the soaked grains into a stainless steel stock pot with lid and floated in eight gallons of water in my boil kettle at 160°F. Plan to let mash for 3 hours.

1:15 PM: The grains seemed to be losing water so I added a bottle of water (16.9 oz) to the stock pot. On retrospect, I believe this was way too much water to add, if any needed be added at all.*

3:25 PM: Poured the grains into a colander to drain off liquid. Collected about 20 oz of wort that measured 5.9 Brix.* Spread the grains in a stainless steel pan to about 1/2″ inches deep. Placed in oven at 220°F to begin drying.

3:45 PM: Stirred grains.

4:15 PM: Stirred grains.

I stirred the grains every 30 minutes. It took approximately 4 hours to sufficiently dry the grains. I then set the oven at 300°F. Once the oven was heated to 300°F, I began timing. I let the grains roast for 20 minutes. That is my guess at achieving about 30L, based on figures from the Brewcabin.com post.

* In retrospect, I believe I added way too much additional water while mashing. I think spraying the grains occassionally would be a better idea. I did not want them to dry out, but also, I think having them soaking in water draws sugars from the grains into solution – lost sugar! So next time I will spray them as necessary so they remain wet, but not soaking.

The crystal malts tasted great. I think they will add some nice flavor and color to a beer, but they are crunchy and easy to chew and lack the hard glassiness of typical crystal malts.

Posted in Crystal malt, Education, Ingredients, Malt, Malting, Uncategorized | Tagged , | Leave a comment

Doom Bar Brewing Notes

Doom Bar recipe notes:

Links:

BeerSmith forum
HomebrewTalk
Jim’s Beer Kit

From Doom Bar page on Sharp’s website:
Cask: 4.0 %ABV
Bottle: 4.3 %ABV

Posted in British Beer, Recipes | Tagged , , | Leave a comment

Making Soap To Use In The Brewery

Not necessarily brew related, but for future reference. I made my second batch of hand soap that I use in the brewery. The last batch yielded 18 bars and lasted about two years. I could not find the same recipe but found one that is very close. It only uses olive oil as the fat, so it is cheap and easy.

I used the remaining amount of olive oil from the container I bought for the last batch. I weighed the olive oil and it came out to 46.15 ounces. I used the SMBCrafters soak-making calculator [which is now defunct as of 062425] to find out how much sodium hydroxide and water to use. The batch size is designed to fill the soap mold I made from a Sams Club cutting board. I weighed out the ingredients with a digital kitchen scale.

The recipe:

46.15 oz Extra virgin olive oil
6.1 oz Sodium hydroxide
14.1 ounces of distilled water.

WARNING about sodium hydroxide: IT IS DANGEROUS!!! Handle with care!!!

After weighing all the ingredients, I took the water and sodium hydroxide out on the deck outside. There needs to be good ventilation when mixing the two. I wore protective eyewear and rubber gloves to work with this solution. I slowly poured the sodium hydroxide into the water while stirring with a stainless steel spoon. Once mixed very well, I took the temperature of the solution. The thermometer read 198°F! The chemical reaction makes a lot of heat! Always add the sodium hydroxide to the water, not the other way around. Now we have a lye solution.

While I let the lye solution cool, I heated the olive oil to about 128°F in a stainless steel pot. I let both solutions cool to below 120°F before mixing. The lye solution got down to about 117°F and the oil about 114°F. If they are within 10 degrees of each other, we are good to go.

I slowly poured the lye solution into the pot containing the oil, stirring constantly using a hand mixer. Once the combined, I put the hand mixer in the middle of the pot and ran it on low in short bursts. These hand mixers are not designed to run continuously and will burn out. So short bursts of a few seconds every so often is adequate, then stirring it with the hand mixier like a spoon to keep mixing.

After about 10 to 15 minutes the soap solution began to trace. Trace is when you can drip the solution off the mixer and it leaves a trace, or trails, on the surface of the soap solution. Once mixed well and at trace, I poured the soap solution into the soap mold, scraping all I could get out of the pot with a spatula. I put the mold out of the way and put a sheet of cardboard on top to keep dust out. This will take about 48+ hours to set up and be ready to take out of the mold and cut into bars.

My soap making kit includes a soap mold, a digital kitchen scale, a stainless steel pot, hand mixer, a couple of mixing cups and utensils, rubber gloves and protective eyewear.

040119 9:00 AM: I decided to go ahead and slice the soap after it had been in the mold for 45 hours. It was harder to slice than I remember. Perhaps I can slice it next time after 36 hours or so.

My homemade slicer only had four wires. More than that would make it really hard to cut. Here is the slicer after finishing.

I put a 2×4 under the cardboard and wax paper so the slicer can slice all the way down to the cardboard. If I work on just a flat surface, the wires would not slice all the way through because they bend upwards a little bit.

Also, the way I have the steel wire installed, I had to use a screw driver inserted through the wire tightening eye screws to keep them from turning and loosening the wire as it sliced through the soap.

Here are all of the 18 bars of soap that I just sliced.

I turned the soap bars on their sides so I could cover them up with a towel to keep dust off of them while they cure for three weeks.

[Added 111323: Screenshot of recipe calculations]

Screenshot of recipe calculations.

Screenshot of recipe calculations.

REFERENCES:

1. Simple Castile Soap Recipe: how to make olive oil soap with just three ingredients
2. Soap Making 101: How to Make Soap {cold process}
3. SMBCrafters Soapmaking Calculator [v1.31]

Posted in Soap | Tagged , | Leave a comment

First Attempt at Malting Wheat

I have been reading about malting grains for a good while and finally decided to give it a try after I spotted some raw wheat at Whole Foods the other day. I bought about 2.5 pounds of it to play around with. It was labeled as organic hard red winter wheat.

I put a dozen or so grains in a folded paper towel and placed it in a zip lock bag with enough water to wet the paper towel well. I let it sit for a few days and sure enough the grains sprouted to the people oint where the acrospire had turned green.

I used this procedure which seems to be popular with Google:

03/14/19 2:00 PM: I place the wheat in a two-gallon bucket and added enough water to about two inches above the wheat. I mixed it around a bit to allow any debris to make its way loose and then strained it. I added the same about of water again and let it sit for eight hours.

03/14/19 10:00 PM: I strained the wheat and put it back in the bucket, placed the lid on lightly (not sealed) and let it sit for another eight hours.

03/15/19 6:00 AM: I added water back to the wheat as before and let it sit another eight hours.

3/15/19 2:00 PM: After draining the wheat, I spredded the very damp wheat evenly layered about one inch deep into a stainless steel pan and covered with a towel. That evening before bed, I sprayed the top with water, just enough to keep it moist. I did the same the next morning.

After about 18 hours into the soaking process, I observed the small white chits emerging from the grains.

At about 28 hours, I observed the roots and acrospire beginning to emerge.

At 42 hours, the roots and acrospire are easily visible.

At 49 hours, the acrospire appears to be 1/4 to 1/3 the length of the kernels.

03/17/19 10:00 AM: At 68 hours, I observed that many of the grains had acrospires at or close to the length of the kernel. There were a lot that were around 1/4 the length but I decided to go ahead and begin the drying process.

I am using the Presto 06301 Dehydro Digital Electric Food Dehydrator to dry my wheat. It has six trays and that turns out to be just enough space for this batch. The grains had swelled to where they were about 1.5″ deep in the stainless steel tray I used. I was able to break off chucks of the grains about two inches wide to put on the dryer trays, then spread them a little bit to reduce the height so the next tray on top will fit properly on the dryer.

Once all the grains were in the dehydrator, I set the temperature at 95°F for six hours. I will check periodically to see how they are doing. I expect it will take longer than six hours.

I let the dehydrator run for about 15 hours at 95°F. It was set to quit during the night so I checked the next morning. The malts are crunchy but tasted green. Not sure they are completely done.

03/18/19 10:45 AM: I set the dehydrator for another two hours at 125°F.

03/20/19 10:00 AM: I pulled a few ounces of the freshly malted wheat and put in a baggie. I put the rest in a stainless steel pan and place it in the oven and different temperatures, removing a few ounces after each step so I could sample the differences later.

Bag A: 15 hours at 95°F, 2 hours at 125°F – basic green taste and aroma.
Bag B: Additional 3 hours at 175°F – still green but better.
Bag C: Additional 2 hours at 175°F – a light pale malt, slightly toasty.
Bag D: Additional 2 hours at 225°F – toasty, biscuity flavor and aroma.
Bag E: Additional 1 hours at 325°F – smells of coffee and chocolate. Roasted coffee bean flavor.
Bag F: Additional 1 hours at 325°F – more roasted smell, harsher taste.
Bag G: Additional 1 hours at 400°F – strong roasted smell and taste. Acrid at first.

Posted in Education, Ingredients, Malting | Tagged , , , | Leave a comment

Boil-off Test On My Small Kettle

On Sunday, January 27, 2019, I conducted a boil-off test on my small kettle. It is a 62-quart SS Bayou Classic that I have used for five-gallon batches for years. I have been experimenting with lid-on boiling with my 1/2 BBL system with the BrunDog condenser unit and wanted to trying boiling with the lid on on the small rig to save boil-off while using less electricity with a lower PWR setting. The lid has some holes in it from prior experiments. I think there will be adequate vaporing through those holes for the wort to get rid of the unwanted stuff. Of course, I will have to actually try it to make sure.

11:00 AM: I started with about 7.5 gallons of water in the kettle at 65°F. I put the lid on and applied 100% PWR.

11:35 AM: A full hard rolling boil (likely started a little sooner that 11:35.) Cut PWR to 50%.

11:39 AM: Hard rolling boil. Cut PWR to 30%.

11:45 AM: Nice rolling boil. Set PWR to 20%.

11:47 AM: Slow boil. Set PWR to 25%.

11:55 AM: Adequate boil.

12:10 PM: Nice boil.

12:20 PM: Nice boil.

12:44 PM: Perhaps a more rigorous boil than needed.

12:55 PM: A bit more boil than required. Set PWR to 23%.

1:05 PM: Adequate boil at flame out (FO).

The volume after FO was about 7.2 gallons at approximately 210°F. The water will need to cool to get a better reading. At the current volume, the boil-off was surprisingly low at about 0.3 gallons over a 90-minute boil. When I boil with the lid off, I usually expect a two-gallon+ boil-off.

I looks like a PWR setting of about 23% will do the work. I am used to using about PWR=60% with lid-off boiling.

3:30 PM: T=150°F, Volume = 7.0 gallons. So, 210°F – 150°F = 60°F delta. 7.2 gallons – 7.0 gallons = 0.2 gallon delta. That’s 0.2 g / 60°F = 0.00333 g/°F.

Predicting the volume when cooled back to 65°F:
210°F – 65°F = 145°F.
145°F x 0.00333 g/°F = 0.483 g

So, 7.2 gallons at 210°F is predicted to be 6.7 gallons when cooled back down to 65°F.

Original volume: 7.2 g
Final volume: 6.7 g
Boil-off: 0.5 g

Boil-off rate 0.5 g / 90 min. = 0.005365 g/min from beginning to end.

Monday, January 28, 2019, 9:30 AM: Kettle T=58°F. Kettle volume = 6.9 gallons. Boil-off loss = 7.5gal – 6.9al = 0.6 gallons.

Now to brew a batch!

UPDATE: 02/02/19: Brewed the my first batch with the lid on the kettle, a maibock at 13.7 Brix pre-boil. Sparged to 6.5 gallons and boiled for 120 minutes at around 23% PWR. I kept adjusting the power until it settled in to a nice boil. After flame out and chilling the wort to 46°F, the volume was right at five gallons. I added some distilled water to get to my target of 5.3 gallons. So, 6.5 – 5 = 1.5 gallons of boil-off over the 120 minute boil. 0.75 gallons per hour. That is substantially higher than the 0.33 gallons per hour I calculated with the water test. Now to see if the beer tastes good.

Posted in Education, Equipment | Tagged , | Leave a comment

Replacement Batteries For Brewing Equipment

Not too many pieces of brewing equipment require batteries to be replaced from time to time. This is just for future reference when I need to replace batteries.

1. Milwaukee pH56 Pocket pH/Temp Tester: four LR44 batteries.

2. CDN thermometer: one LR44 battery.

3. AWS-1KG scale: two AAA batteries.

4. WeightWatchers scale: four AAA batteries.

5. Berkley Digital Fish Scale: two CR2032 batteries.

Posted in Equipment | Tagged , , , | Leave a comment