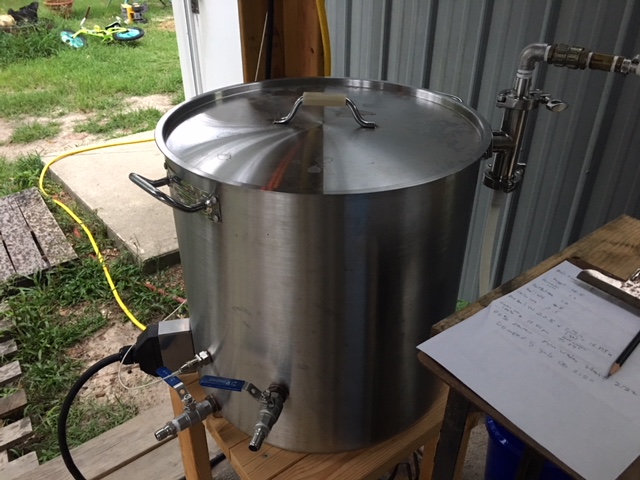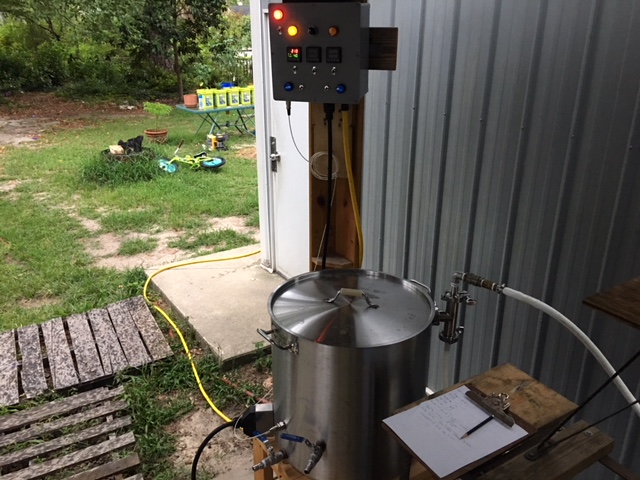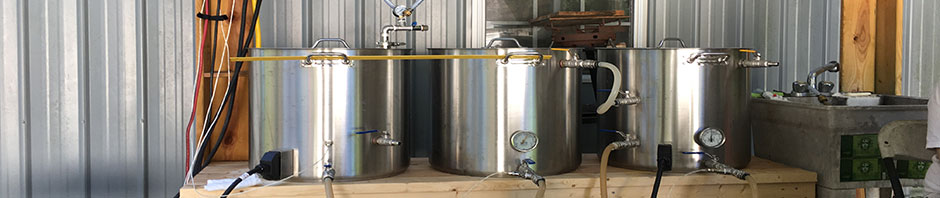
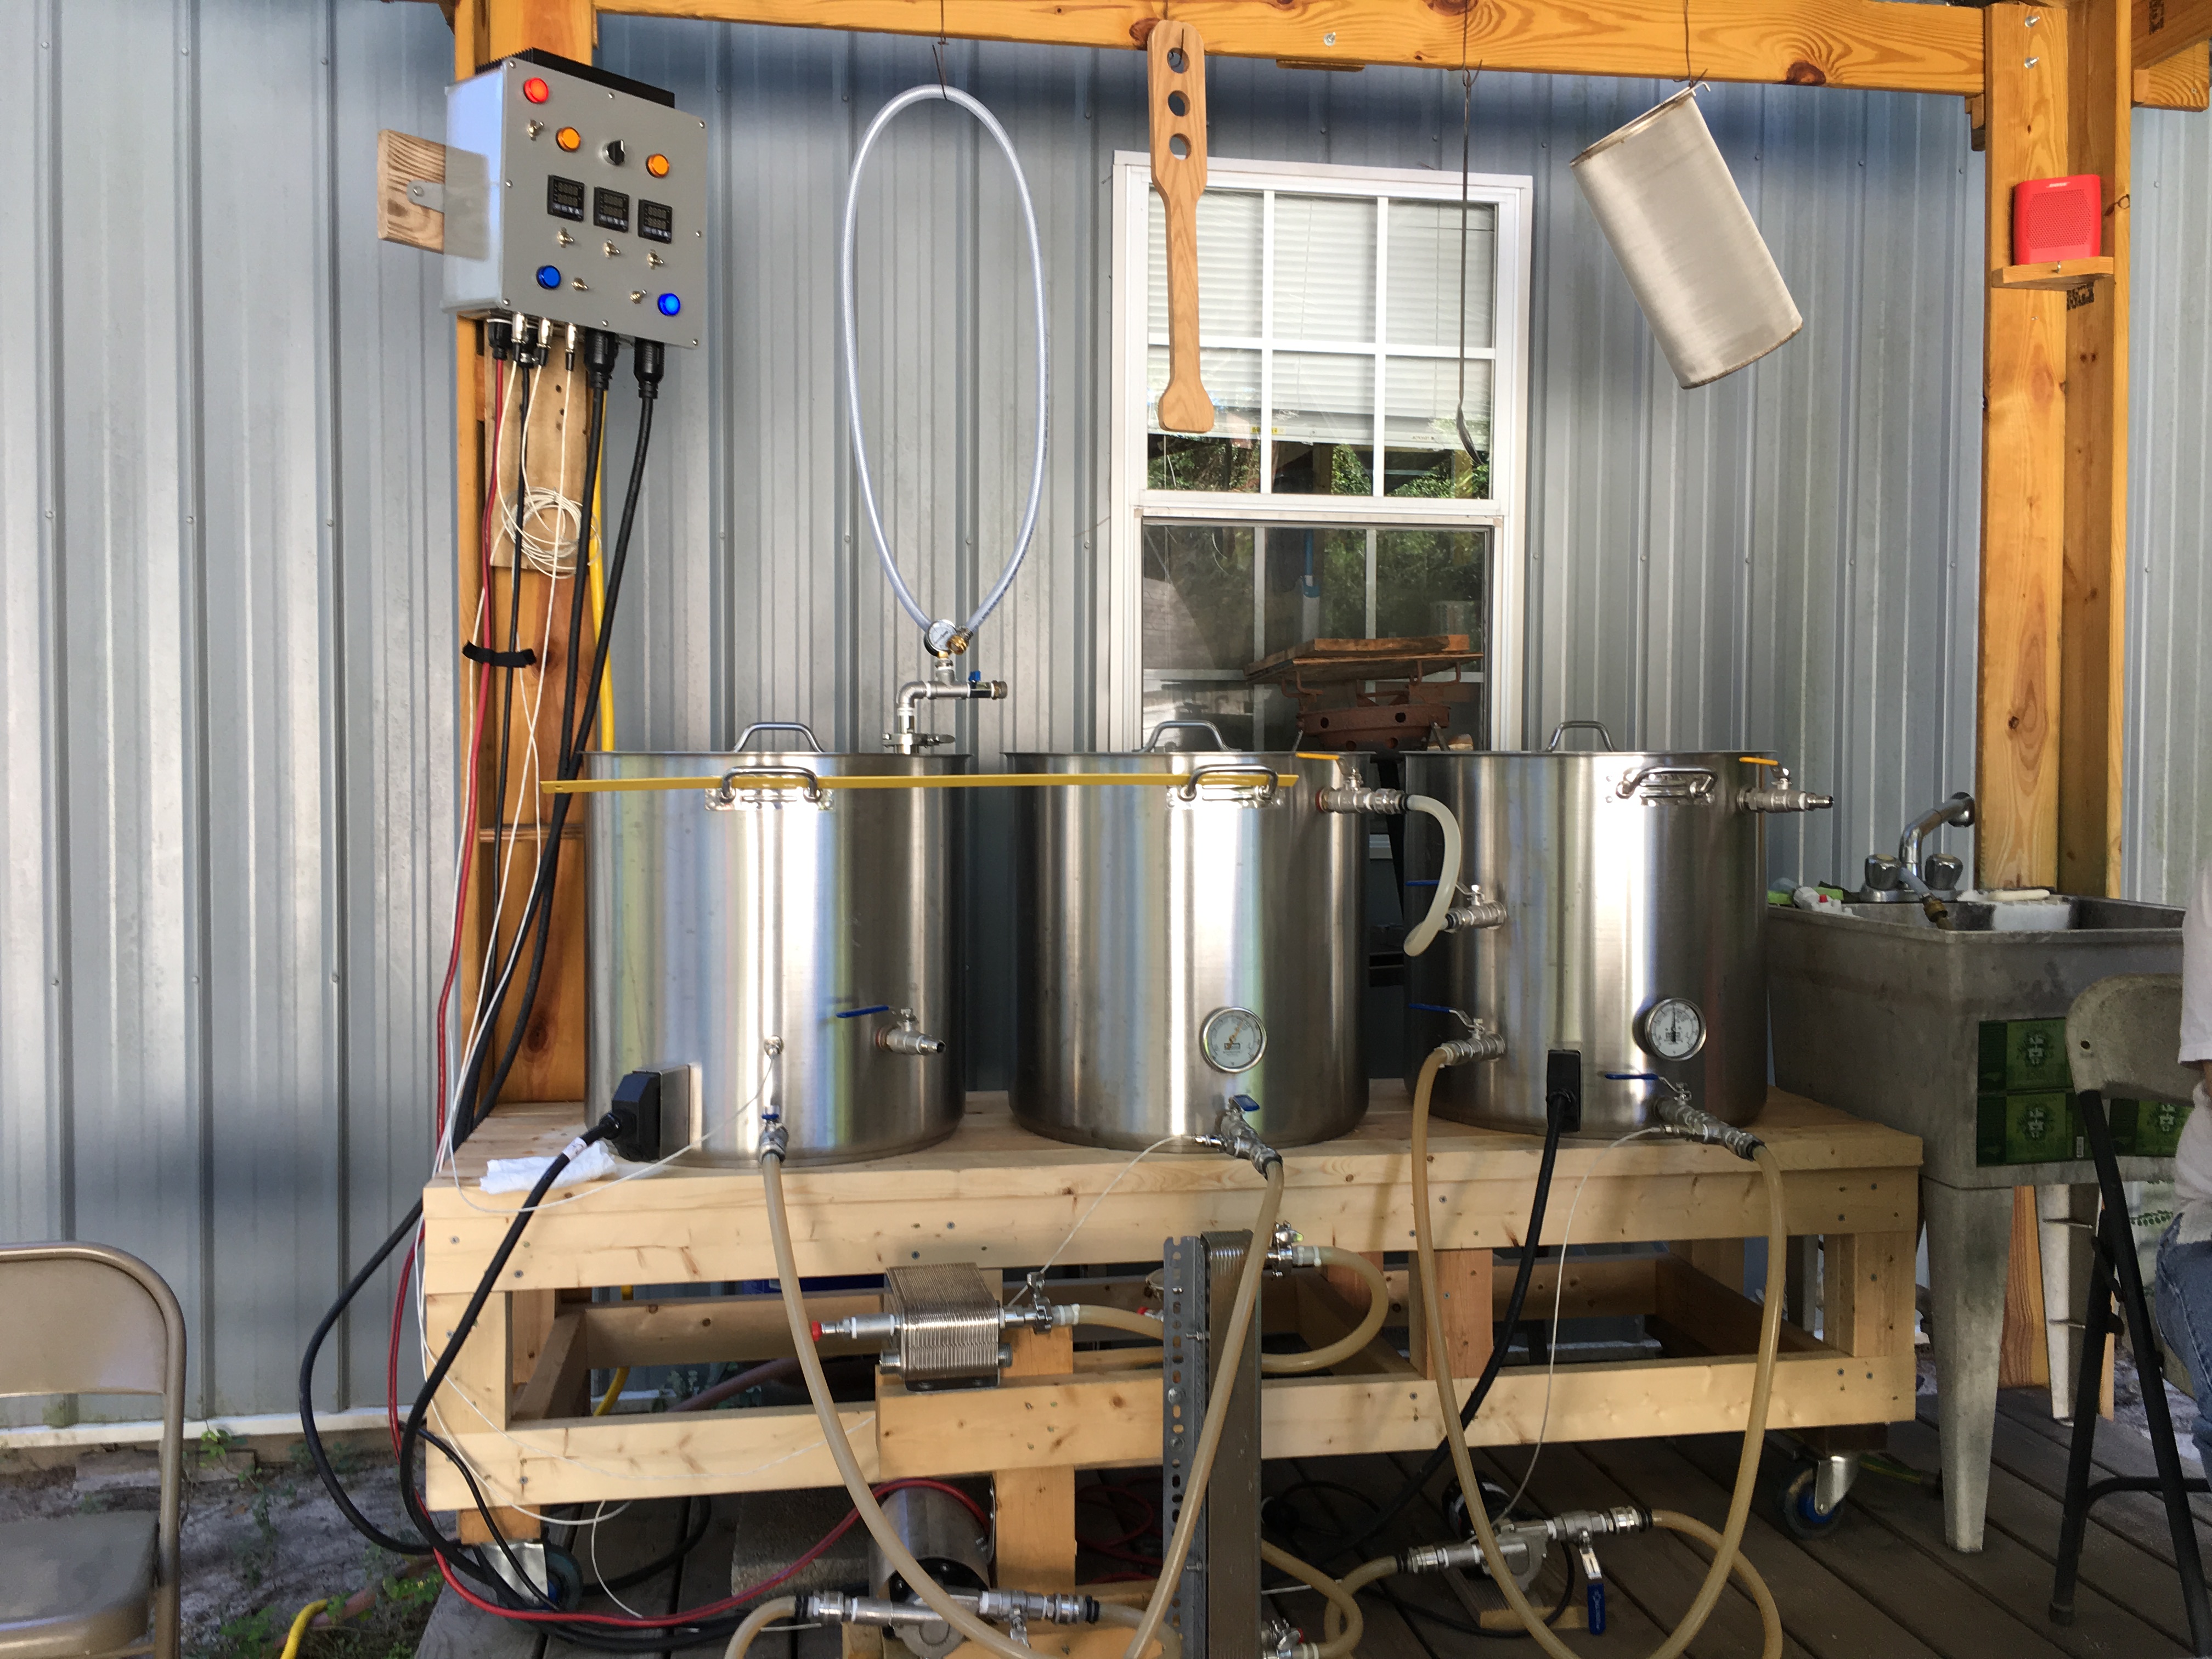
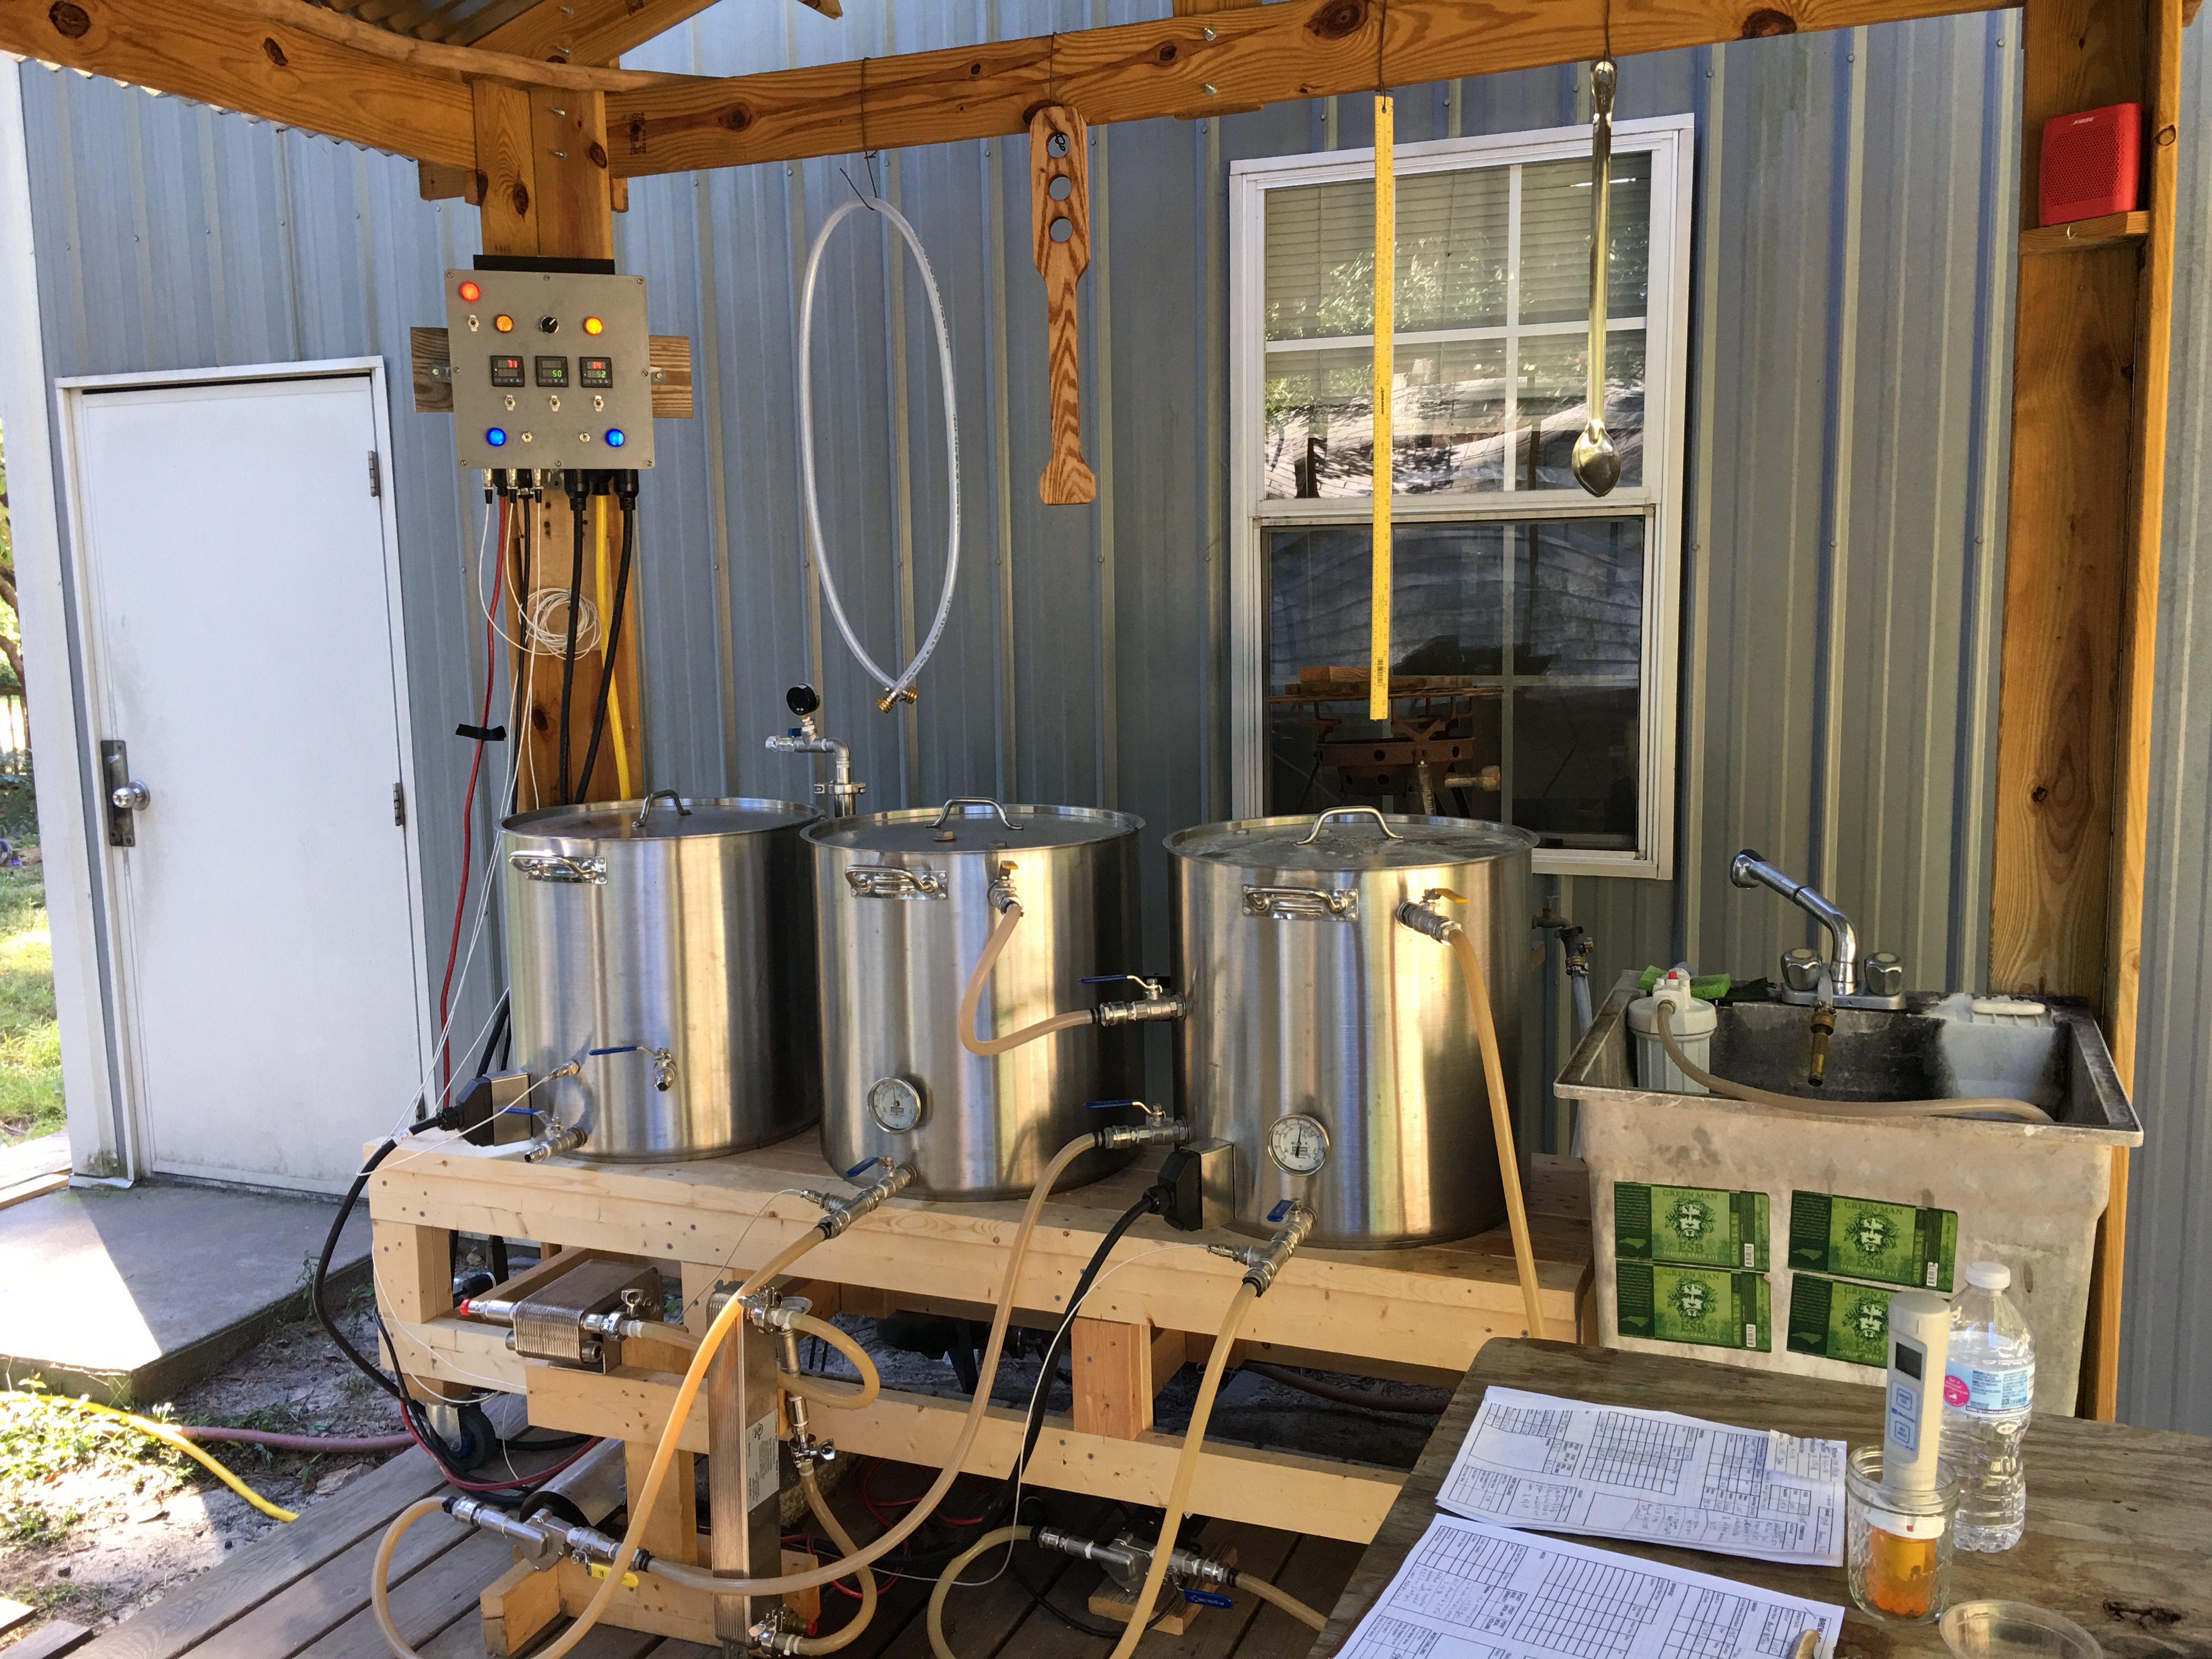
 On Saturday, October 13, 2018, I finally put my 1/2 BBL HERMS brew rig to the test. I had been working to get my fermenter/chiller prepared for the last month. I tested it with water and determined that it was ready to ferment beer.
I decided to brew something rather simple, a best bitter. I scaled up a recipe I had brewed a few times. With my almost 32 lbs of grains and almost 8 ounces of hops, this was certain to be an exciting and interesting day. And, as it turned out, a very long day.
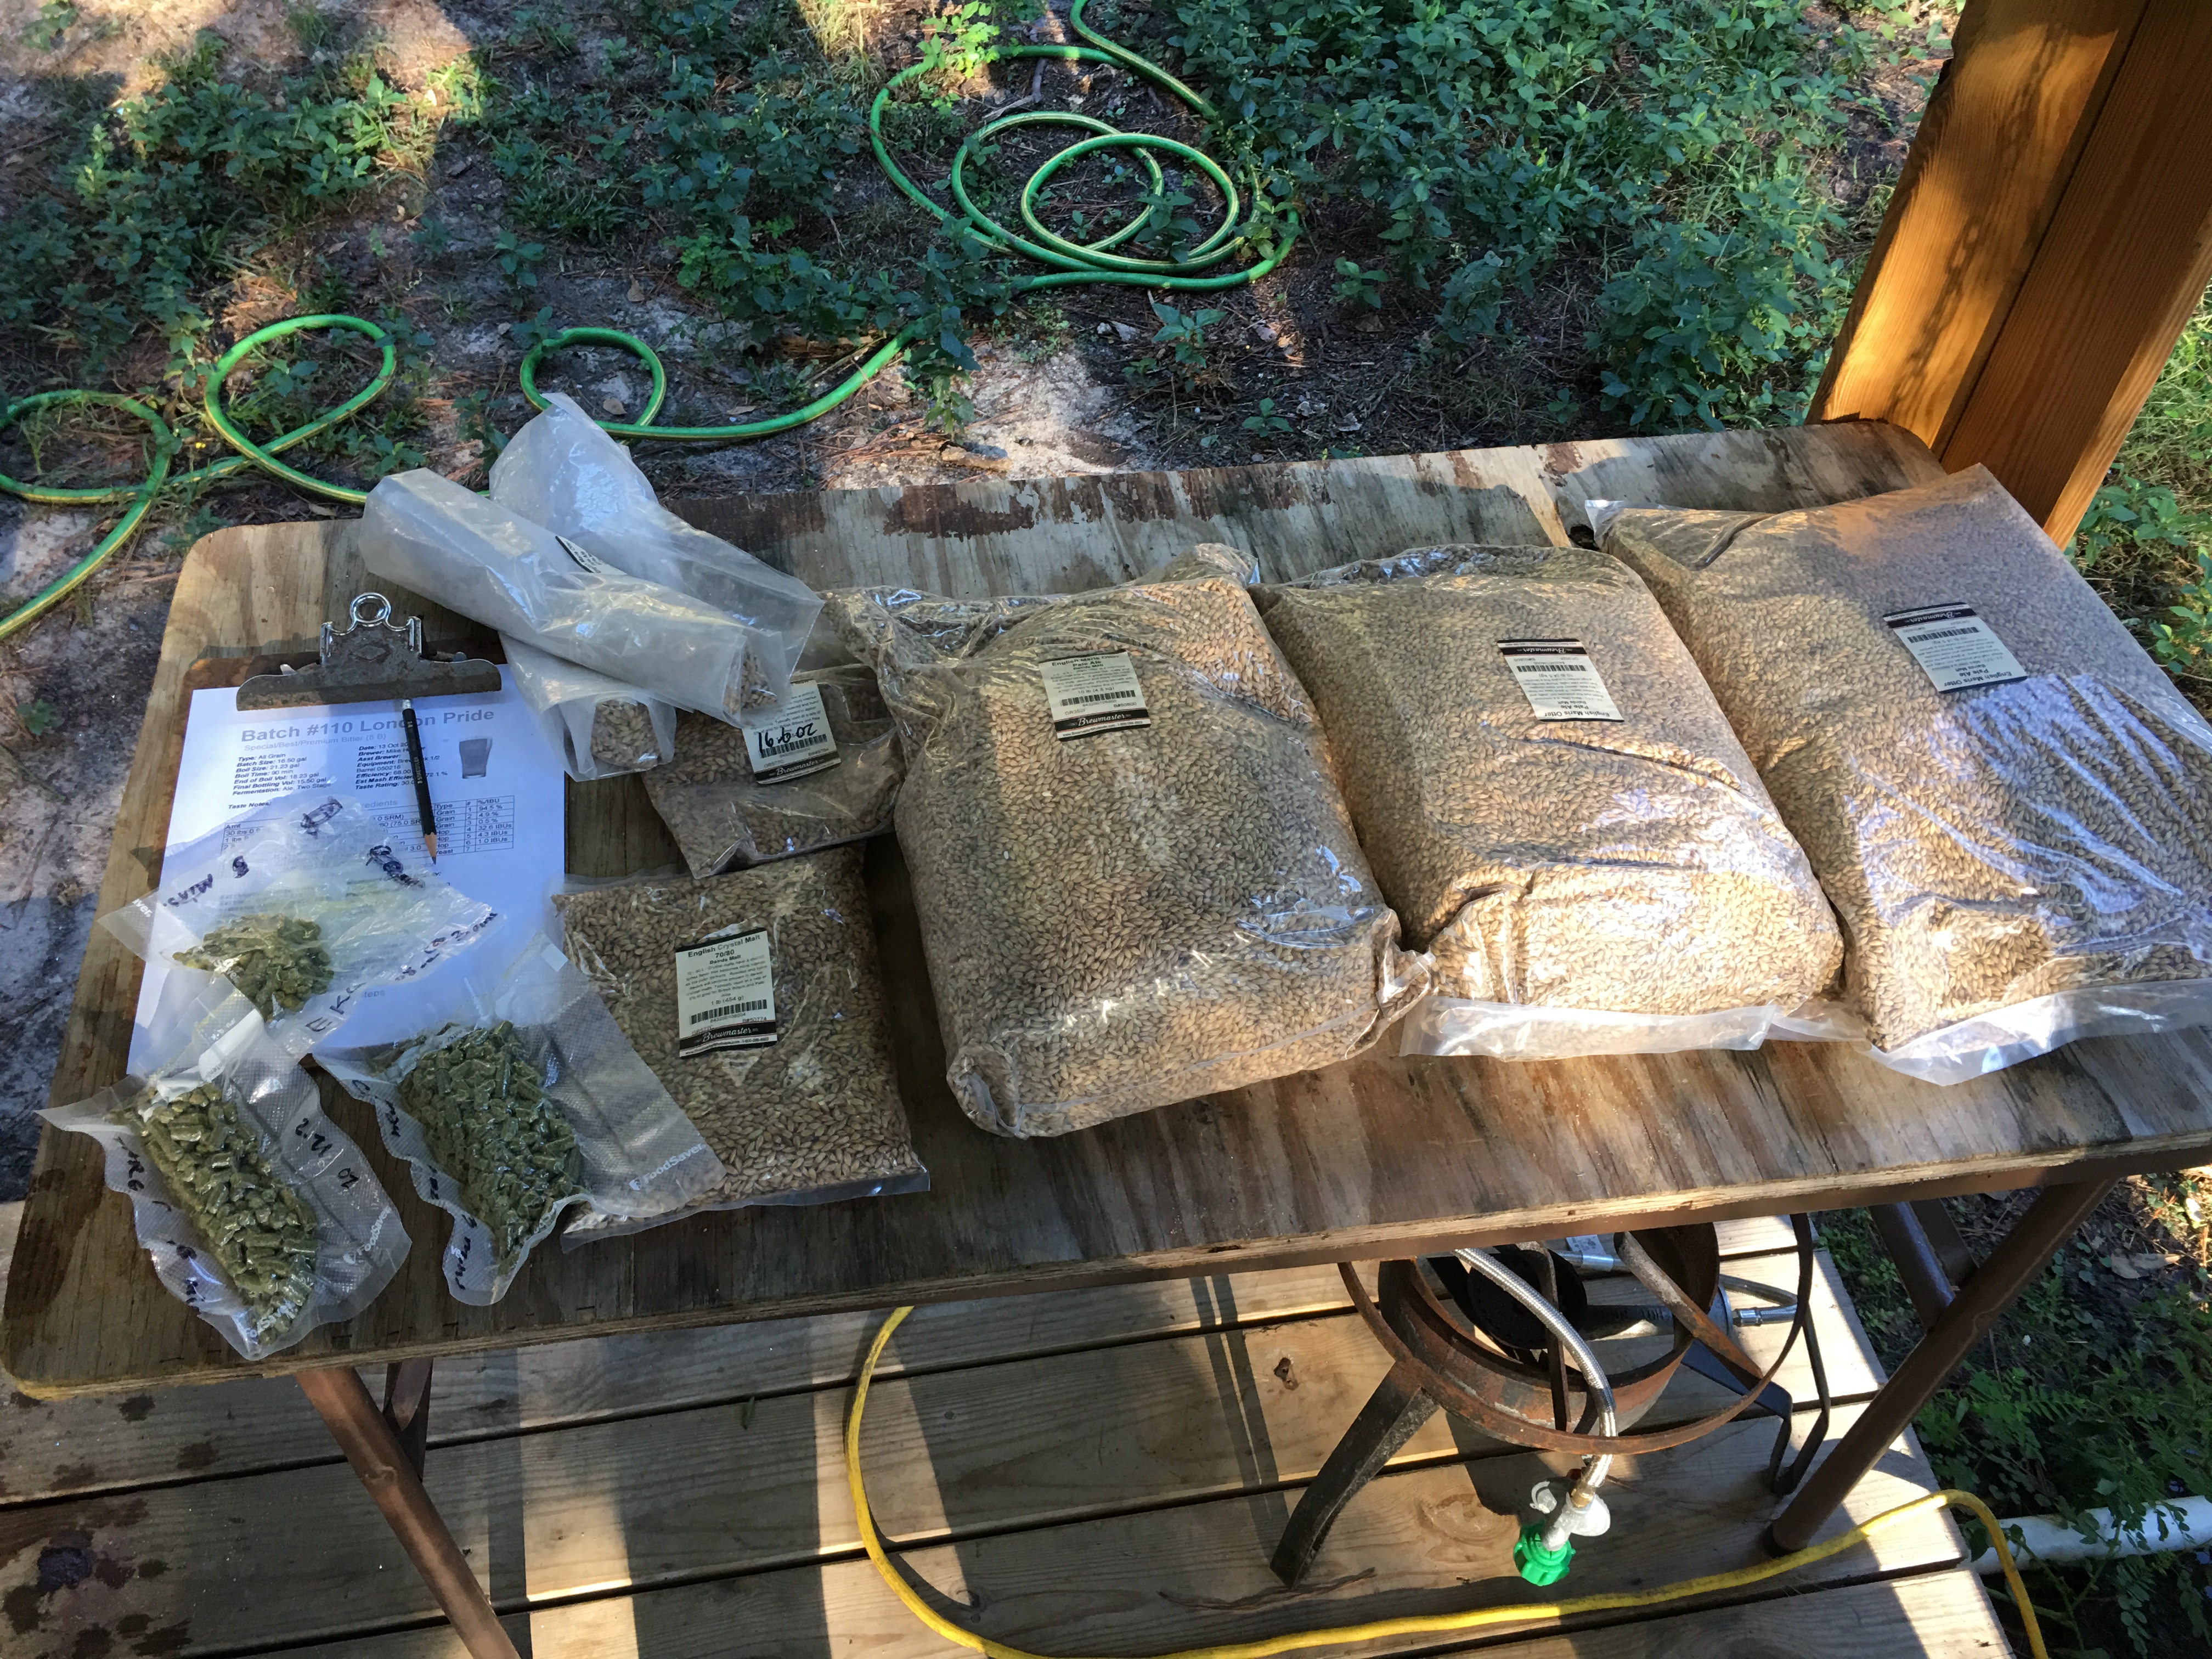
About 32 lbs of malts and 8 ounces of hops ready for brewery.
While I was running the grains through my motorized malt mill, the mill stopped crushing but the motor was running. I turned the motor off and cleared the mill a few times with no success. I had to remove the grains from the hopper and, yep, there was the answer to my problem. A pebble about 1/4″ big was the culprit. I had never had this happen before.
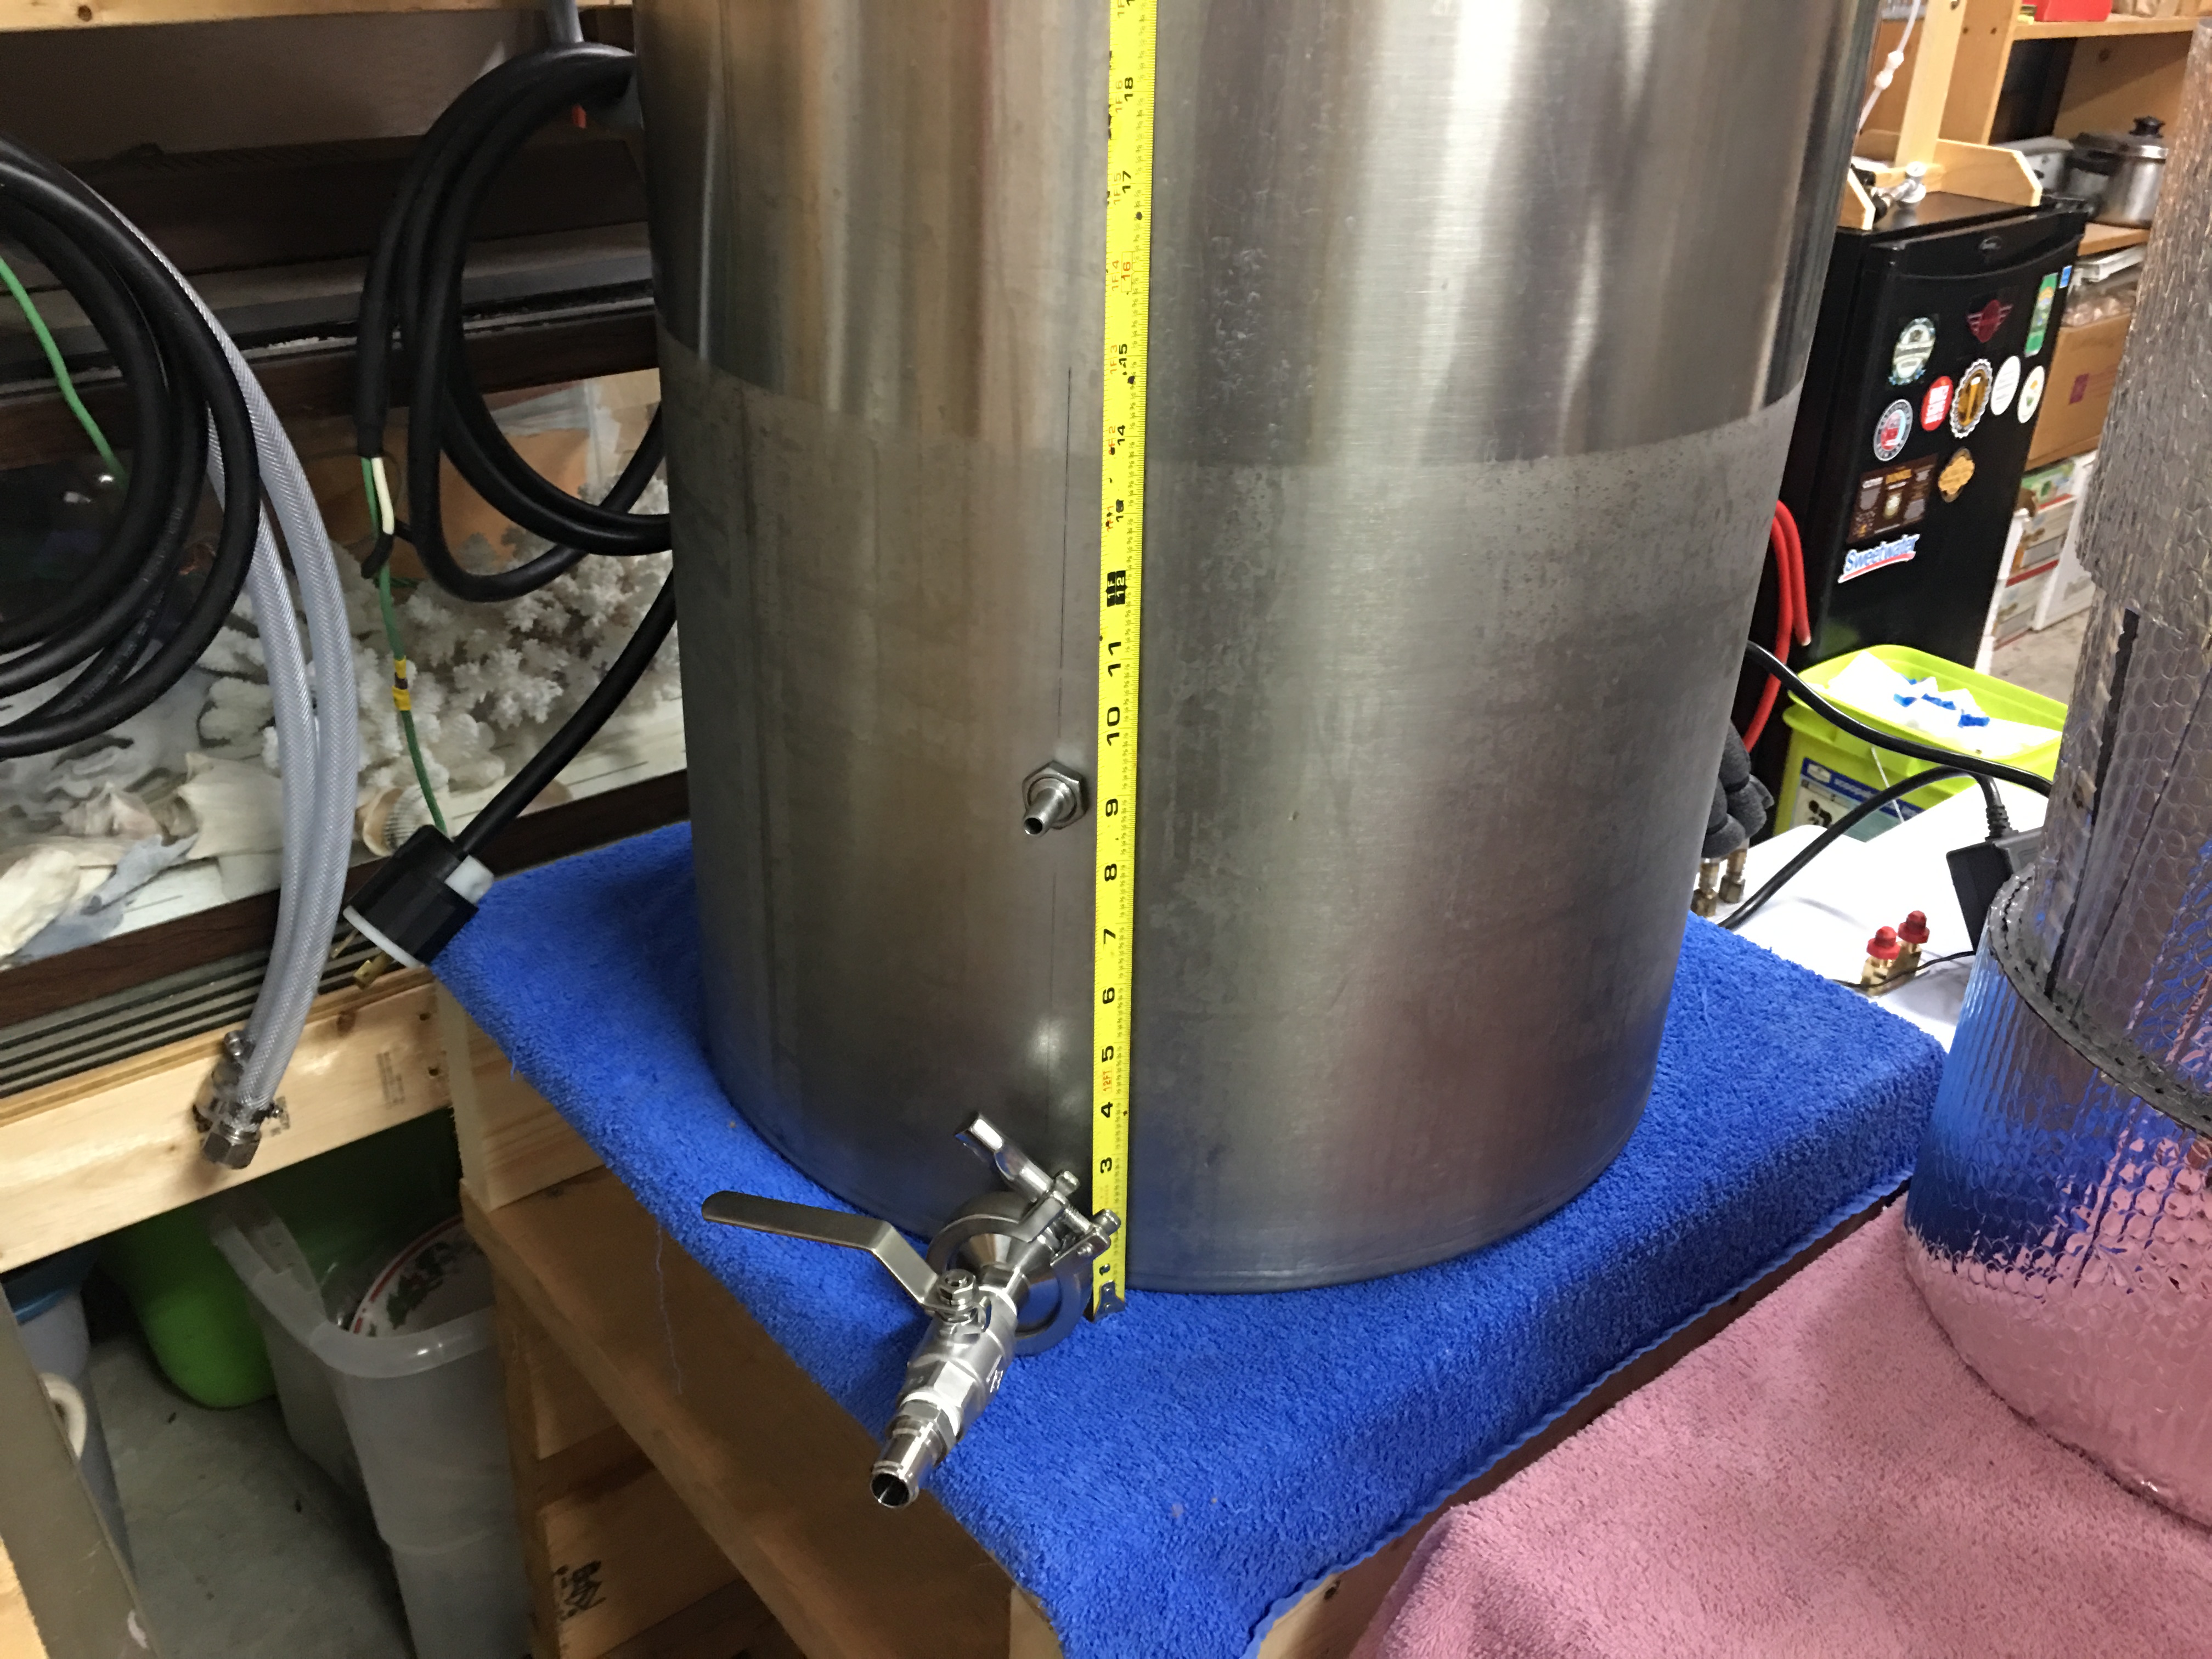
I filled the HLT almost to the very top with 25.33 gallons of filtered water. I measure volumes with a yardstick. It translates to 0.75 inches per gallon. I heated the HLT water to a strike temperature of 135°F. I pumped 14.6 gallons (10.95″) into the mash tun, which is 1.5 quarts per pound of grain. I mashed in at 11:25 AM. I stirred well to make sure there were no lumps. Mash temperature was 131°F. I ramped up to 151°F which took an hour and five minutes. Longer than I expected. I had the HLT temperature set at 152°F. I suppose if I heat the HLT higher, I can ramp up quicker, but I would need to make sure the HTL temp gets back down to my desired mash temp, so perhaps I will experiment with that. Measure pH=5.88 at 84°F.
Since I drained so much water out of the HLT to the mash tun for the mash, I needed to add more water to cover the HERMS coil. I measured 7.75 inches, or 10.33 gallons remaining, so I added 4.25 inches, or 5.67 gallons more filtered water to cover the HERMS, which brought it up to 12 inches, or 16 gallons. I also added 1/3 Campden tablet. The additional water brought the HLT temperature down to around 138°F but did not take long to get back up to mash temp. [Note to self: Perhaps run filter water into HLT while pumping the strike water into the MT.]
Mashing with the HERMS. I stirred the mash about every 15 minutes.
After 90 minutes into the mash, I ramped it up to 168°F for a mash out. It took 32 minutes to reach 168°F. I held it there for about 15 minutes and then started my sparge. Since the HERMS systems is constantly pumping, the mash was pretty clear, so no vorlauf required.
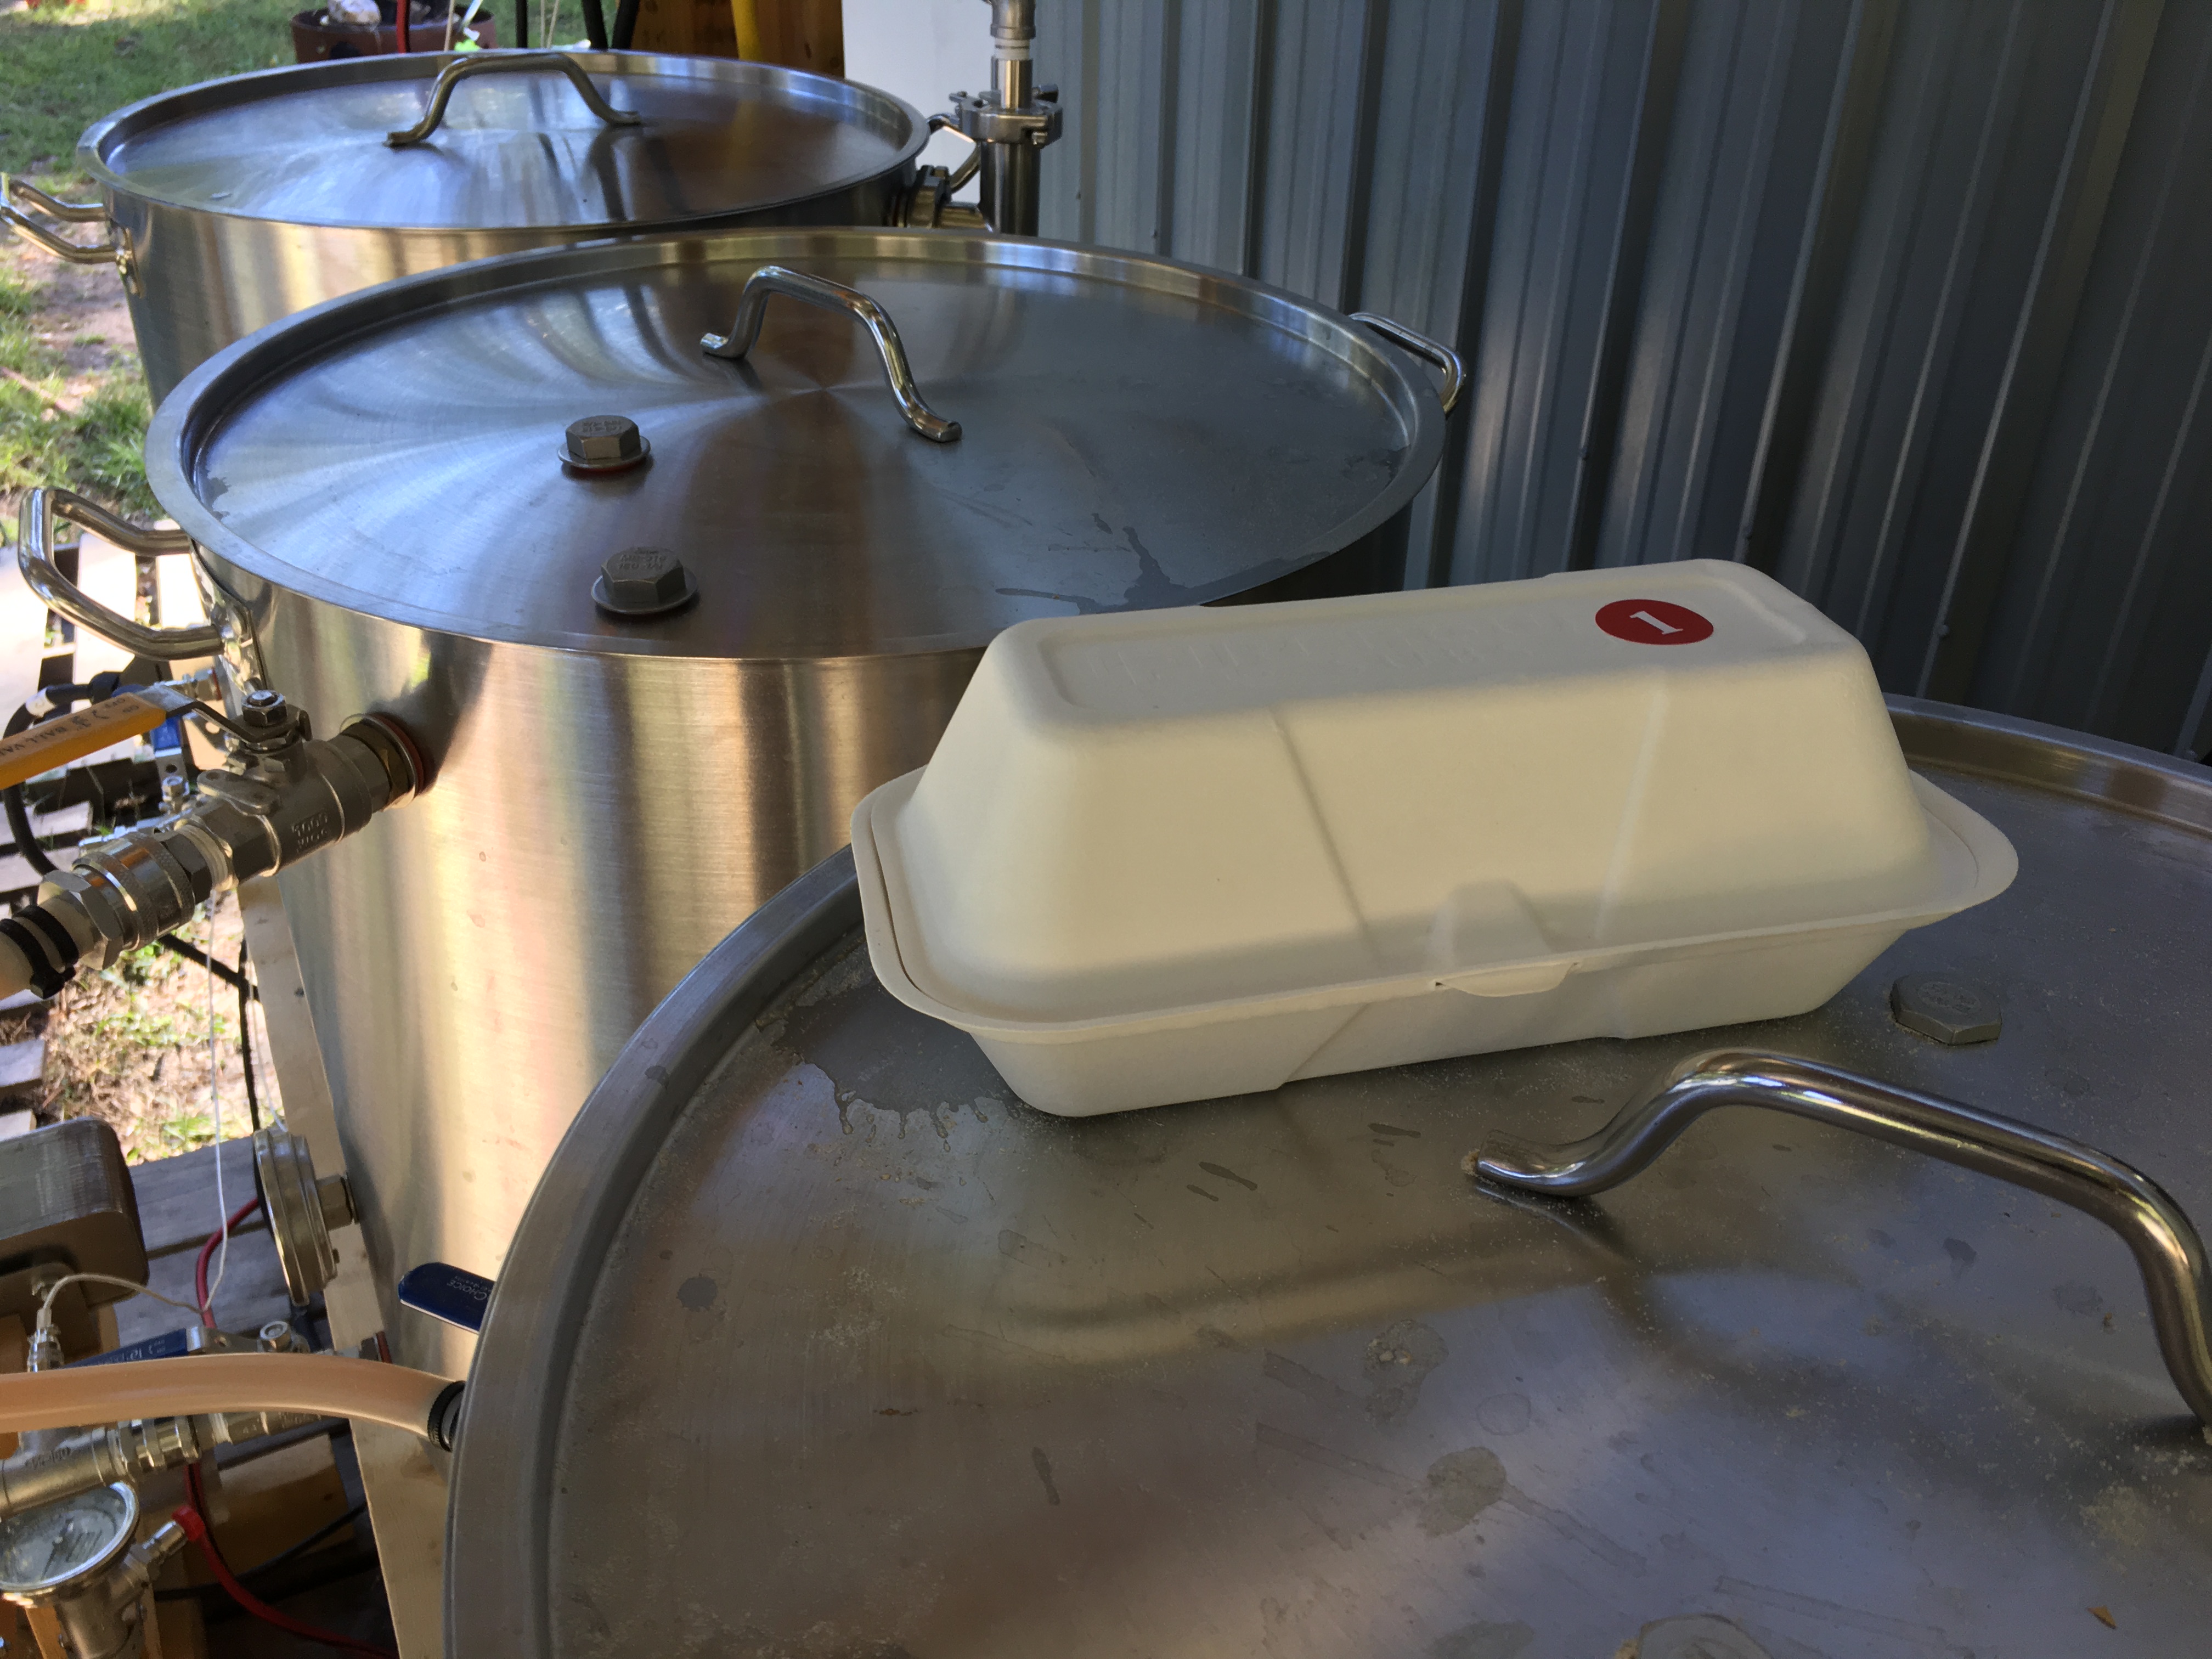
HLT is knocking the chill off of my leftover sub sandwich.
Towards the end of the sparge, I determined that I had enough water in the mash tun and stopped the HLT heat and pump. The HLT had drained down to 4.8 inches, or 6.4 gallons remaining and the BoilCoil needs about seven gallons to safely operate.
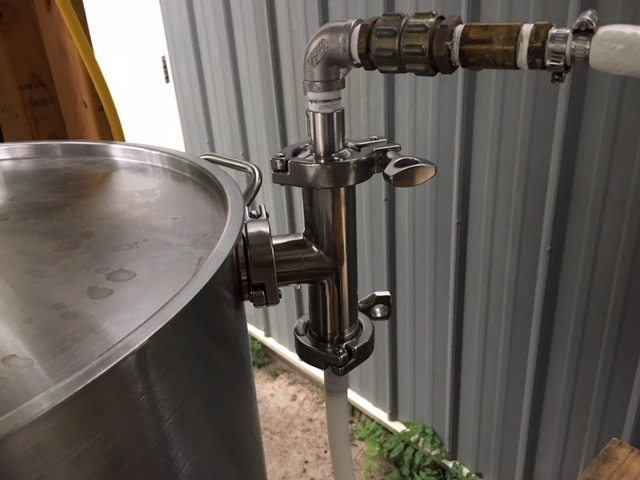
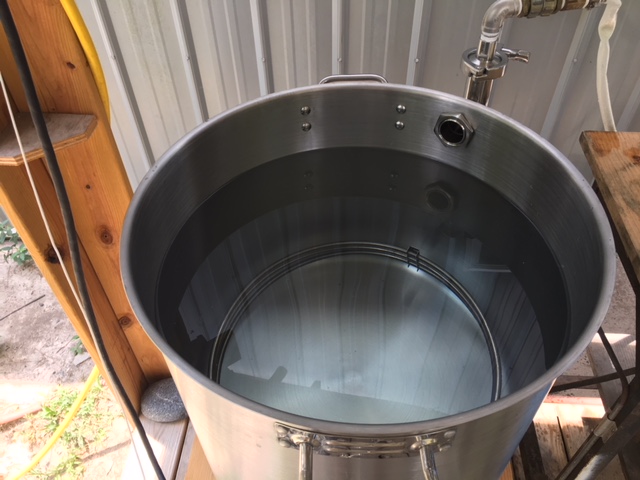
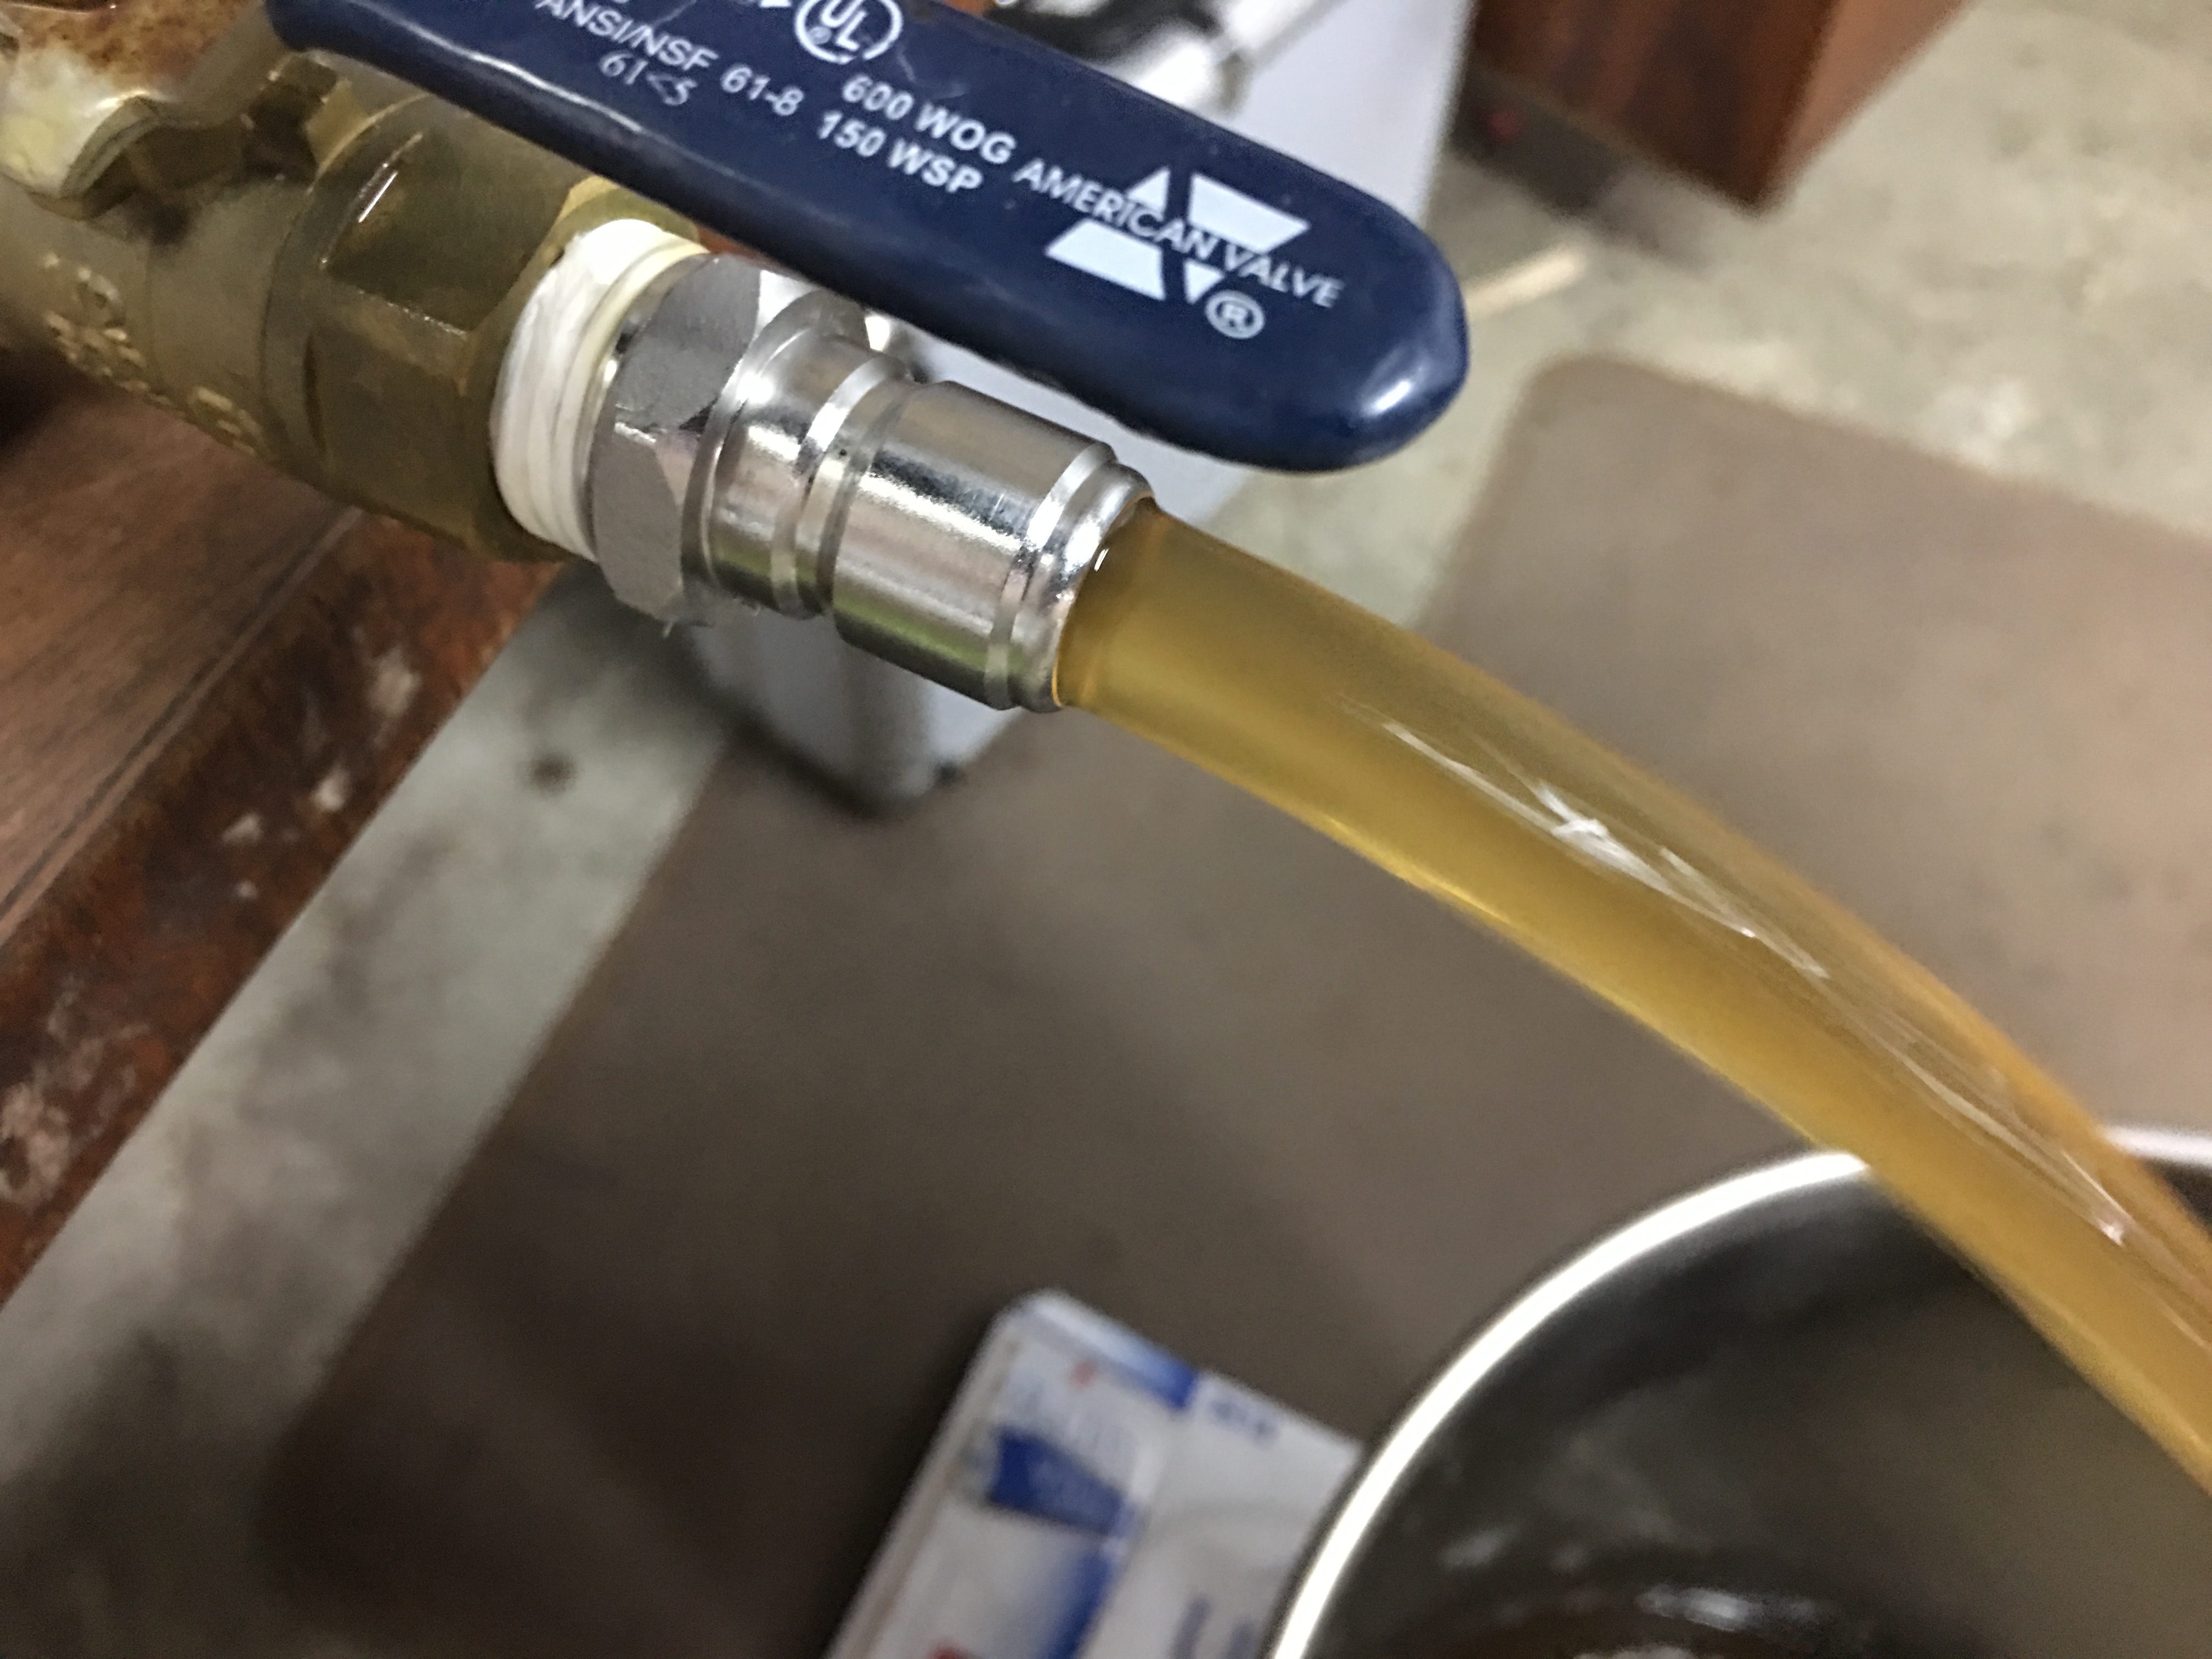
I began collecting wort at 2:02 PM and sparged at 172°F at a rate of about three gallons per 12 minutes. At 3:20 PM I stopped the sparge and measured 14.875 inches of wort in the kettle. That translated to 19.83 gallons – very close to what I calculated at 19.7 gallons of pre-boil wort. The Brix measured 12.0.
With my kettle nicely full of wort, I set the PID controller on 100% power and recirculated the wort while heating. Once the kettle temp was about 190°F, I stopped the recirculating pump. I reduced the heat to 80% once the kettle reached 200°F. I reduced it further as the temp reach 212°F, and settled in at 40% power and a slow rolling boil until hot break. After I determined that hot break had been achieved, put the lid on the kettle and started running water through the condenser attached to the side of the kettle. I ran the condenser at about 100 PSI and just ran waste water out on the ground. During the boil, the waste water smelled pretty bad. The silicone hose I used to drain it to ground stinks, so there is some pretty nasty stuff being boiled out of the wort. Flame out at 5:48 PM. Boil time: 90 minutes. Post-boil volume: 17.67 gallons, or 13.25 inches.
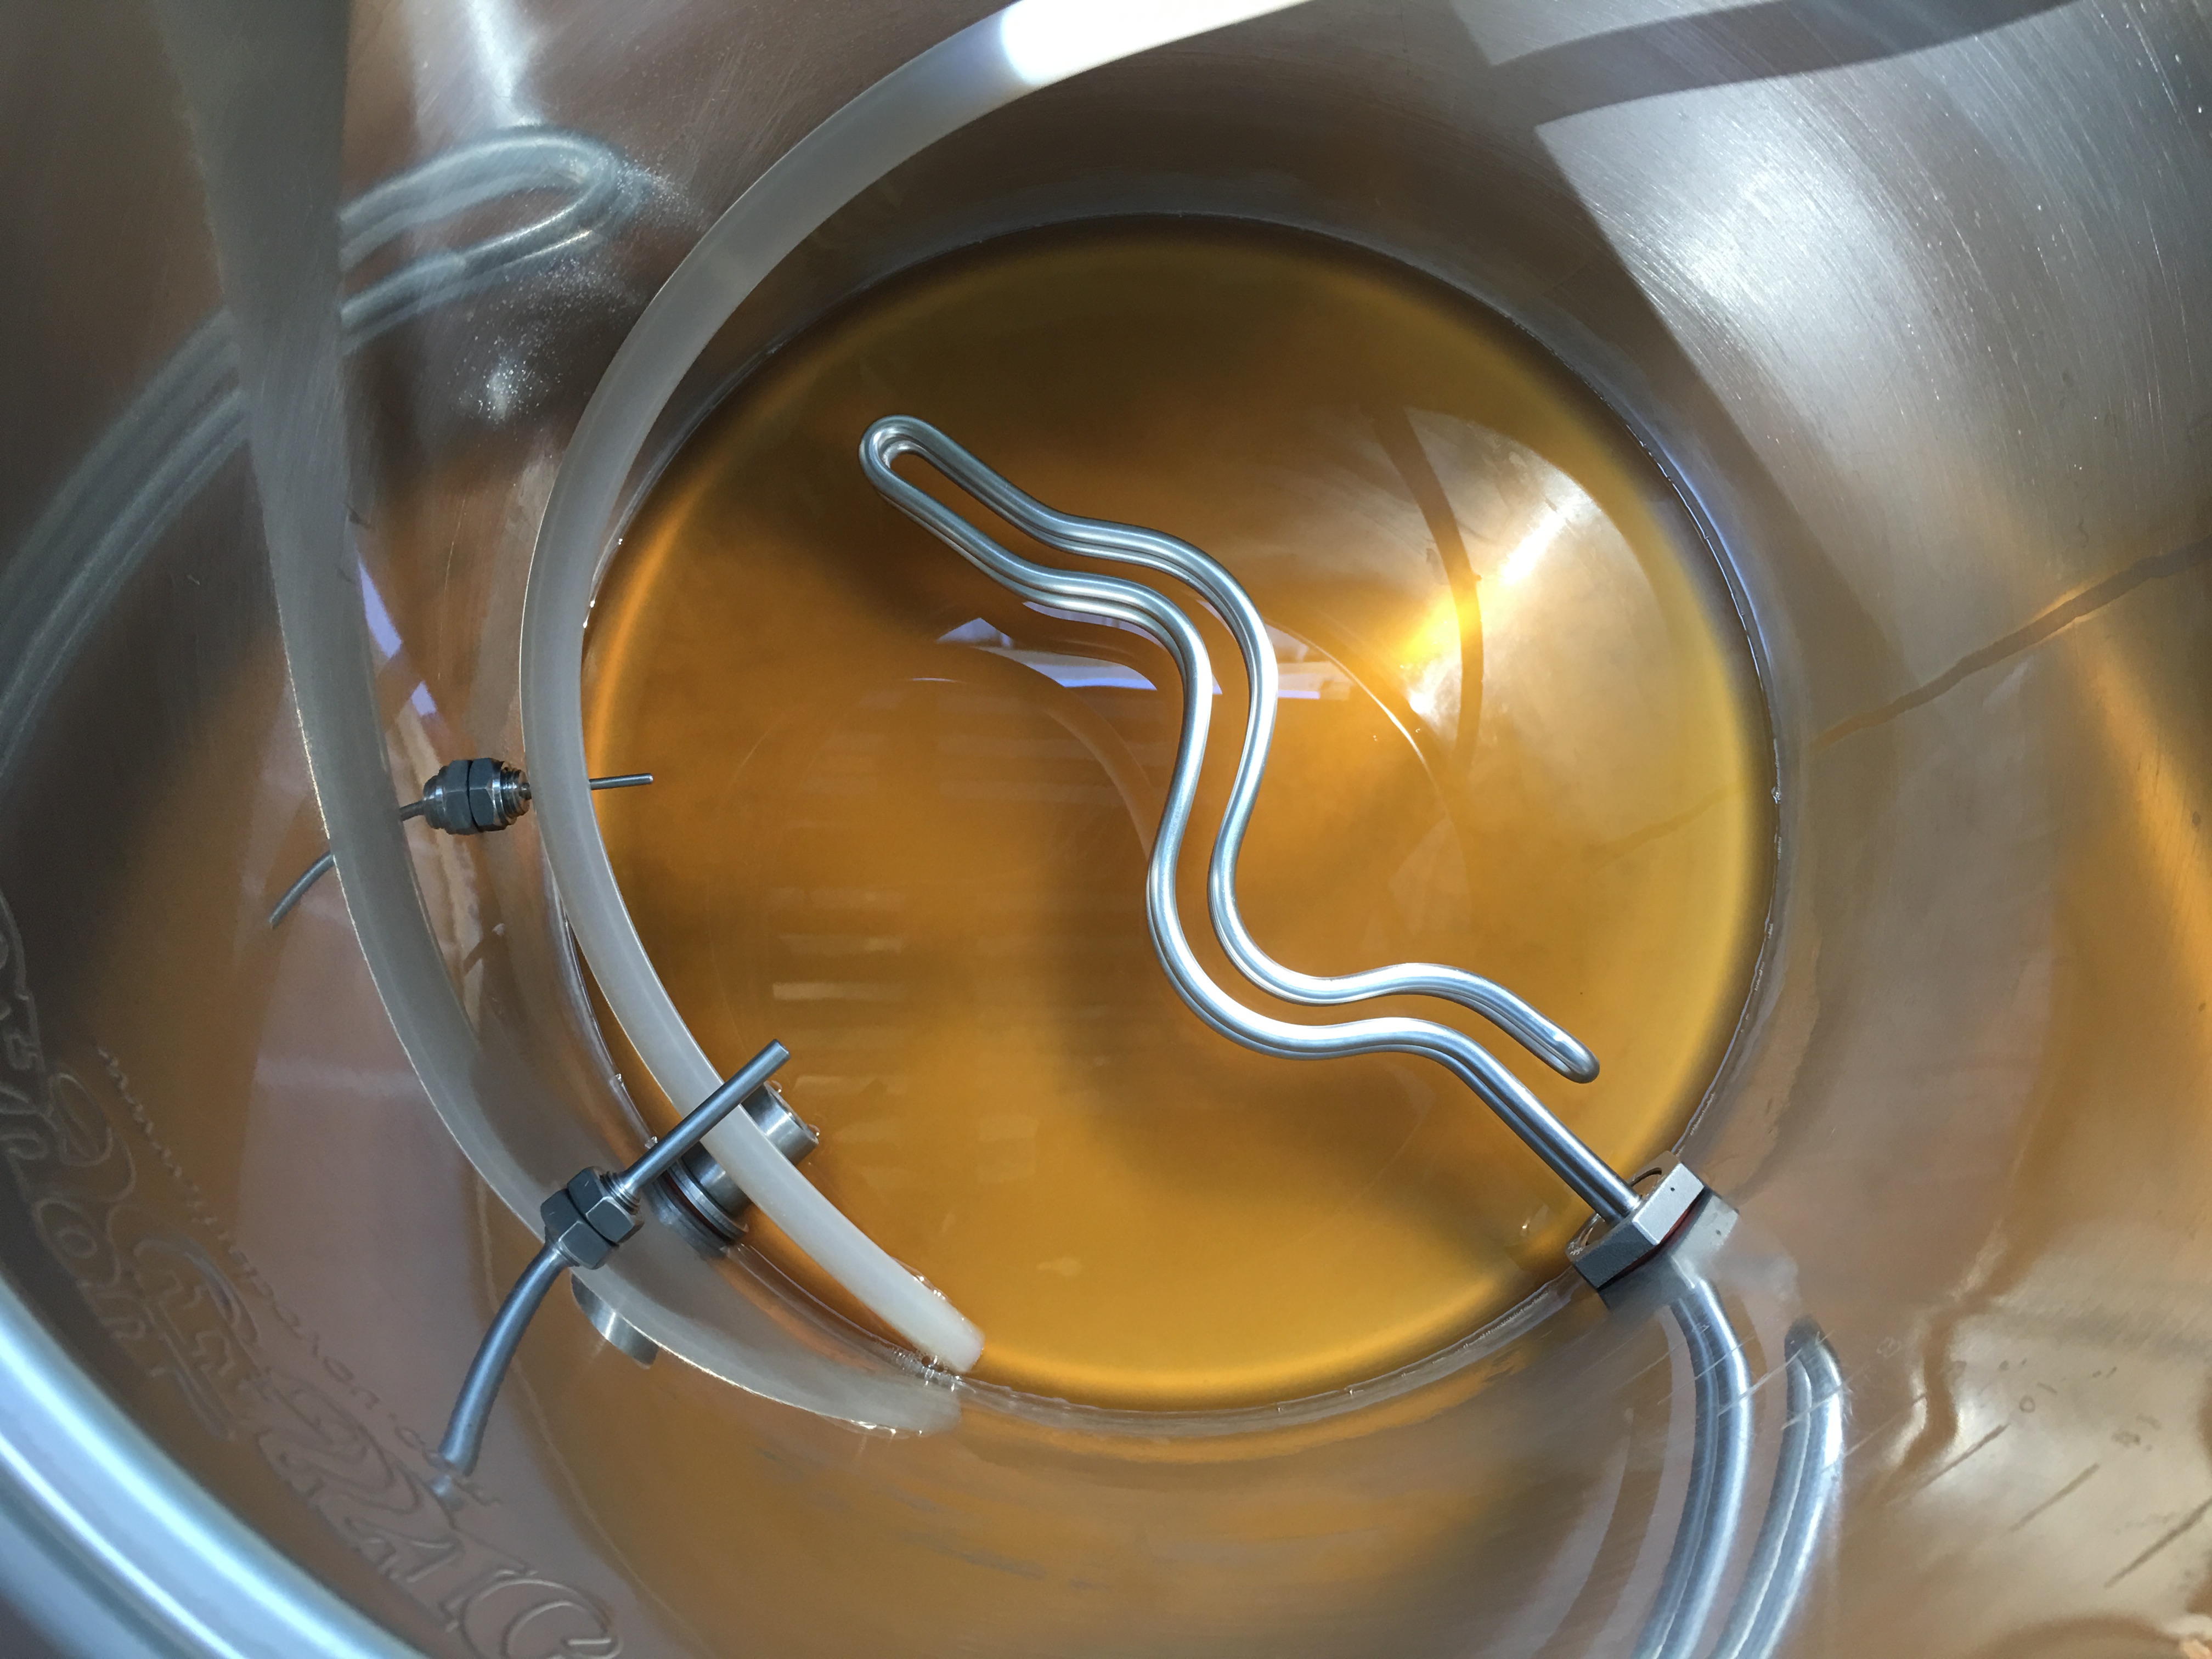
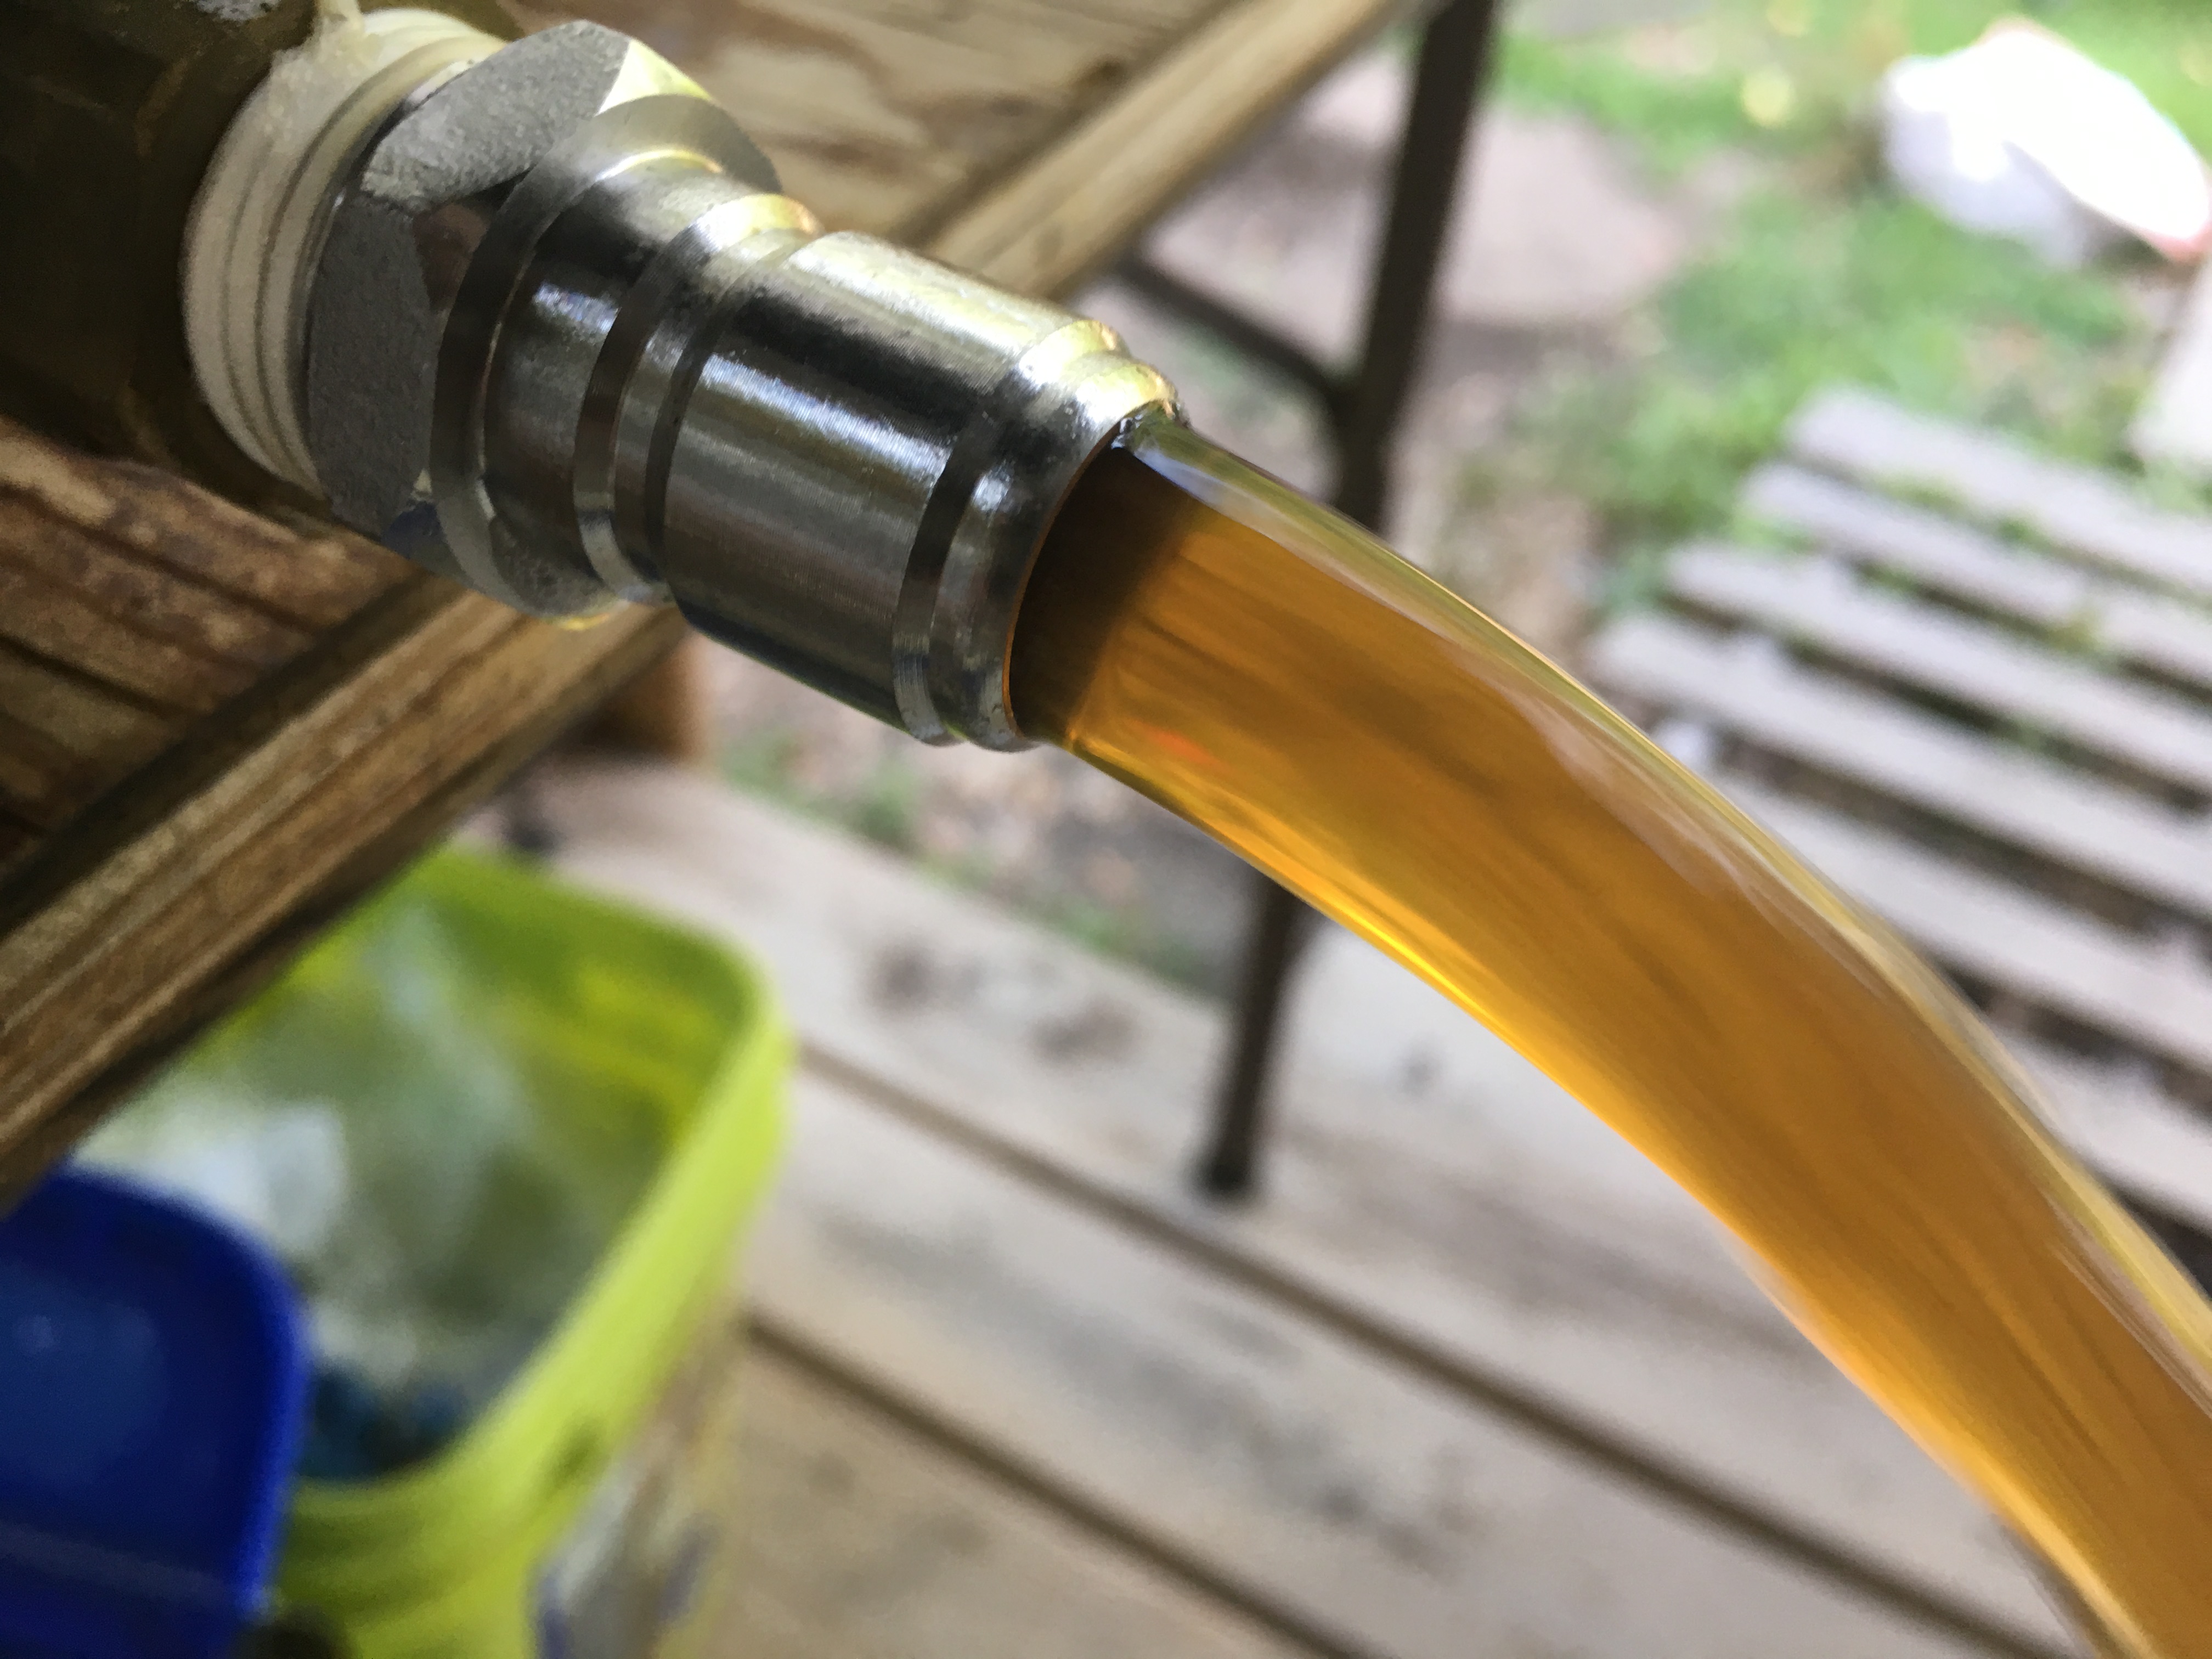
Once the boil was completed, I began to chill with my chill rig with tap water at about 78°F. I let that run for about 15-20 minutes to get the kettle temp down to about 95°F, then I switched to chilled water. After several minutes, the kettle temperature reached 50°F. I shut everything down and let the kettle rest to settle out for a few hours. I let the kettle temp rise to about 60°F before transferring the wort to the fermenter. I drained about 3.5 gallons at a time in a bucket to carry to the fermenter. I estimate there was about 2/3 gallons of trubby wort remaining in the kettle, which gave me about perhaps a little under 17 gallons into the fermenter. My target was 16.5 minimum.
After dosing about 3.5 minutes of O2, I added approximately 400 mL of thick yeast slurry from two prior batches. London ESB yeast from batches 107 and 108.
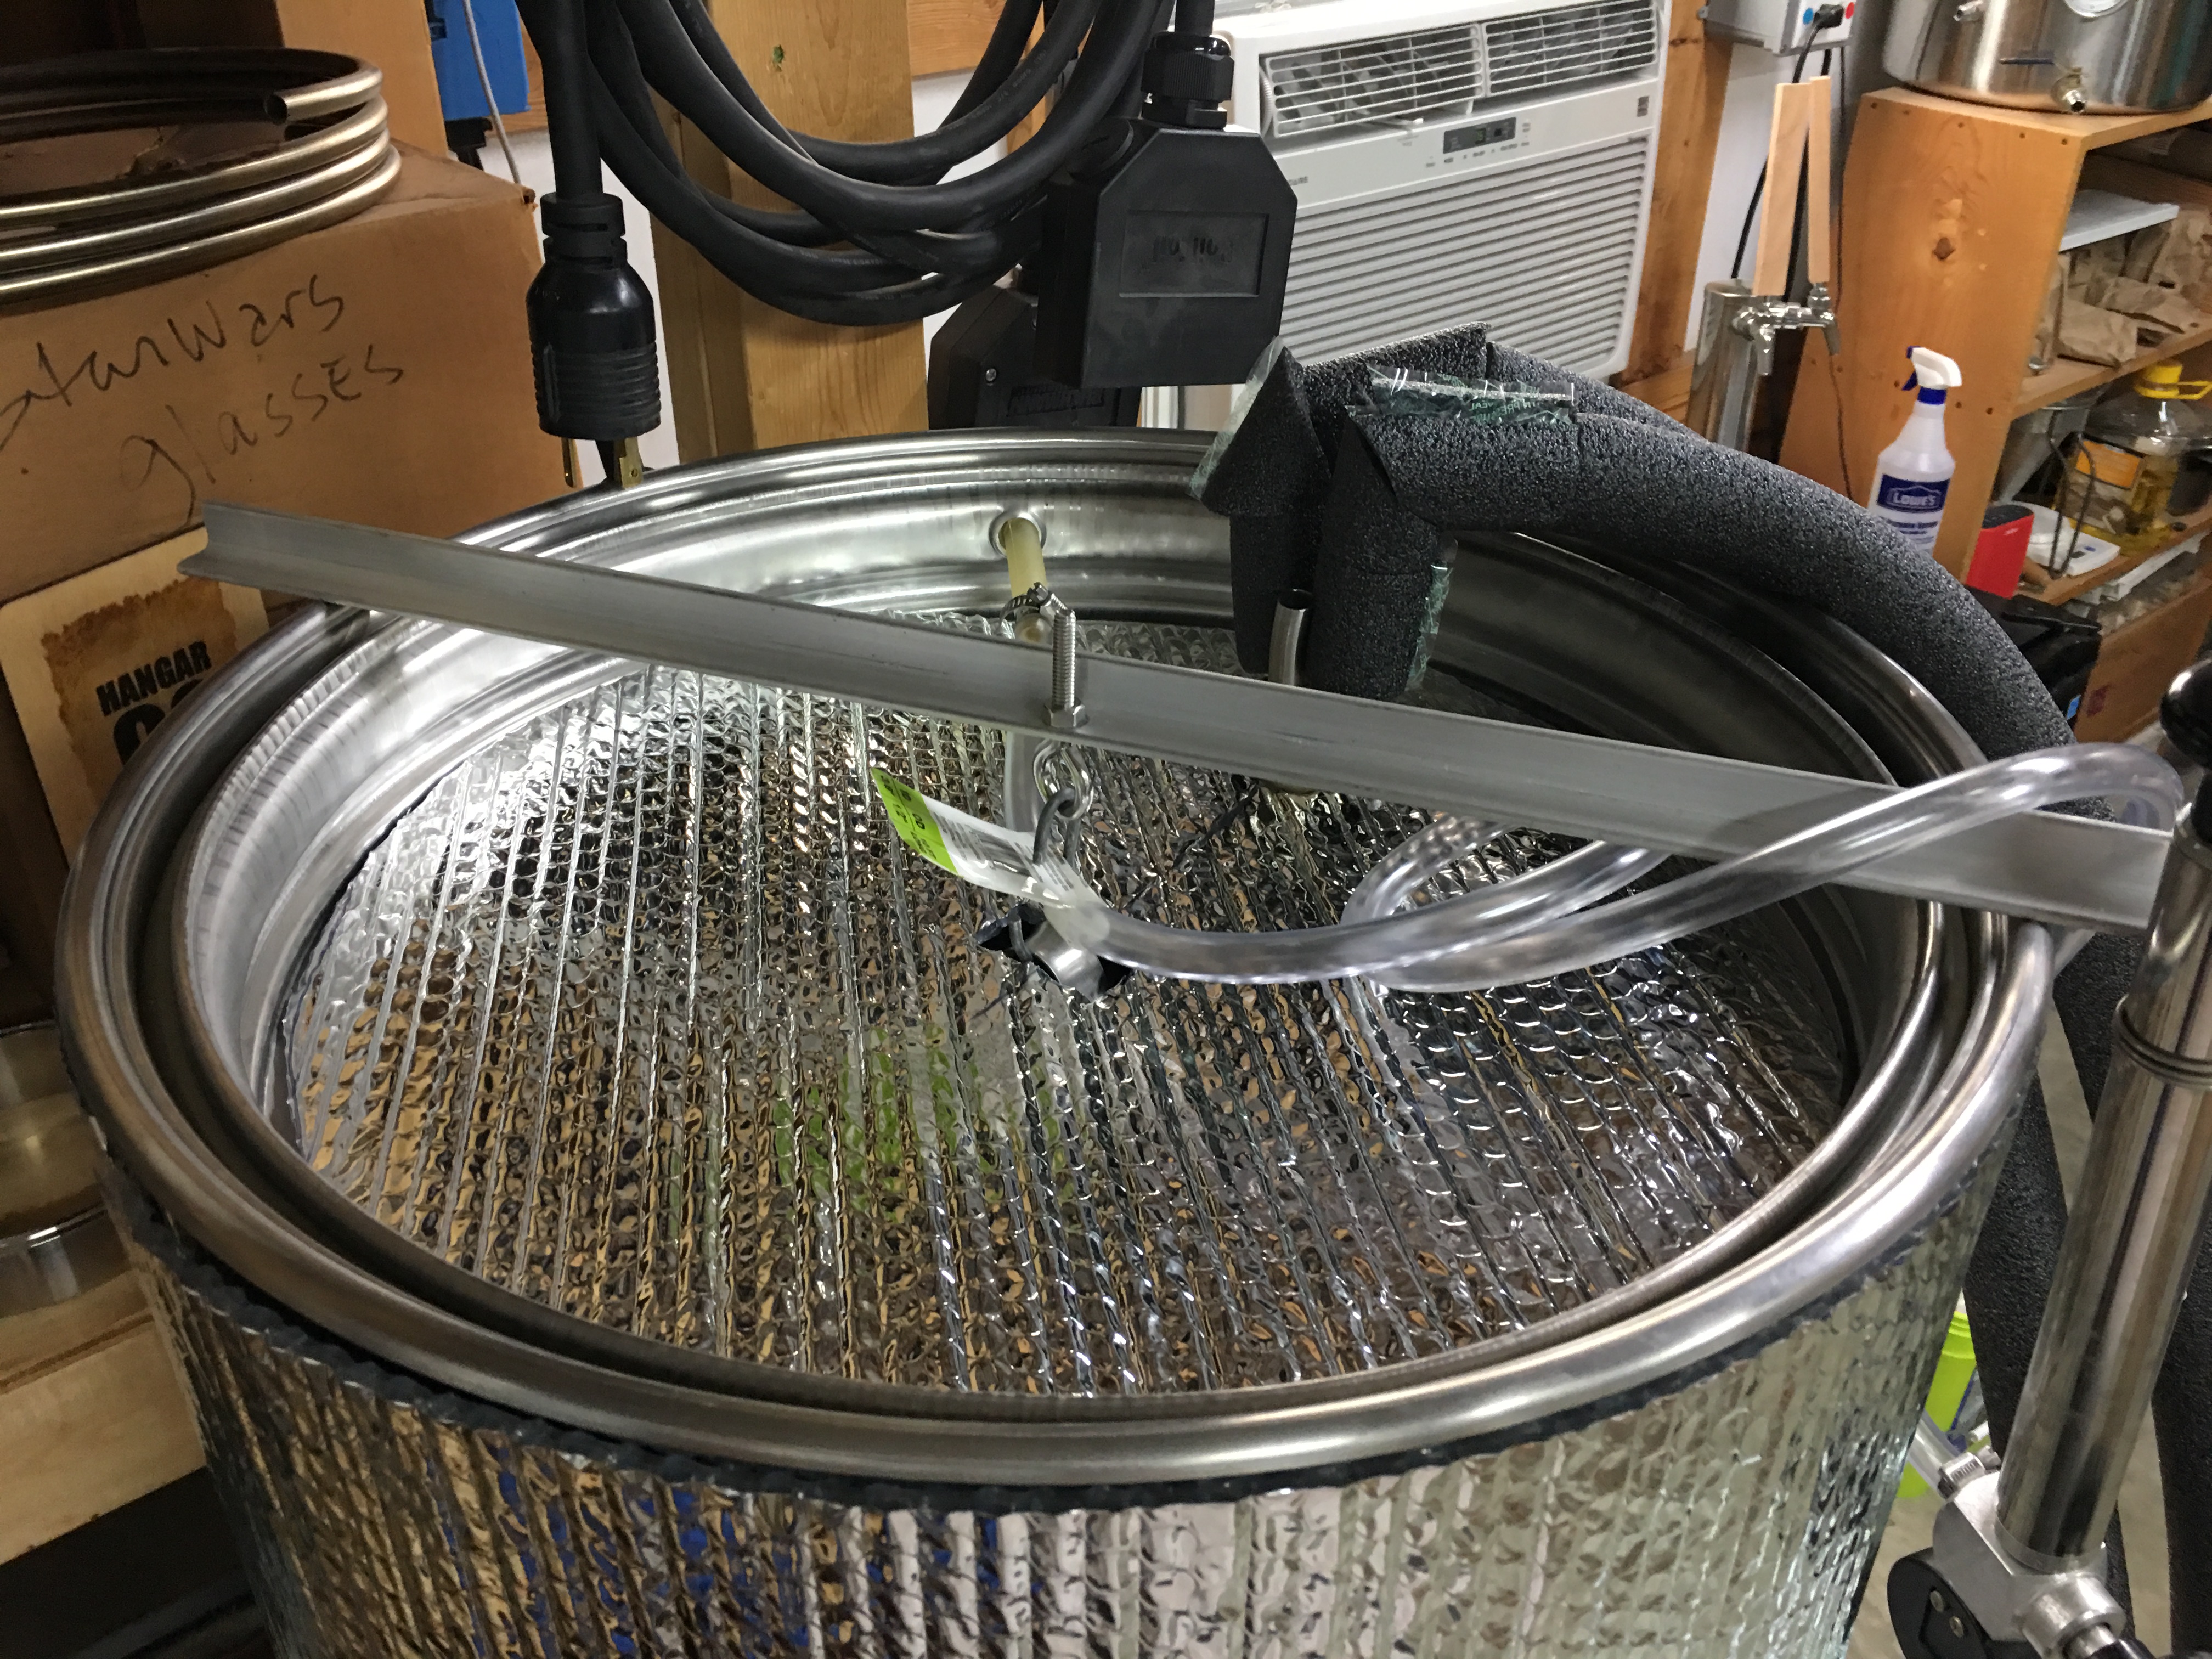
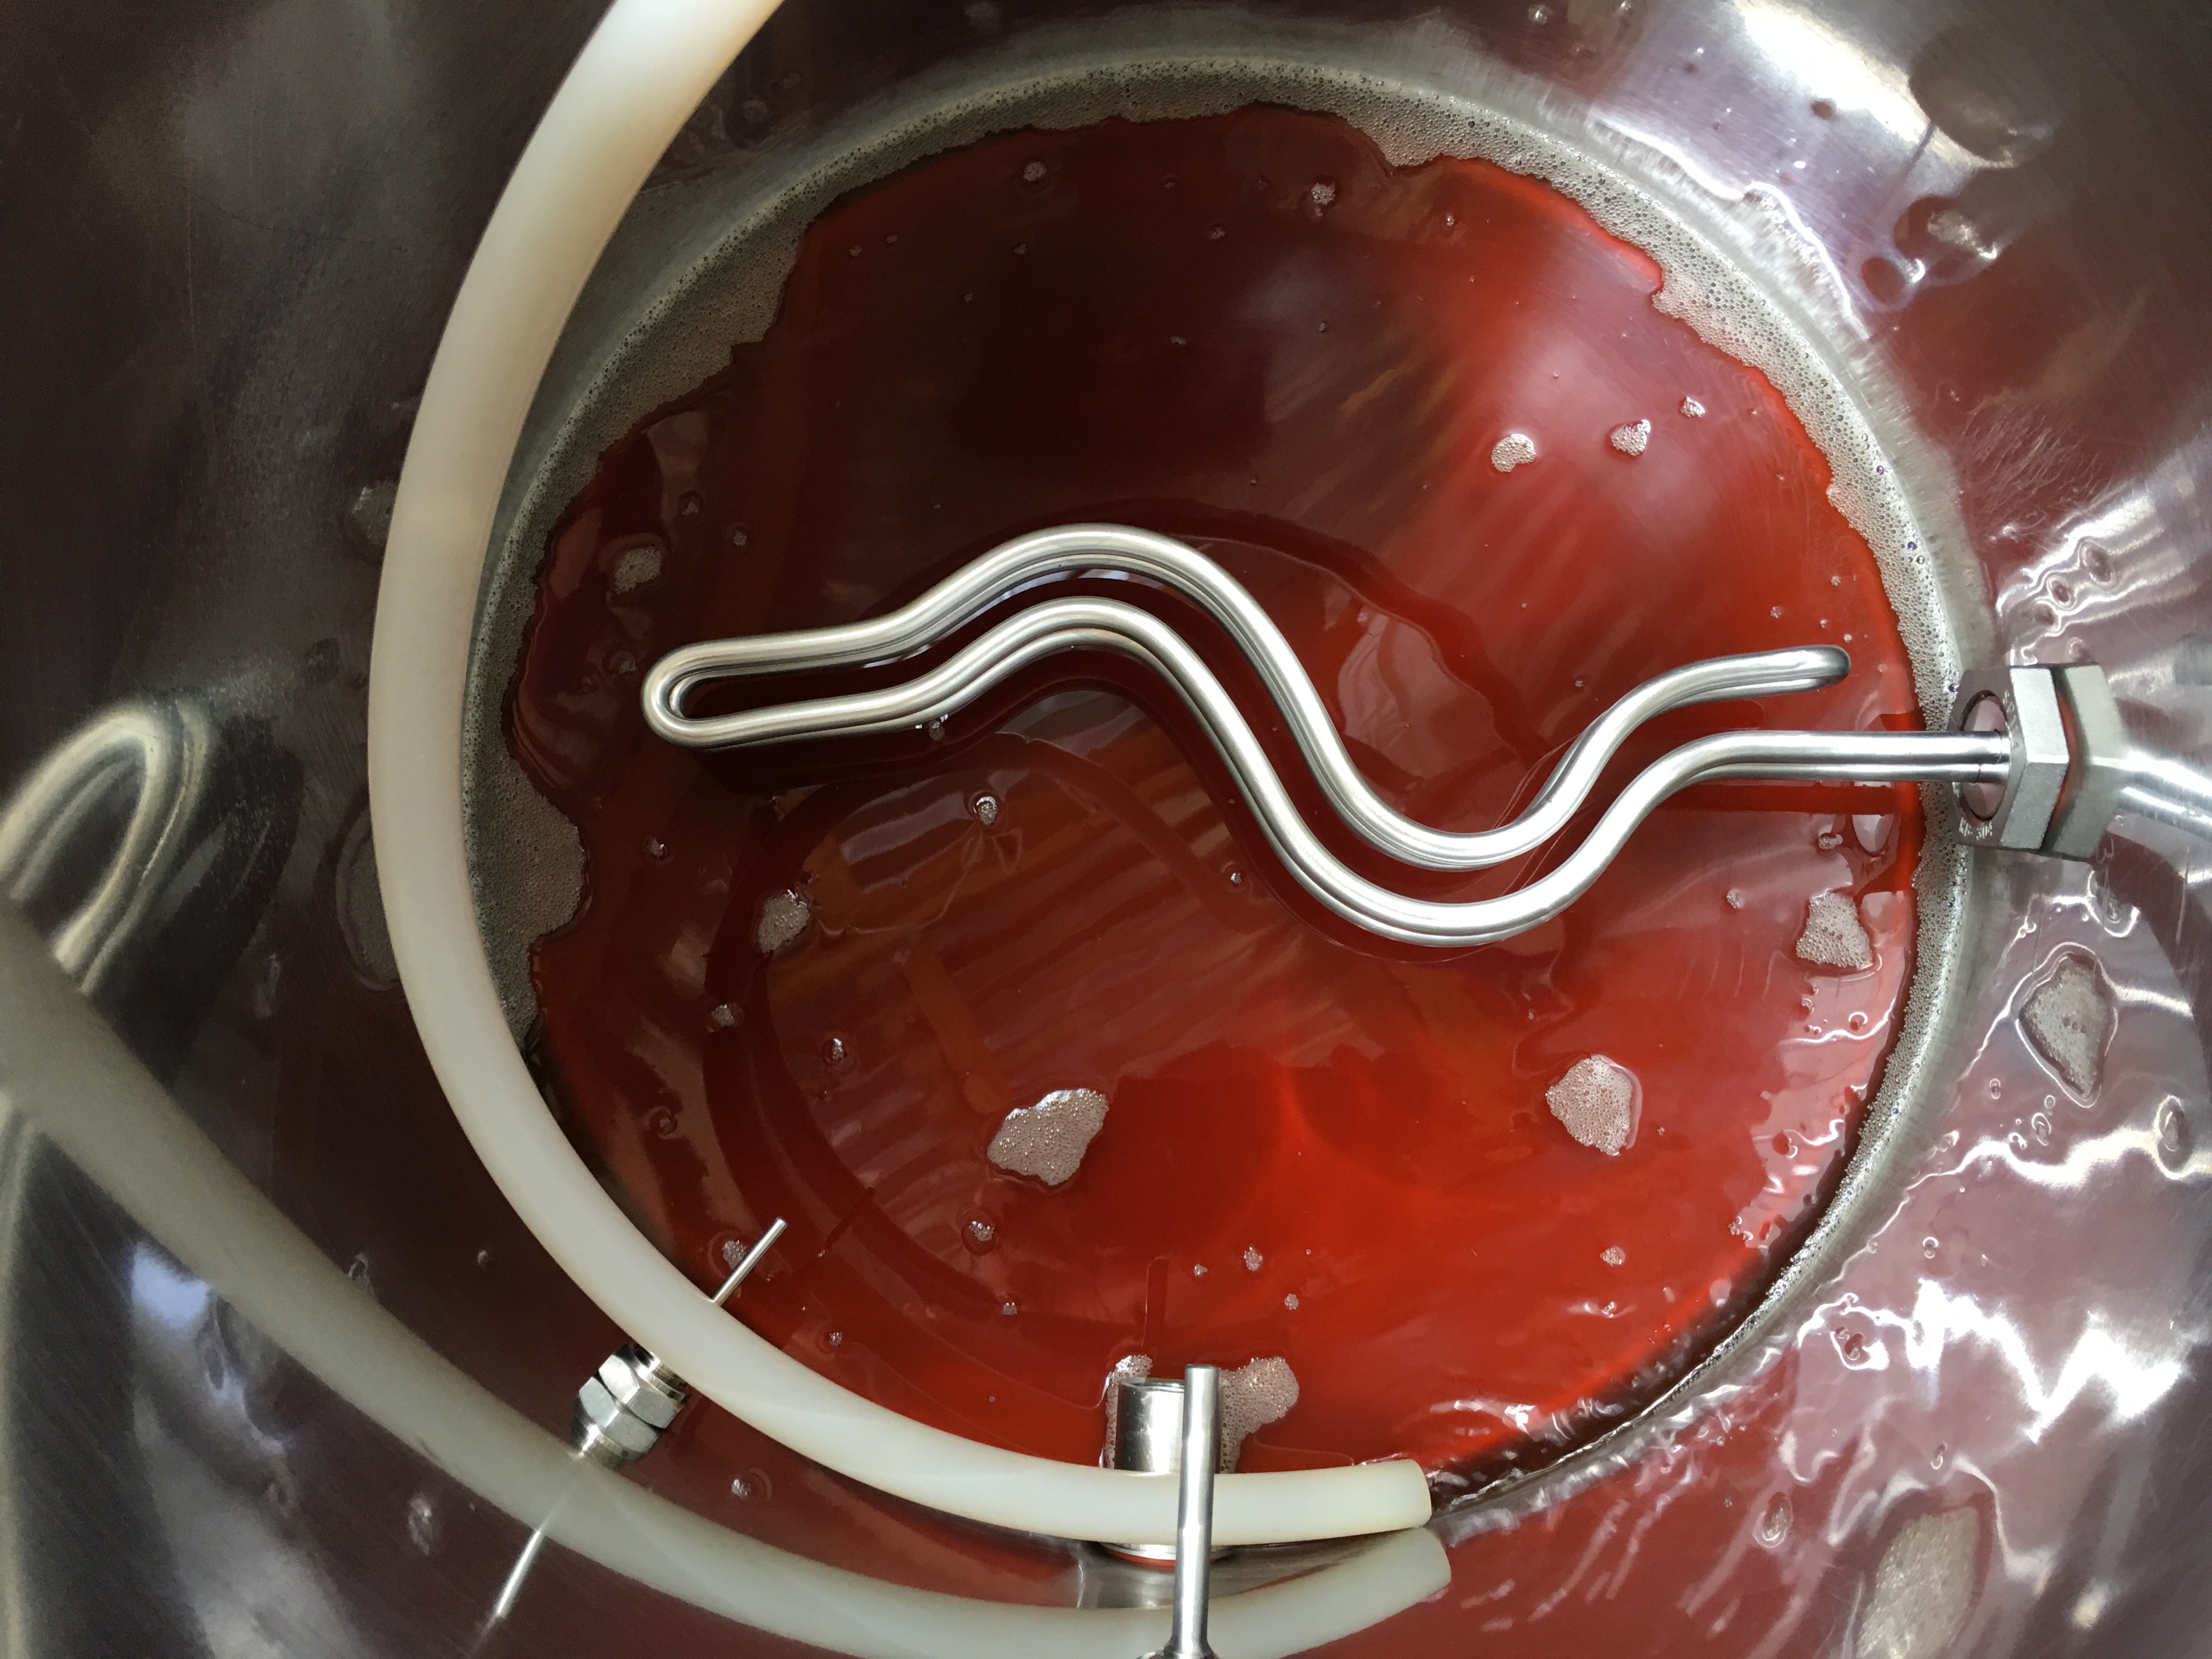
With that done, I assembled the chiller coil and lid and place in the fermenter. I hooked up the two chiller hoses and set the controller 68°F. The temperature started at 59.7°F and ramped up naturally over the next day to 67.1, as measured the next night at around midnight. My target fermentation temperature was 68°F.
I observed first bubbling in the blow off container at about 8:30 AM, Monday, October 15, 2018.
Now to prepare three corny kegs for beer!
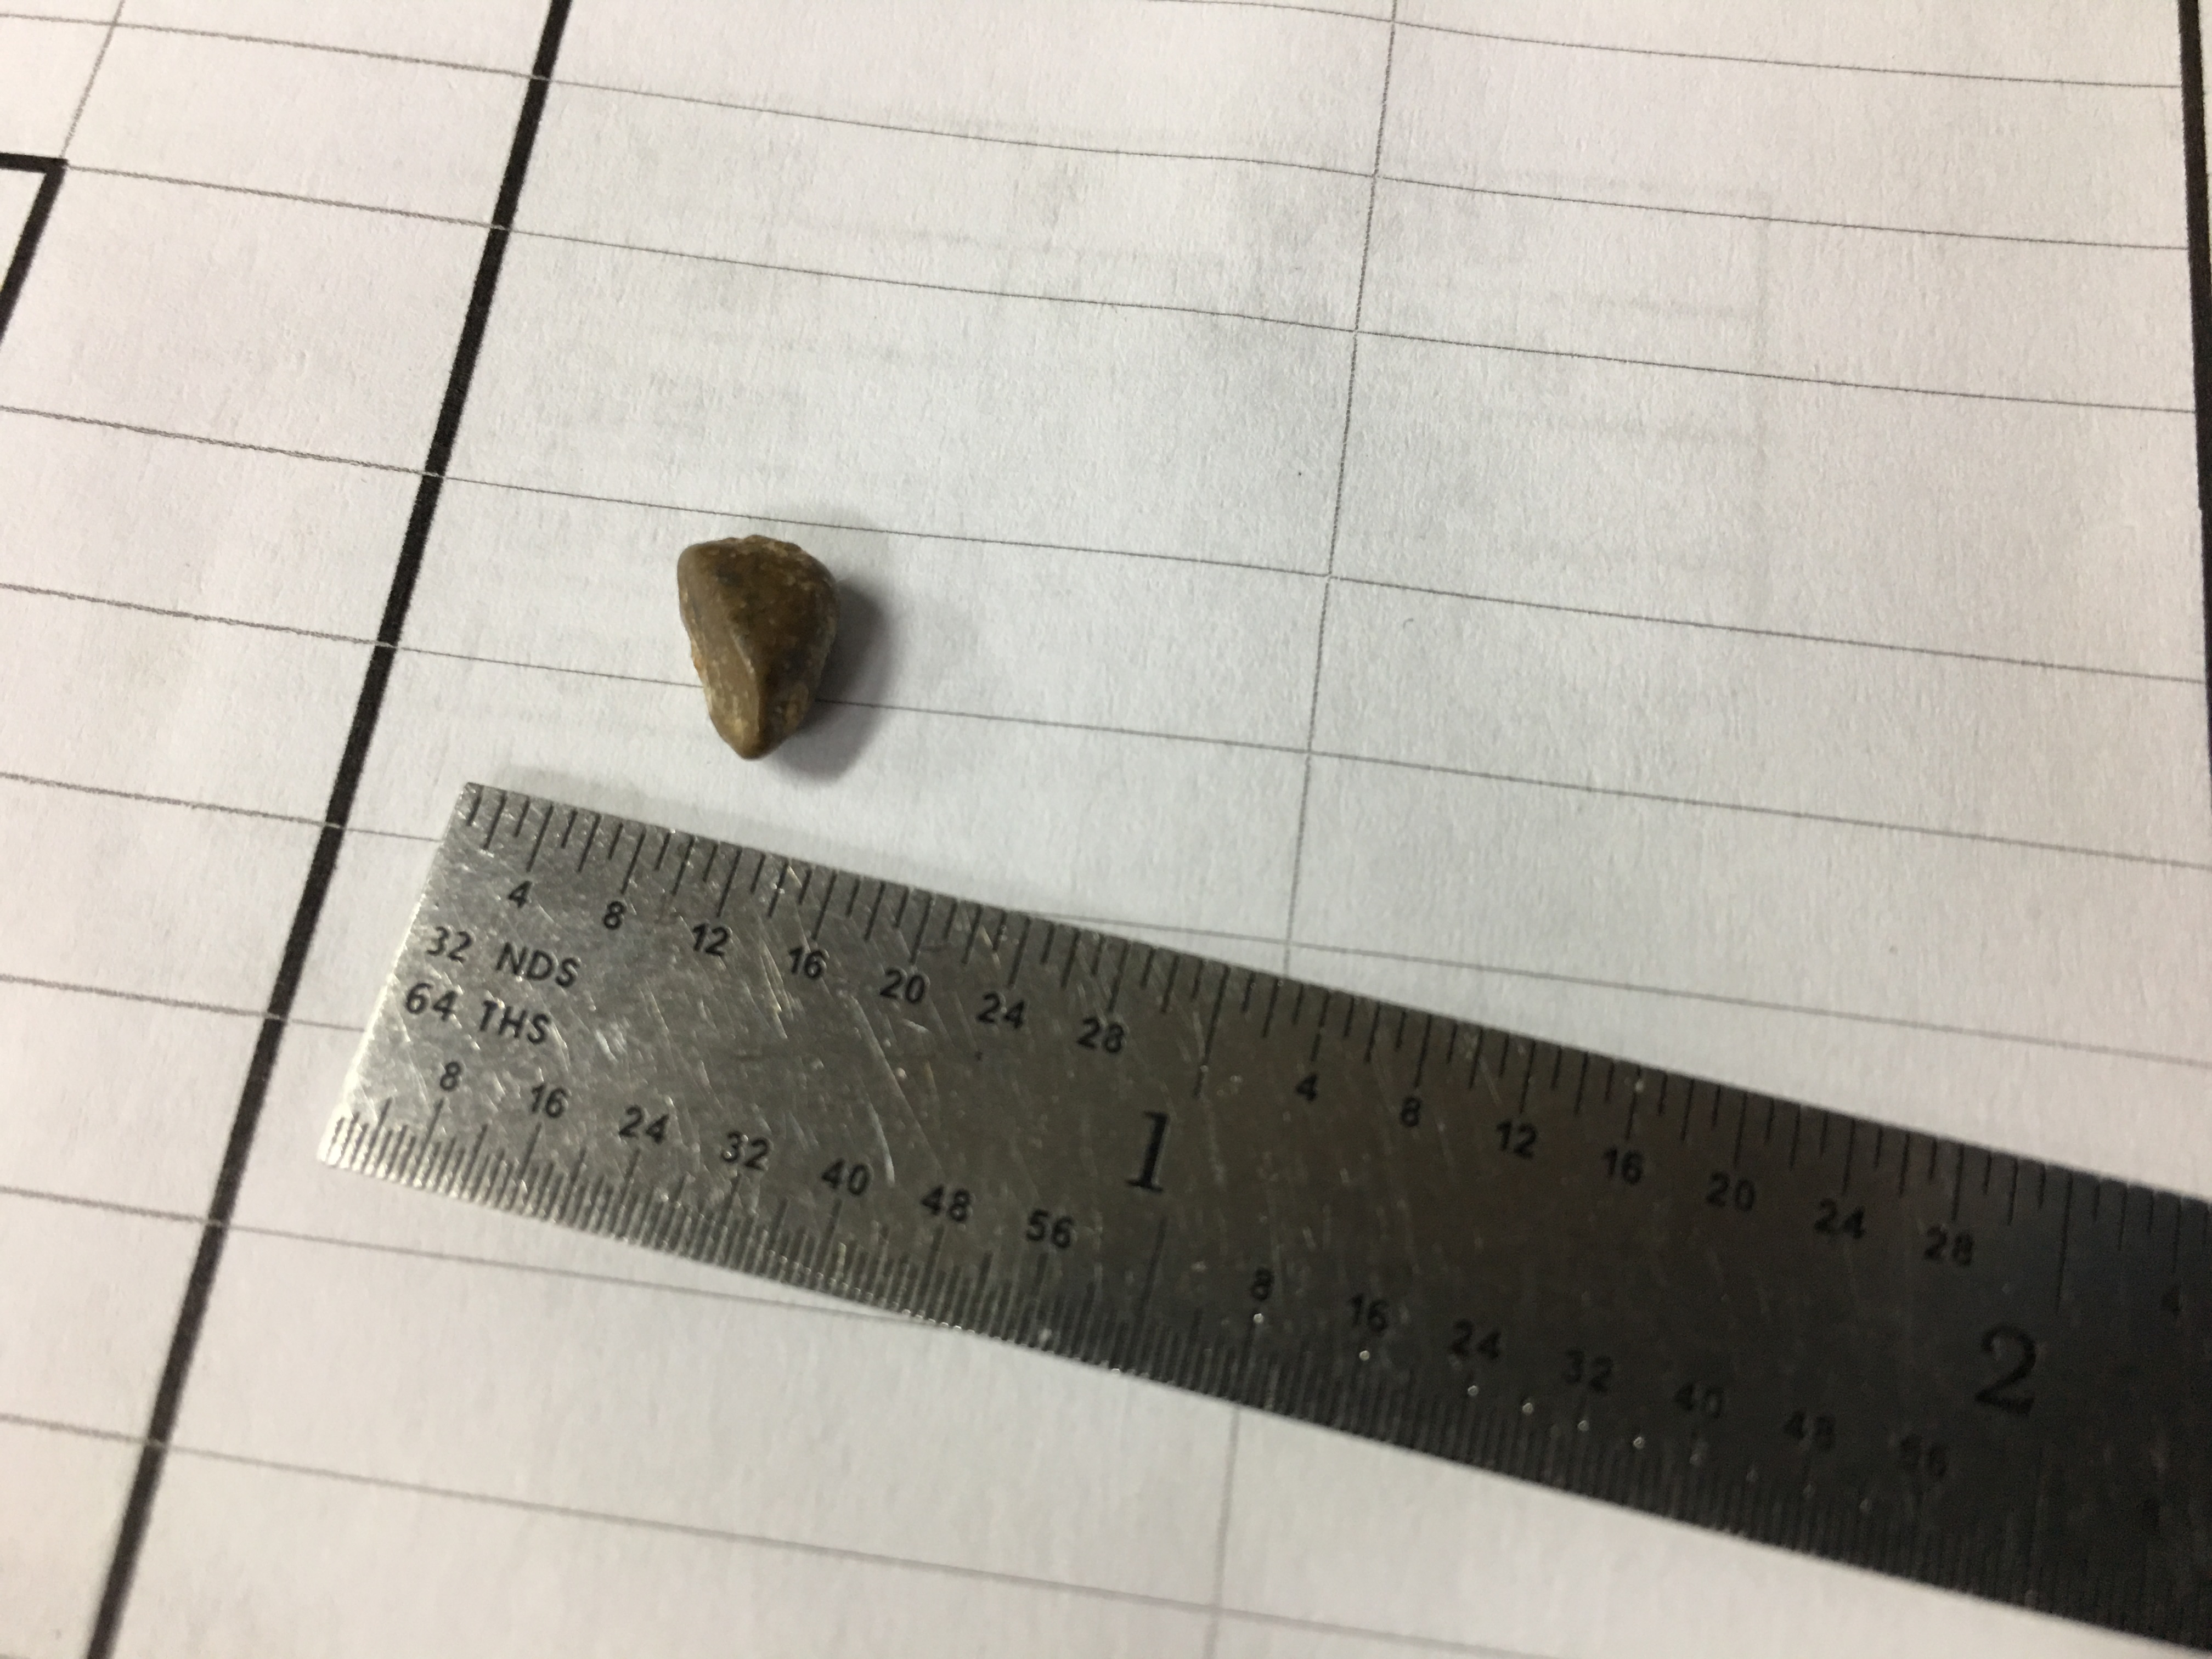
The pebble that goofed up my grain mill.